Romy Wrap Top + Dress Sewalong
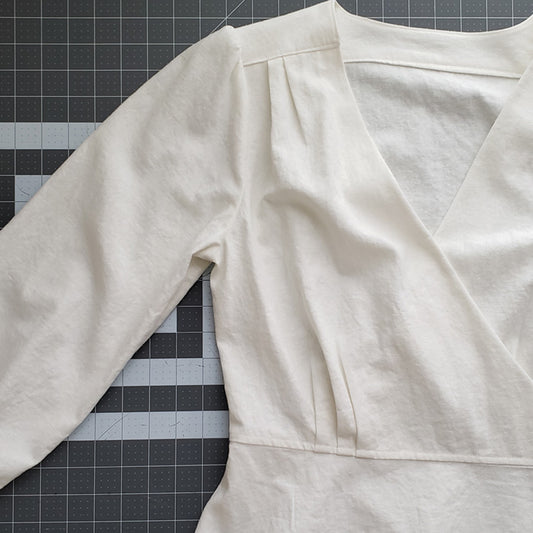
Romy Wrap Sewalong, Part 4: Attach the sleeves ...
Now we’re finally on to the sleeves, and soon you’ll be able to try on the blouse!
Romy Wrap Sewalong, Part 4: Attach the sleeves ...
Now we’re finally on to the sleeves, and soon you’ll be able to try on the blouse!

Romy Wrap Top + Dress: Tester Roundup!
The Romy Wrap is here and you all have blown me away with your response to it! Thank you for that. I wanted to create a feminine top with interesting details that...
Romy Wrap Top + Dress: Tester Roundup!
The Romy Wrap is here and you all have blown me away with your response to it! Thank you for that. I wanted to create a feminine top with interesting details that...
Romy Wrap Sewalong, Part 1: Prep facings and bo...
It’s the first post of the Romy Sewalong, and we’re gonna jump right in! The first step after getting all of your pieces cut is to prep the bodice and...
Romy Wrap Sewalong, Part 1: Prep facings and bo...
It’s the first post of the Romy Sewalong, and we’re gonna jump right in! The first step after getting all of your pieces cut is to prep the bodice and...
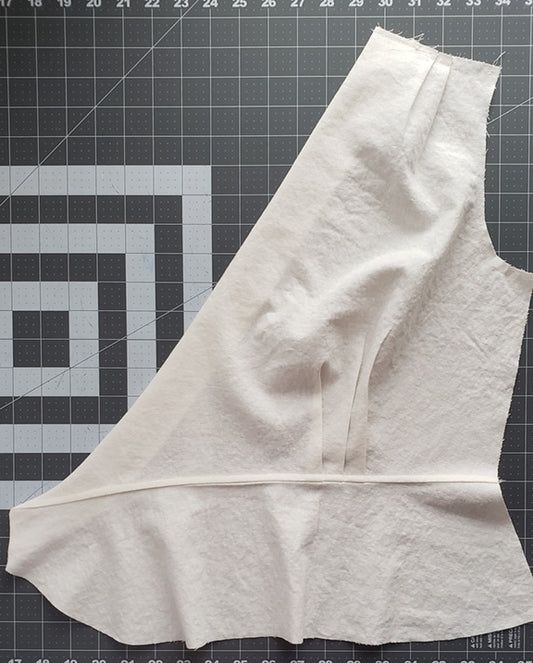
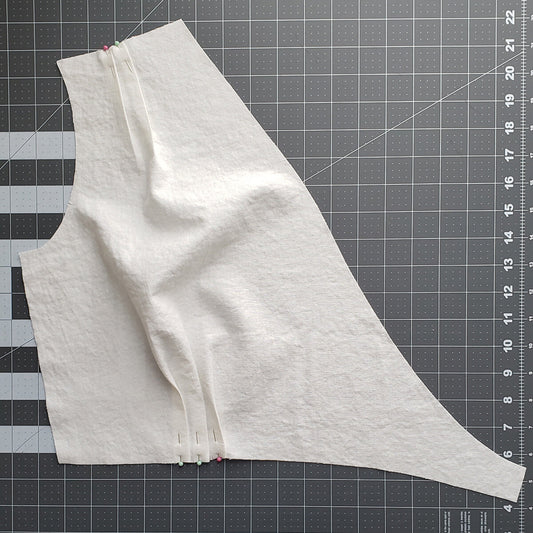
Romy Wrap Sewalong, Part 2: Attach peplum/skirt...
Now that we have our bodice prepped, we can start assembling the wrap top! For this sewalong, I’ll be demonstrating the steps on the blouse version (Version A), but the...
Romy Wrap Sewalong, Part 2: Attach peplum/skirt...
Now that we have our bodice prepped, we can start assembling the wrap top! For this sewalong, I’ll be demonstrating the steps on the blouse version (Version A), but the...
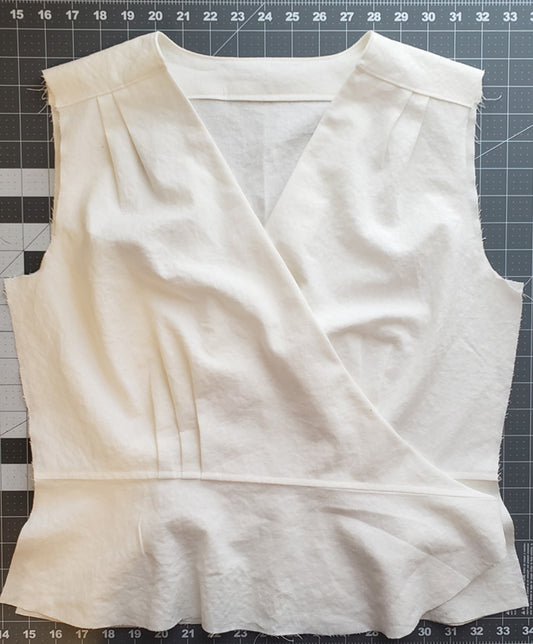
Romy Wrap Sewalong, Part 3: Assemble the yoke
Now that we have the bodice prepped, we can start assembling the blouse. The Romy Wrap features a wrap around yoke, with the finished shoulder seam designed to sit approximately...
Romy Wrap Sewalong, Part 3: Assemble the yoke
Now that we have the bodice prepped, we can start assembling the blouse. The Romy Wrap features a wrap around yoke, with the finished shoulder seam designed to sit approximately...
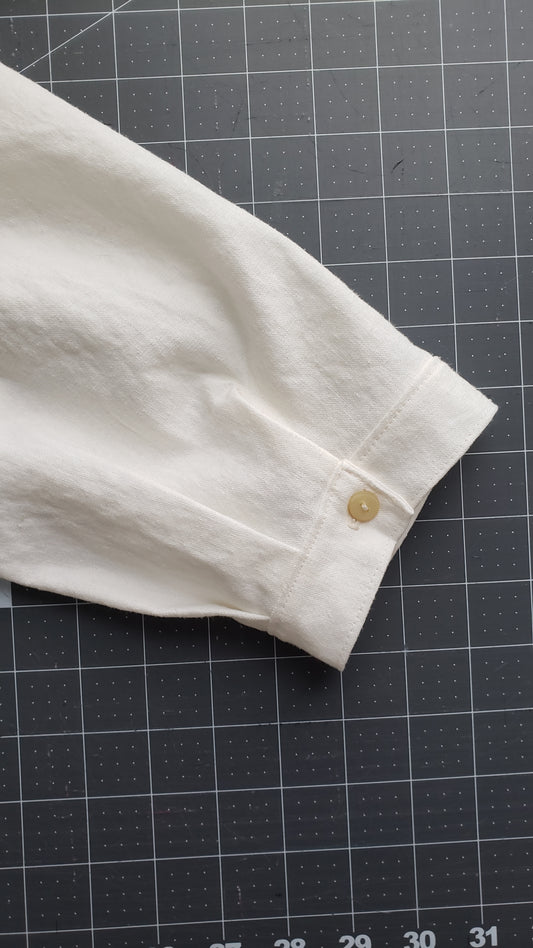
Romy Wrap Sewalong, Part 5: Sleeve plackets, cu...
We are ALMOST DONE! Woohoo! In this post we’ll put the finishing touches on the Romy wrap.
Romy Wrap Sewalong, Part 5: Sleeve plackets, cu...
We are ALMOST DONE! Woohoo! In this post we’ll put the finishing touches on the Romy wrap.