Romy Wrap Sewalong, Part 1: Prep facings and bodice pleats
It’s the first post of the Romy Sewalong, and we’re gonna jump right in! The first step after getting all of your pieces cut is to prep the bodice and facings.
Stay stitch the front and back bodice
Stay stitch the armscyes, neckline, and wrap edges of the bodices at 1/2” (~1 cm), just inside the seam allowance. Use a shorter stitch length, approximately 2mm to 3mm length depending on your fabric (use a shorter stitch length for lighter weight fabrics). This will prevent these edges from stretching during construction.

Prep the facings
Now, if you are used to block fusing your facings, STOP RIGHT THERE! We’re going to create a nice n’ clean facing edge with an alternate method…
Start by aligning the bodice facing with the bodice facing interfacing right sides together (if using a fusible interfacing, the side with adhesive will be the wrong side). Sew along the long outer curved edge with at 1/4” (6 mm) seam allowance. Optional: trim the seam allowance to 1/8” (3 mm).
Finger press (no iron heat yet) the interfacing away from the facing to press the seam open. Then press the interfacing to the facing, wrong sides together, to fuse the interfacing in place and conceal the seam allowance between the two pieces. Set the facings aside for now.


Baste the bodice pleats
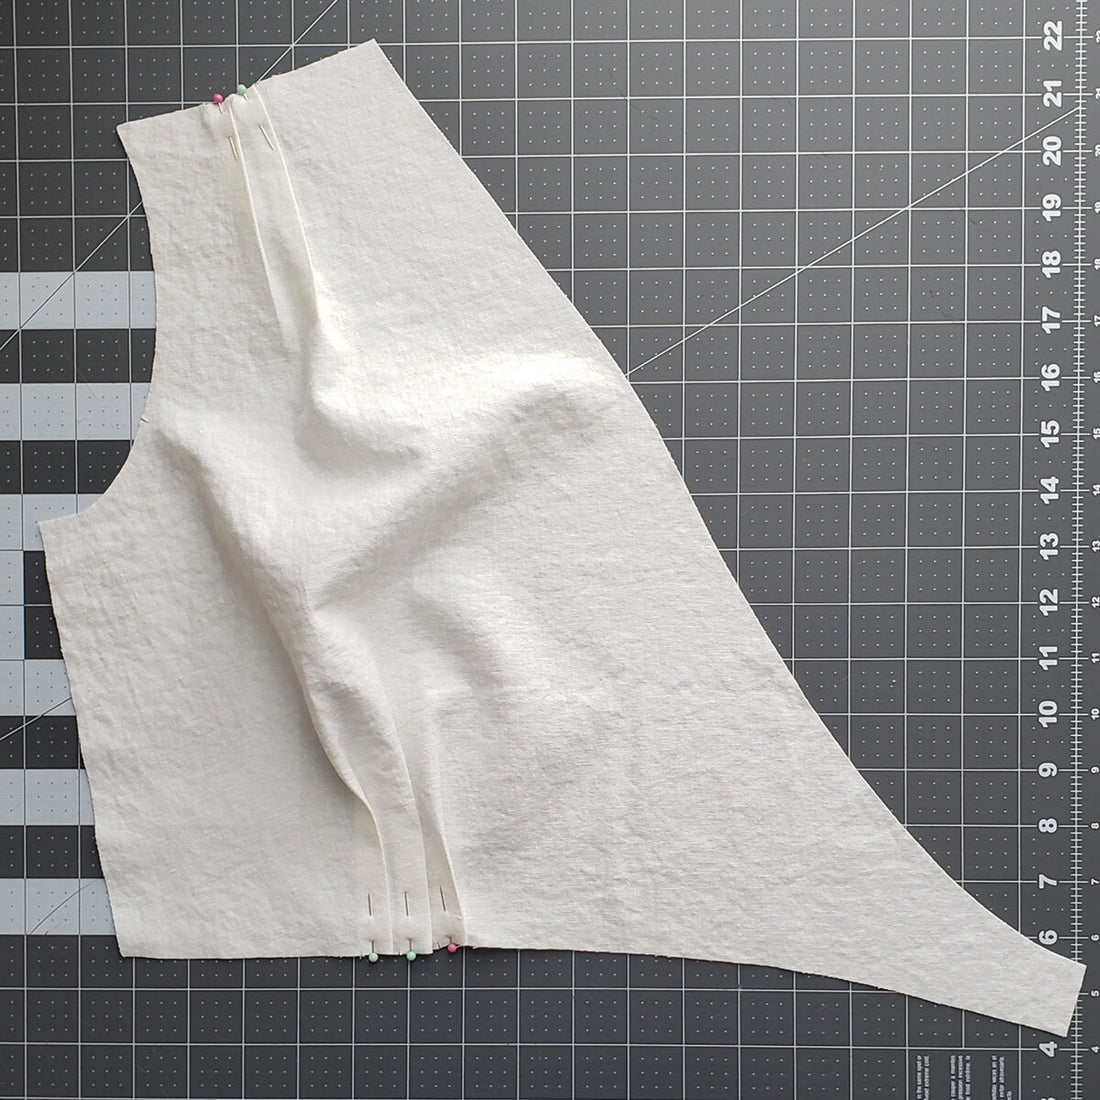
There are pleats located at the waistline and shoulders on both the front and back bodices. To make the pleats, pinch the fabric together at the notches at each location and press the pleat folds toward the shoulders and side seams/away from the center. I like to pin the pleats in place and press the folds with an iron to keep them in place.

Pinned pleats from interior…from the exterior, the pleats will be pointing toward the side seam and outer shoulder
Baste the pleats in place just inside the seam allowance, at about 1/2” (~1 cm). Do this for all of the pleats on the front and back bodices.

basted front bodice pleats from exterior

basted back bodice pleats from interior
