Cozi Jacket Sewalong, Part 4: Install the zipper and attach the hood (VERSION B ONLY)
Click here to purchase the Cozi Jacket sewing pattern
Prepare the hood
Lay the Hood pieces right sides together and sew along the outer curved edge with a 5/8" (1.5 cm) seam allowance. Finish the seam allowance with your preferred method. Optional: Press the hood seam allowance to one side and topstitch down 1/8" (2 to 3 mm) from the edge.
NOTE: the hood shaped has changed since I photographed the sewalong, but the steps are still the same.

Apply a small patch of interfacing at the grommet/buttonhole location marked on the hood near the front notch on both sides.

Install grommets on either side of the hood (this is where the drawstring will be inserted). You can also install buttonholes if you do not have grommets, which is what I did for this sample.
NOTE: This step can also be completed after attaching the hood to the bodice to make sure the grommets/buttonholes are in the best location per your preference.
I created a 1/2" (~1 cm) buttonhole on my sewing machine and opened it with my buttonhole chisel.


Attach the zipper to the bodice
Optional, if sewing with knit fabric: apply a 1/2" (~1 cm) strip of fusible interfacing to the wrong side of fabric along the edges of the Front Bodice to stabilize those areas before installing the zipper.

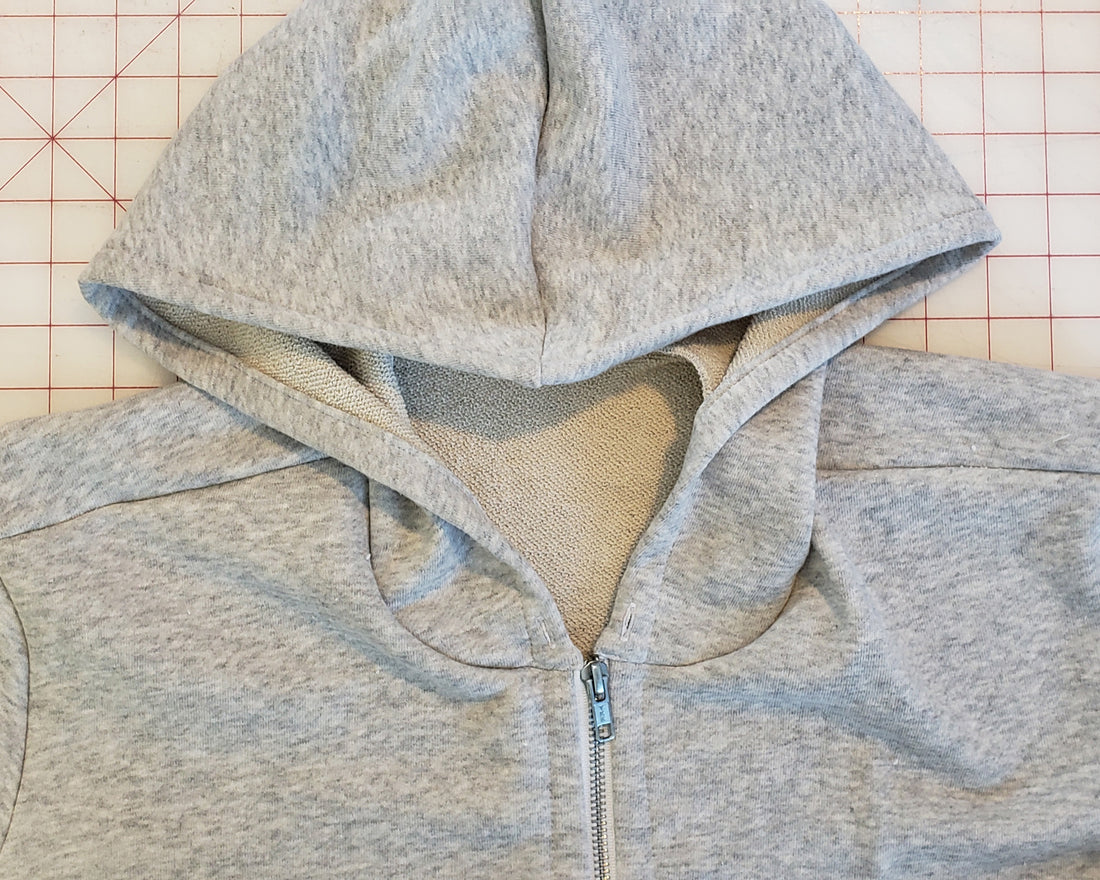
Lay the zipper face down along the exterior of the front bodice, with the zipper tape aligned with the bodice edge. Align the bottom of the zipper with the notch near the bottom of the front bodice. The top of your zipper should meet with the neckline edge. If it is too long you will need to trim the top of your zipper to fit (do not trim from the bottom). Make sure to trim the tape to align with the neckline edge, so that the tape will be secured in the seam allowance when you attach the hood.) If using a metal zipper, it is recommended to to use pliers to remove zipper teeth that are in the seam allowance. Click here for a tutorial for steps to trim a zipper.
For full zipper install instructions, see Part 3 of this sewalong, keeping in mind that there is no collar for Version B and the zipper will be installed to meet the neckline as shown below.

Attach the hood to the bodice
Open the bodice neckline so that it is laying flat, with right side of fabric facing up. Align the neckline edge of the hood face down (right sides together) along the bodice neckline (the notches on the hood will match up with the shoulder seam and the front bodice edge) and sew with a 5/8" (1.5 cm) seam allowance.


Serging to finish the seam allowance is recommended for knits and wovens.

You can also trim the seam down to about 3/8" (1 cm) and conceal the raw edges with bias tape. Press the hood away from the bodice and the seam allowance toward the hood.
Here's how Loni (@havinsewmuchfun) finished her hood with decorative bias tape:

The front edge of the hood will extend beyond the bodice and zipper edge by 1" (2.5 cm).
Fold the perimeter of the hood opening by 1/4" (6 mm), and again by ~3/4" (2 cm) to create a hem and casing for a drawstring (if sewing with a bulky fabric, you can also serge the edge of the hood opening and turn once by 1" (2.5 cm) instead of turning twice here).


For this sample, I found it easier to pin the casing around the entire perimeter of the hood opening, instead of pressing, to keep it in place.

Topstitch the casing closed around the hood perimeter at 3/4" (2 cm).

The casing will also conceal the top of the zipper and you can topstitch down here as well.

Topstitch the hood/neckline seam allowance down toward the hood.

Insert hood drawstring
If you omitted the grommet/buttonhole installation on the hood, cut a small slit into the exterior side of the hood hem casing on either side of the hood near the zipper. Use a safety pin attached to a drawstring to pull the drawstring through one slit/grommet, around the hood, and out the other side. Knot the ends of the drawstring to prevent them from being pulled back through the casing.