Nellie Joggers + Shorts Sewalong, Part 2: Installing a Zipper Fly
Combine the front legs
Align the Front Legs right sides together. Baste the fly extension portion, starting at the waistband notch and stopping at the point where the fly extension meets the crotch curve (a reference dot marks this location on the pattern). When you reach the crotch curve (the red dot I'm pointing to in the photo), adjust your stitch length to a regular seam straight stitch. Backstitch to lock the seam and continue sewing along the crotch curve with a 5/8" (1.5 cm) seam allowance.

Clip into the seam allowance at the point where the crotch curve meets the fly extension (be careful not to clip the stitching).

Serge curve seam allowance should be trimmed to about 3/8" (1 cm).

Serge or zigzag stitch the edge of the left (when worn) fly extension (It will be on the left when viewing the fly from the wrong side, see illustration below). Do not trim the fly extension, only finish the raw edge (I forgot to do this on the sample I made for this sewalong, but here is a photo of another pair that shows it).


Press the fly extension and front legs open and press the crotch curve seam allowance to the left (when worn).

Flip the front leg assembly over so it's right side up and topstitch the crotch curve seam allowance to the leg to secure it in place and strengthen the crotch curve seam (the toptstitching will be on the right side when the garment is right side up). Only stitch from the bottom of the fly to the end of the crotch seam. Backstitch to secure the stitch on both ends.


Install the zipper
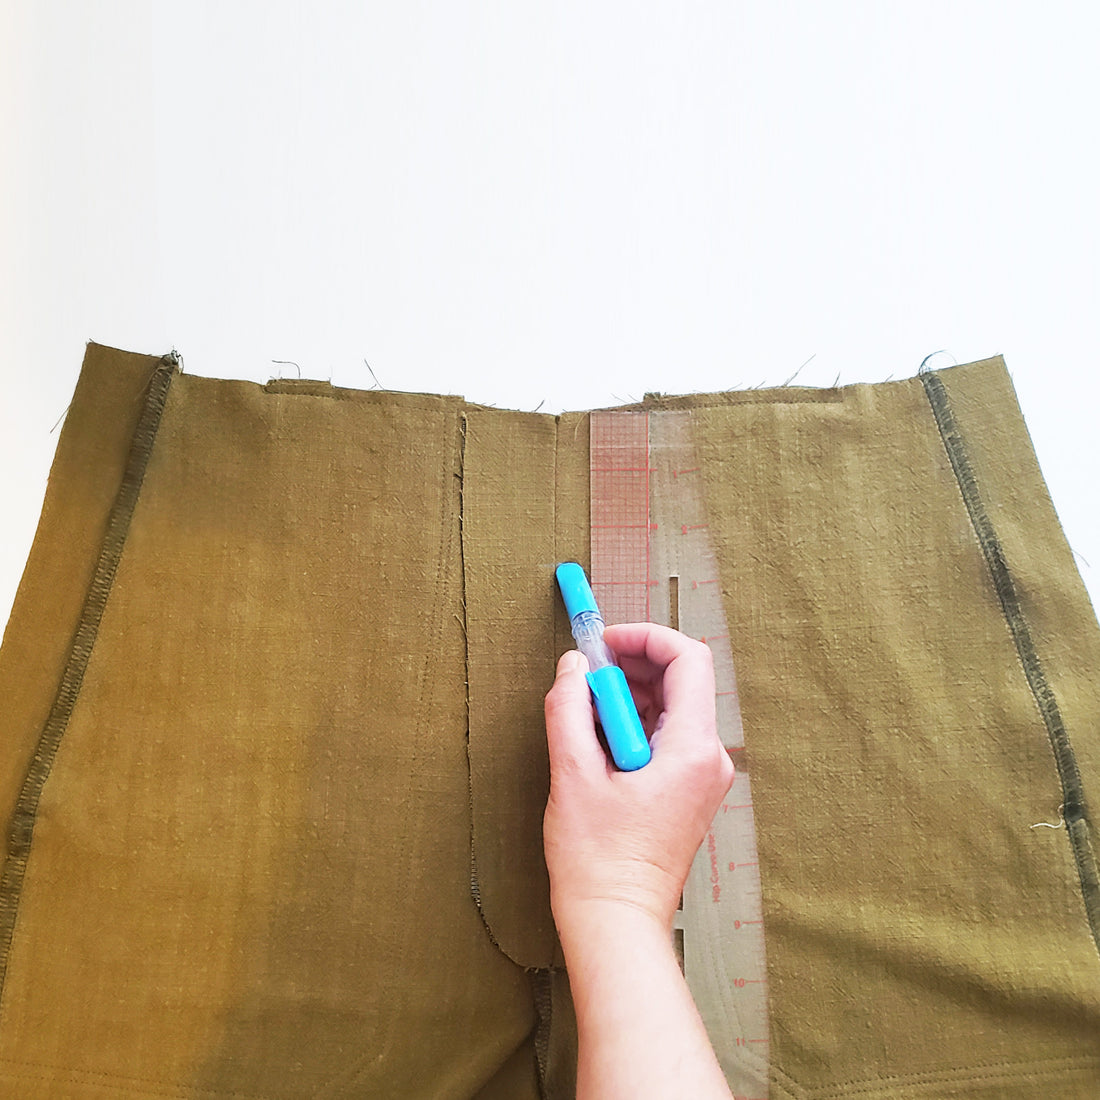
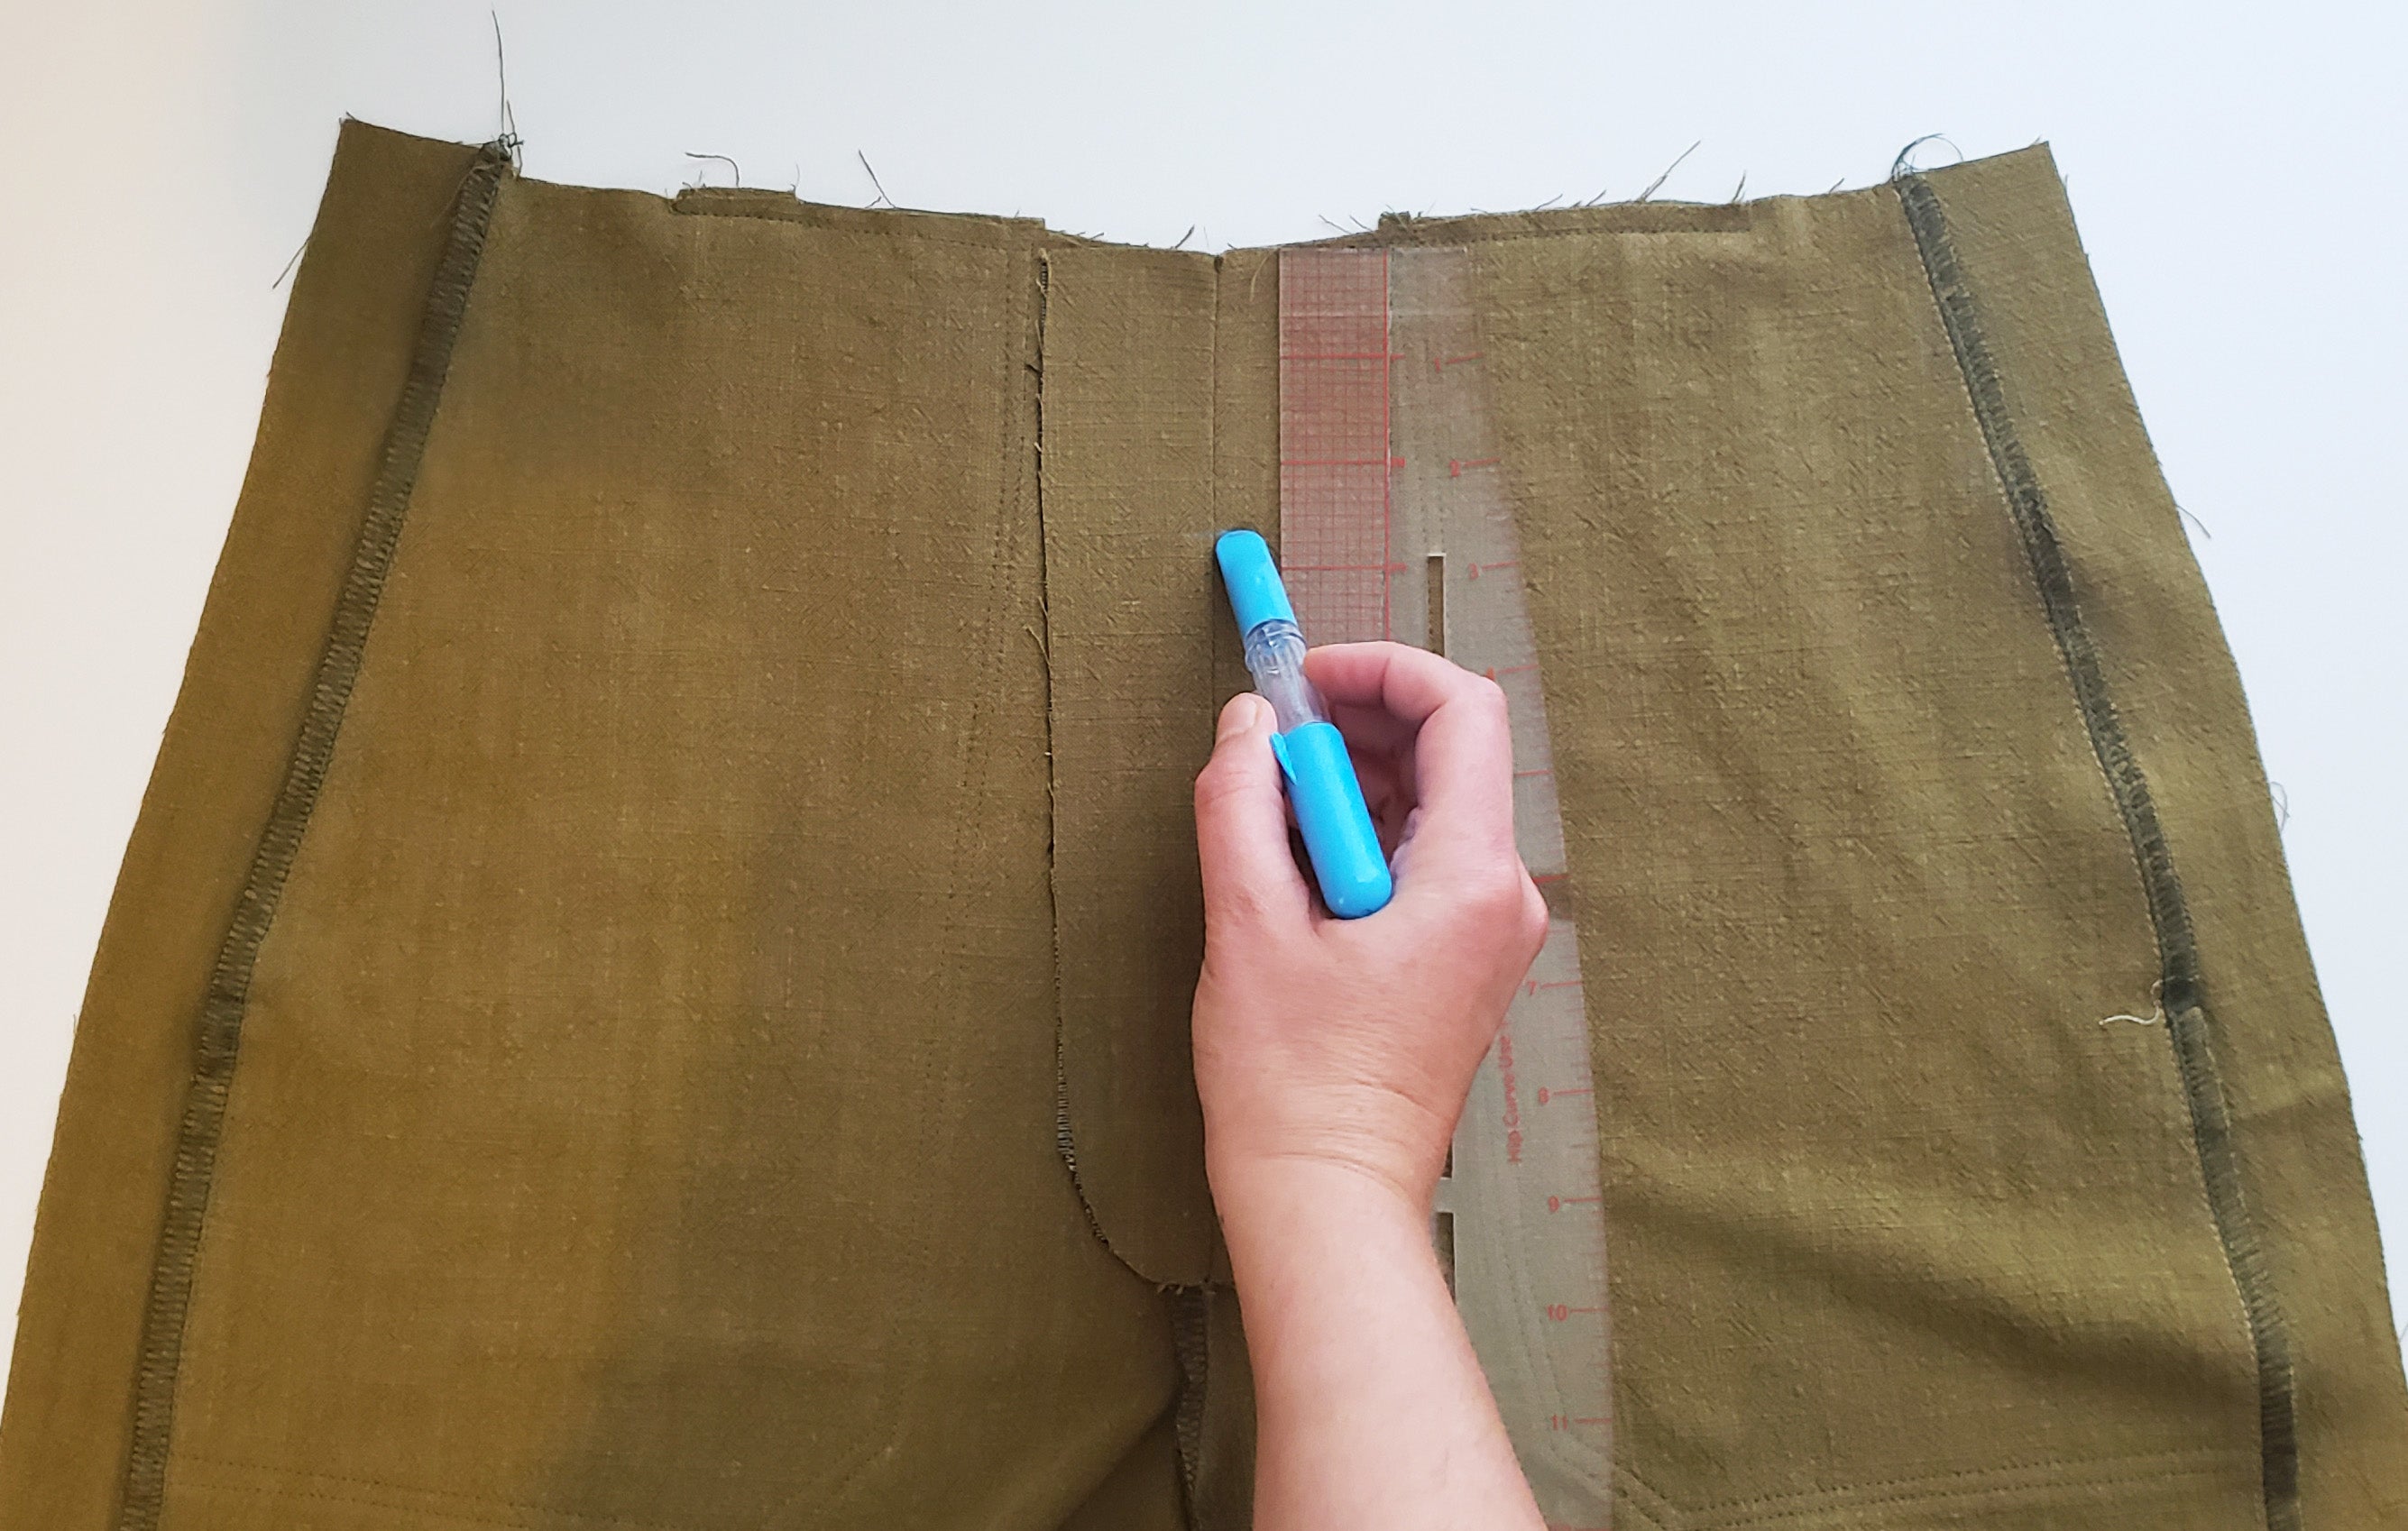
Now flip the leg assembly back over so it's wrong side up with the fly extension still pressed open. Find the notches near the top of each fly extension (2 ⅞" down from the waist) and use a fabric pen or chalk pen to draw a horizontal line accross the fly to connect the notches. This will be where you stop your stitching for the zipper installation.
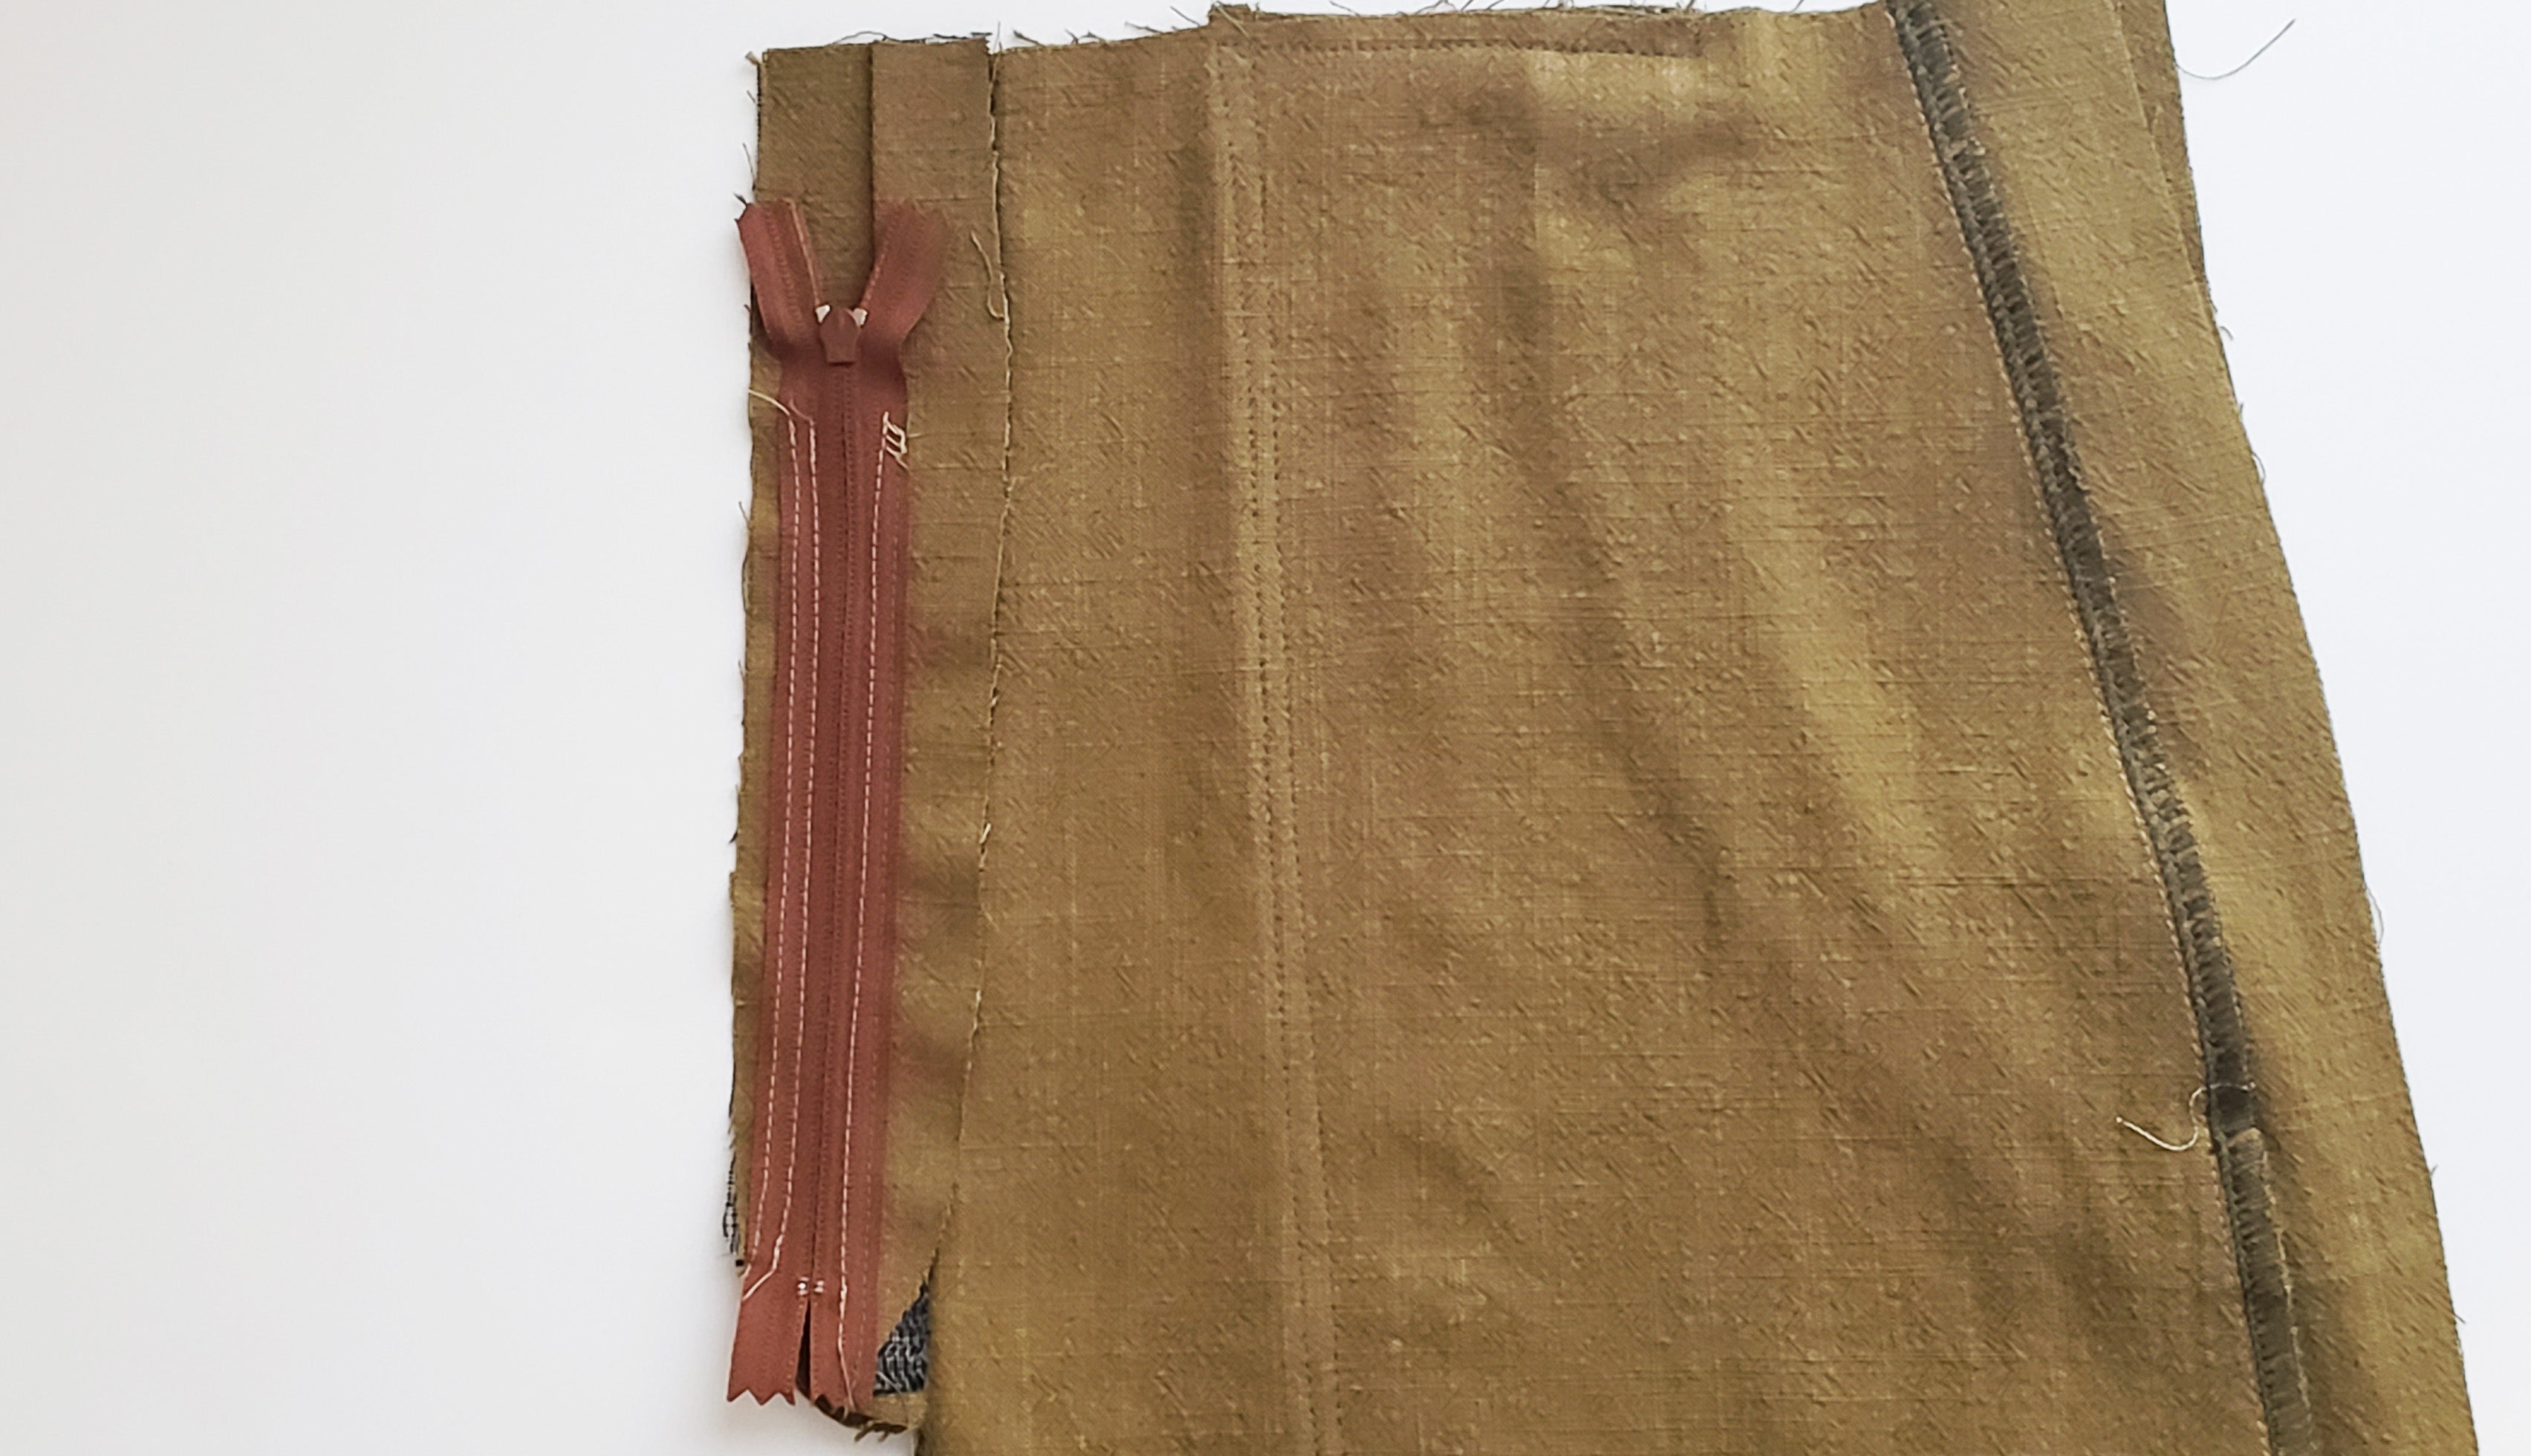
Lay the zipper face down on top of the right fly extension (facing you) with the zipper tape edge aligned with the basted fly seam. Align the end of the zipper tape with the end of the fly extension so that the bottom end of the zipper is about 1/2" to 1" (1 to 2.5 cm) from the bottom of the fly extension. Pin the zipper to the fly extension only (and not to the leg). If your zipper extends beyond the line you drew in the last step at the top of the fly, that is ok, it will be trimmed later.

Flip the leg out of the way.

Using a zipper foot, sew the zipper to the fly extension only, starting at the line you marked on the fly and stopping at the bottom end of the zipper/fly extension (my line is barely visible in these photos so I Photoshopped it in below). Your stitching should be about 1/8" (3 mm) from the zipper teeth.

Flip the zipper over so that the fly extension folds in half and the right side of the zipper is exposed. Press the fold along the front of the zipper, careful not to melt the zipper if using a nylon zipper. Topstitch the fold about 1/16" (1 to 2 mm) from the edge, starting with a backstitch at the same line marked at the top of the fly and stopping at the bottom of the zipper and fly.

Now flip the zipper and fly over to be face down on top of the opposite fly extension. The edge of the zipper tape may or may not align with the edge of the opposite fly, depending on your zipper.

Make sure everything is laying flat and pin the zipper to the fly only (again, you don't want to pin it to the leg). Once you have it pinned in place, you can flip the leg out of the way.
Use a zipper foot to sew the fly to the other fly extension, this time with two rows of stitching, approximately 1/8" to 1/4" (3 to 6 mm) apart. It is easier to sew this side starting at the bottom of the fly. Stop the stitching at the line marked at the top of the fly and backstitch to secure.
If your zipper is longer than where you stopped sewing it to the fly, make sure the loose end is folded out of the way for the next step (it will be trimmed later and you don't want to sew the extra length to the fly).
From the wrong side, topstitch the left fly extension to the left leg (when worn), following the edge and curve of the fly extension. For this stitch you will continue all the way to the waist/top of the leg.


NOTE: if your sewing machine does not create a nice stitch on the bobbin side, you can baste this stitch first, and then topstitch from the exterior side using the basting as your guide (then remove the basting stitch).
Install the fly shield
Fold the Fly Shield in half, right sides together, and sew the curved end with a 1/4" (6 mm) seam allowance.

Flip the Fly Shield right side out with the raw edges aligned and press to conceal the seam allowance.

Align the raw edge of the Fly Shield with the raw edge of the right fly (facing you from the wrong side of the leg assembly). The top straight edge will be aligned with the waist of the right leg and the bottom curved edge of the fly should extend slightly beyond the end of the zipper and fly assembly.
Make sure the leg is tucked out of the way and sew the Fly Shield to the right fly only with a 1/4" (6mm) seam allowance. Finish the raw edges of the seam allowance by serging or zigzag stitching.


If serging, leave a long thread tail at the bottom of the Fly Shield and use a darning needle to tuck the tail into the serged seam allowance (this will prevent the seam from unraveling and conceal the thread tail).
Flip the front leg assembly over and stitch two bar tacks to secure the fly shield to the left front leg (when worn) at the point where the fly curves and at the point where the fly meets the center front seam as shown below:

Here's how the finished fly shield with bar tacks should look from the interior side:
