Nellie Joggers + Shorts Sewalong, Part 4: Install elastic at back waist
Add elastic to back waist
Cut a length of 2" (5 cm) wide elastic as specified in the elastic requirements chart for your size on page 2. Fold the elastic in half and mark the center.

Insert each end into the side seam under the Back Waistband Facing, with the ends extending about 3/8" (1 cm) into the back seam of the Side Panels on either side. Pin the elastic to the side seam.
"Stitch in the ditch" of the side seam to secure the elastic at each end. (Now is a good time to try on the pants to check that the elastic is a comfortable length.)

Next align the center of the elastic to the center back leg seam.

Fold the waistband facing over the elastic to sandwich it between the waist and waistband facing. Stitch in the ditch again, this time along the center back leg seam, to secure the center of the elastic and waistband facing to the waist.


Finish the back waistband facing
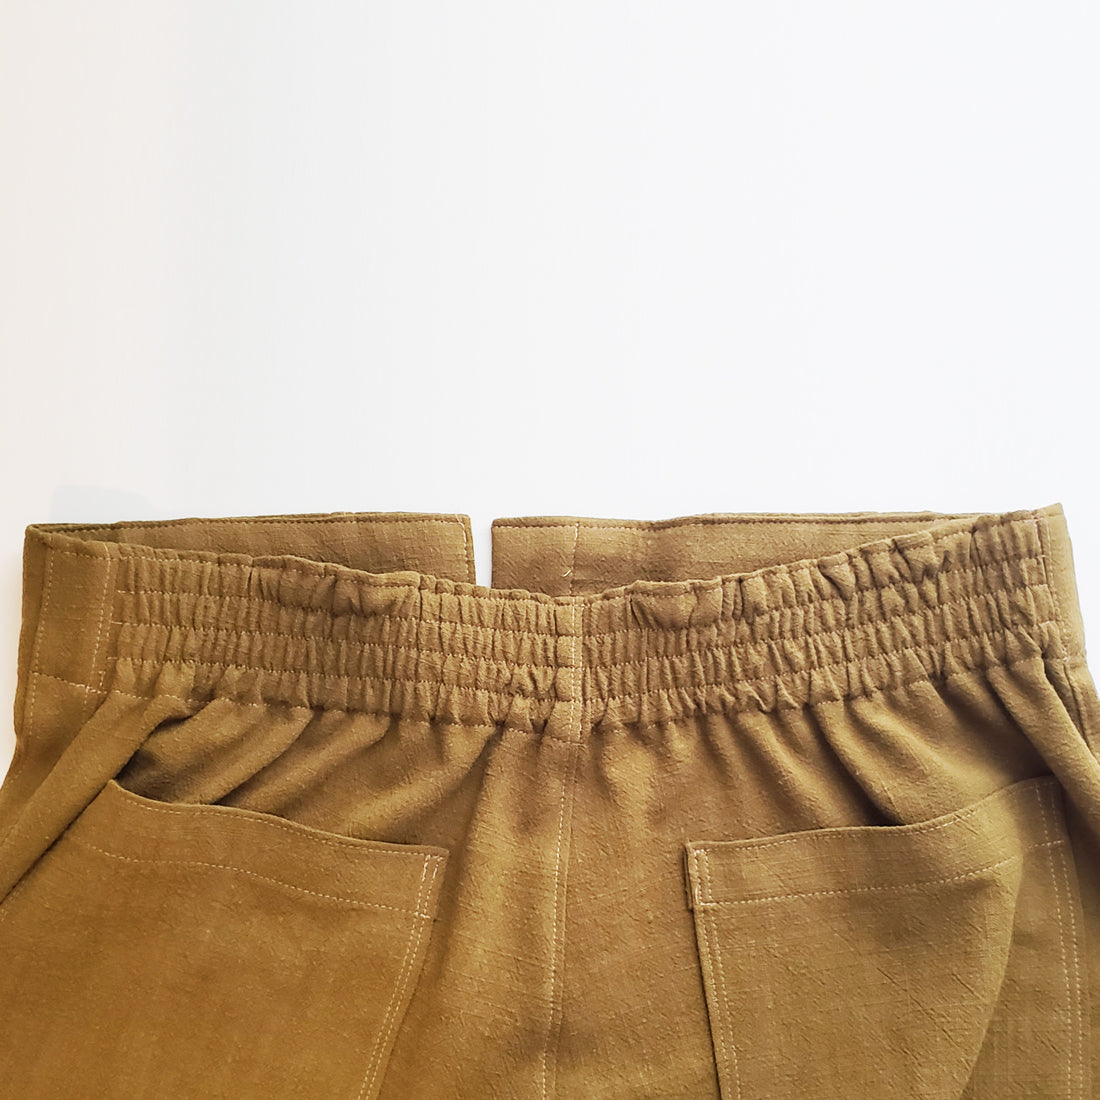
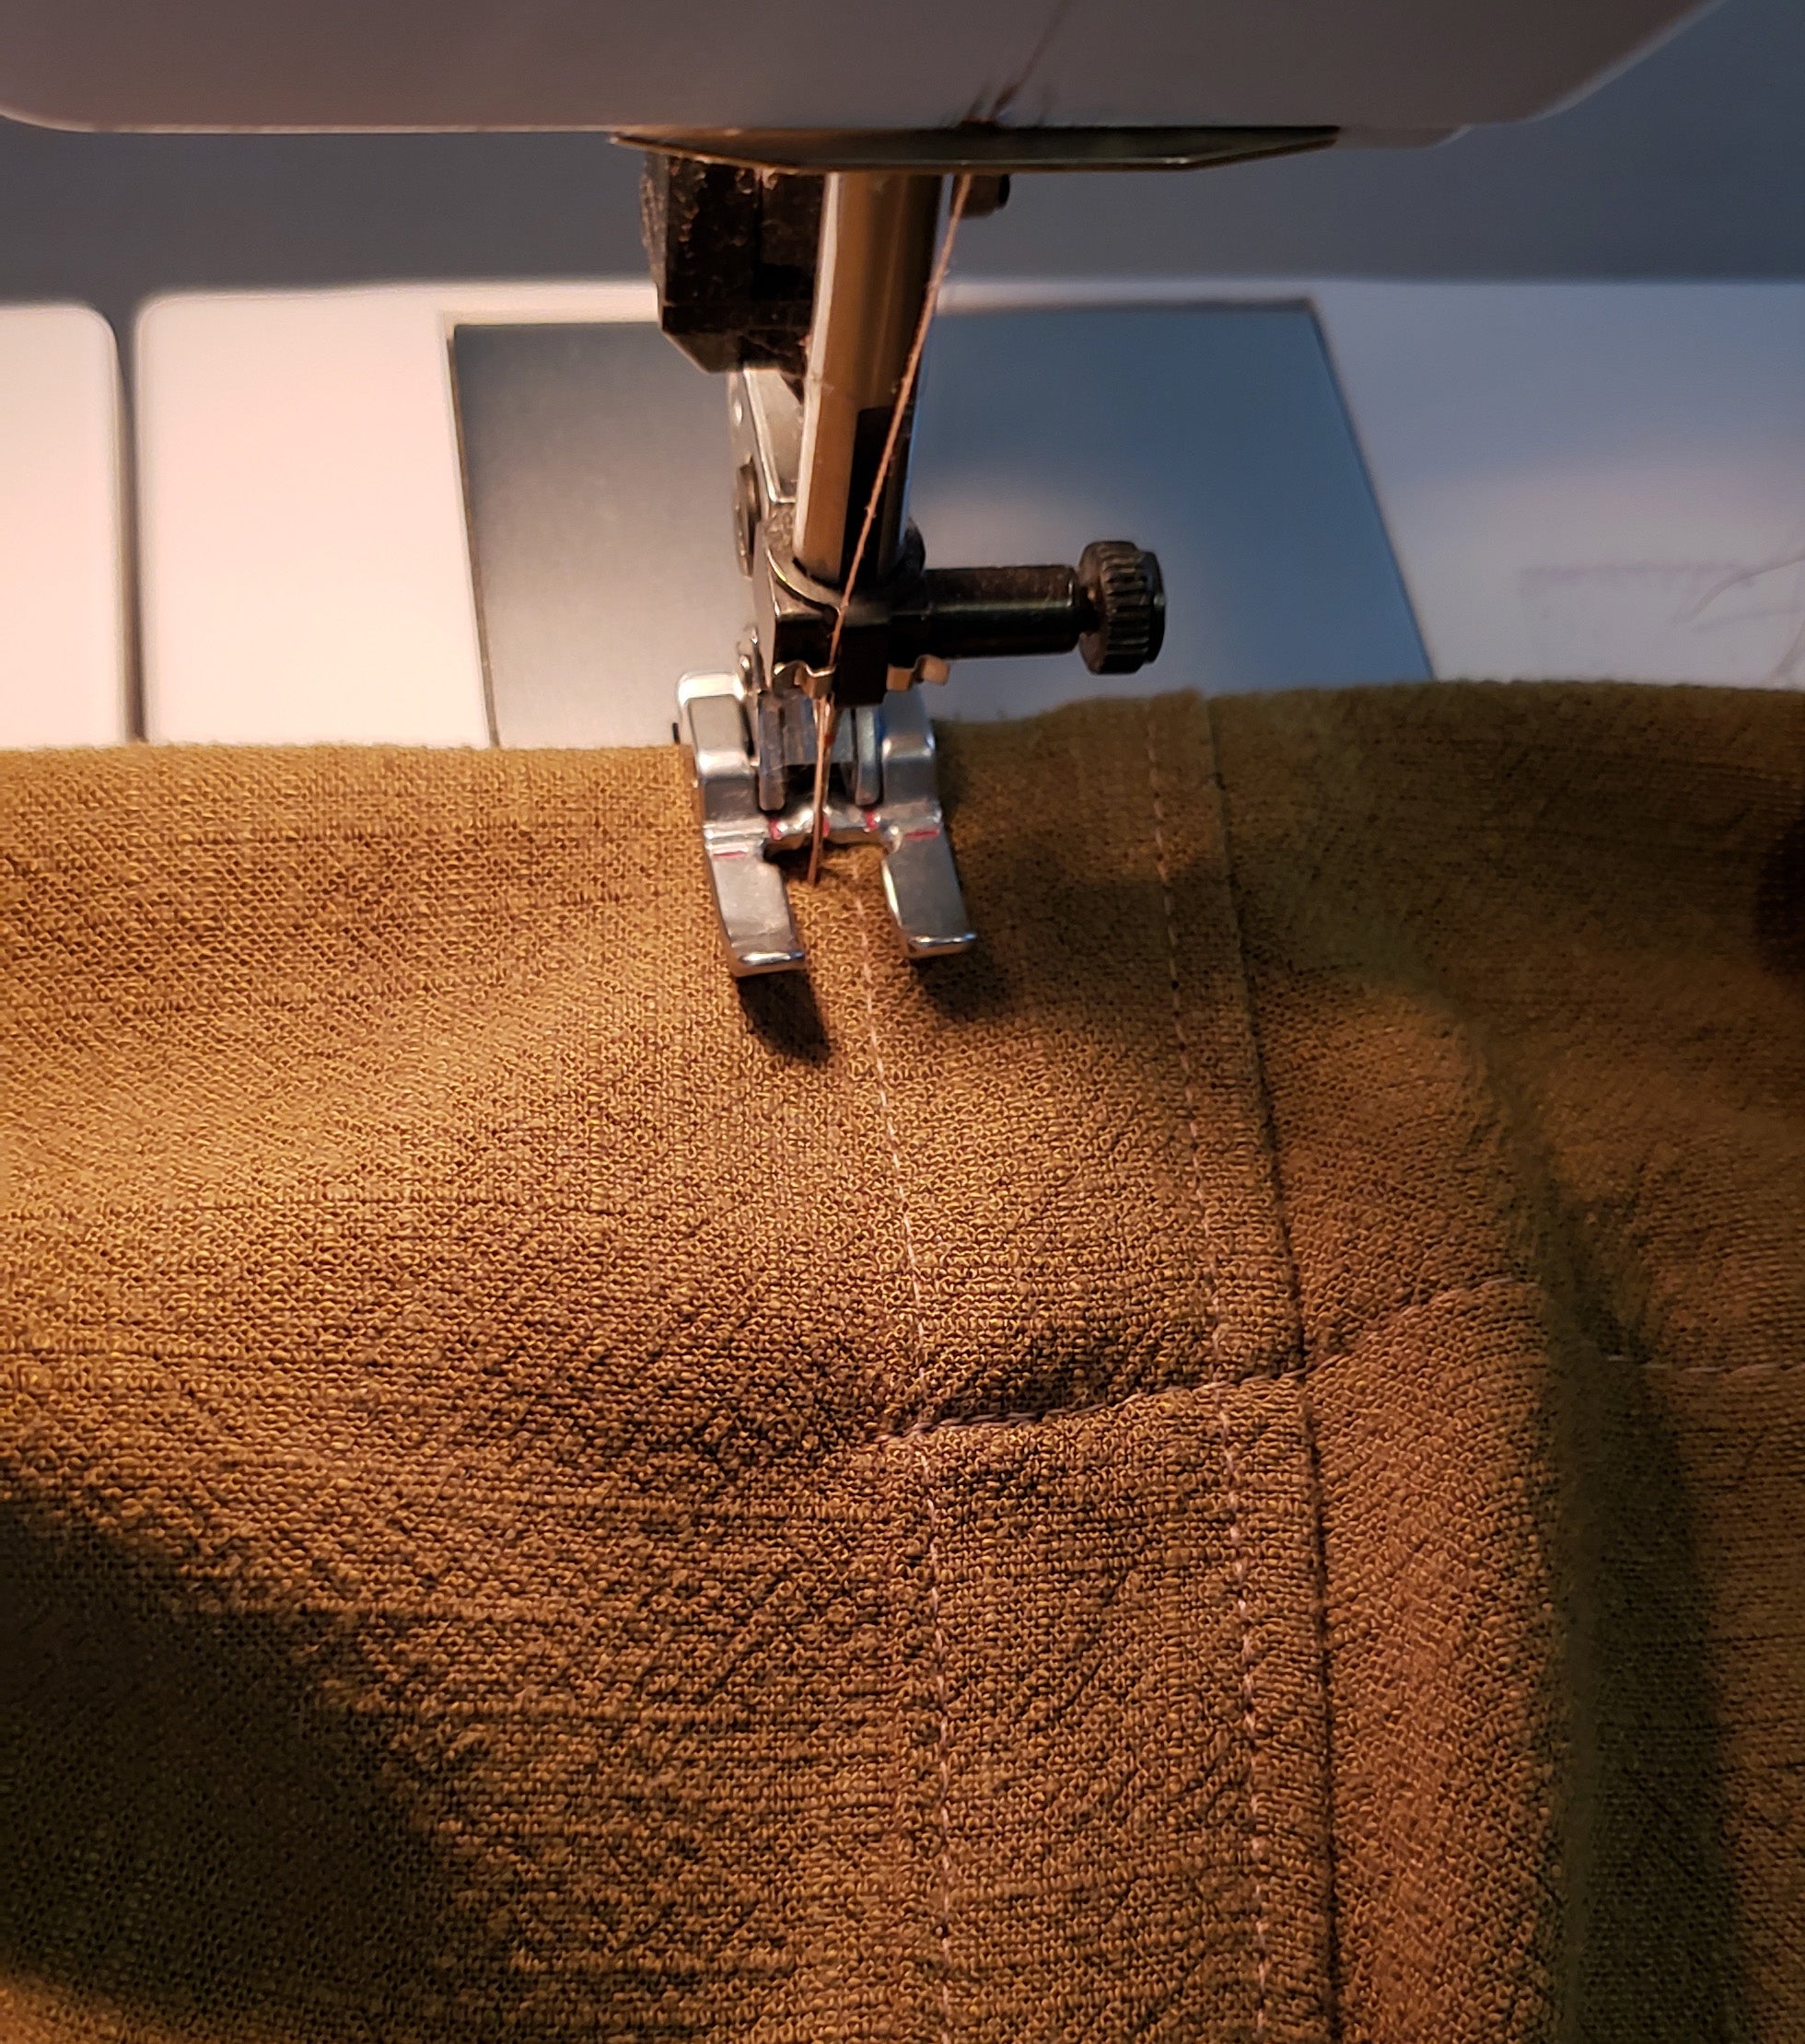
Starting from one side seam and working all the way across, topstitch the bottom of the Back Waistband Facing to the back legs along the waist at 2¼" (5.7 cm) from the top of the waistband to encase the elastic in the waistband. Stretch the waist as you sew to fully extend the elastic and prevent gathers in the facing.
NOTE: It is easier to do this step from the interior of the garment, but if you prefer to do this step from the exterior for a more consistent topstitch finish, it is recommended to pin the waistband facing in place from the exterior first (this method requires a bit more patience and skill to keep the waistband straight).


Optional: Once the facing is closed, sew another row of topstitching along the center of the waistband to further secure the elastic. Then sew two additional rows of topstitching above and below the center row to finish the waistband. You can also wait to complete this topstitching until after you have worn the pants for a bit to make sure the waistband elastic is a comfortable length in case it needs to be replaced (this will save you a lot of seam ripping time!).
Topstitch the top of the entire waistband
Starting at the fly on one side and continuing all the way around the waist to the opposite fly, topstitch the top of the waistband to finish the waist.

