Nellie Joggers + Shorts Sewalong, Part 1: Apply Interfacing and Prepare the Pockets
We'll start the Nellie Joggers construction by preparing some of the smaller pattern pieces. Doing these first, instead of as we get to them, will save us some time and keep us trucking along once we get into the flow of making the pants.
Interface the Front Waist Band Facings and the Pocket Facings
When interfacing fabrics without prints or with the same finish on right and wrong sides, like Linen, it helps to lay out the pieces as shown below and apply the interfacing to the side facing up (the right front facing, when worn, will be longer than the left front facing, but will be interfaced while turned over so it is shown on the left below).

Fold the bottom edge of both Front Waist Band Facings and the Back Waist Band Facing toward the wrong side by 5/8" (1.5 cm) and press (not shown).
Press the outer curved edge of each pocket facing up by 3/8" to the wrong/interfaced side.

Interface the fly portion of both Front Leg pieces.

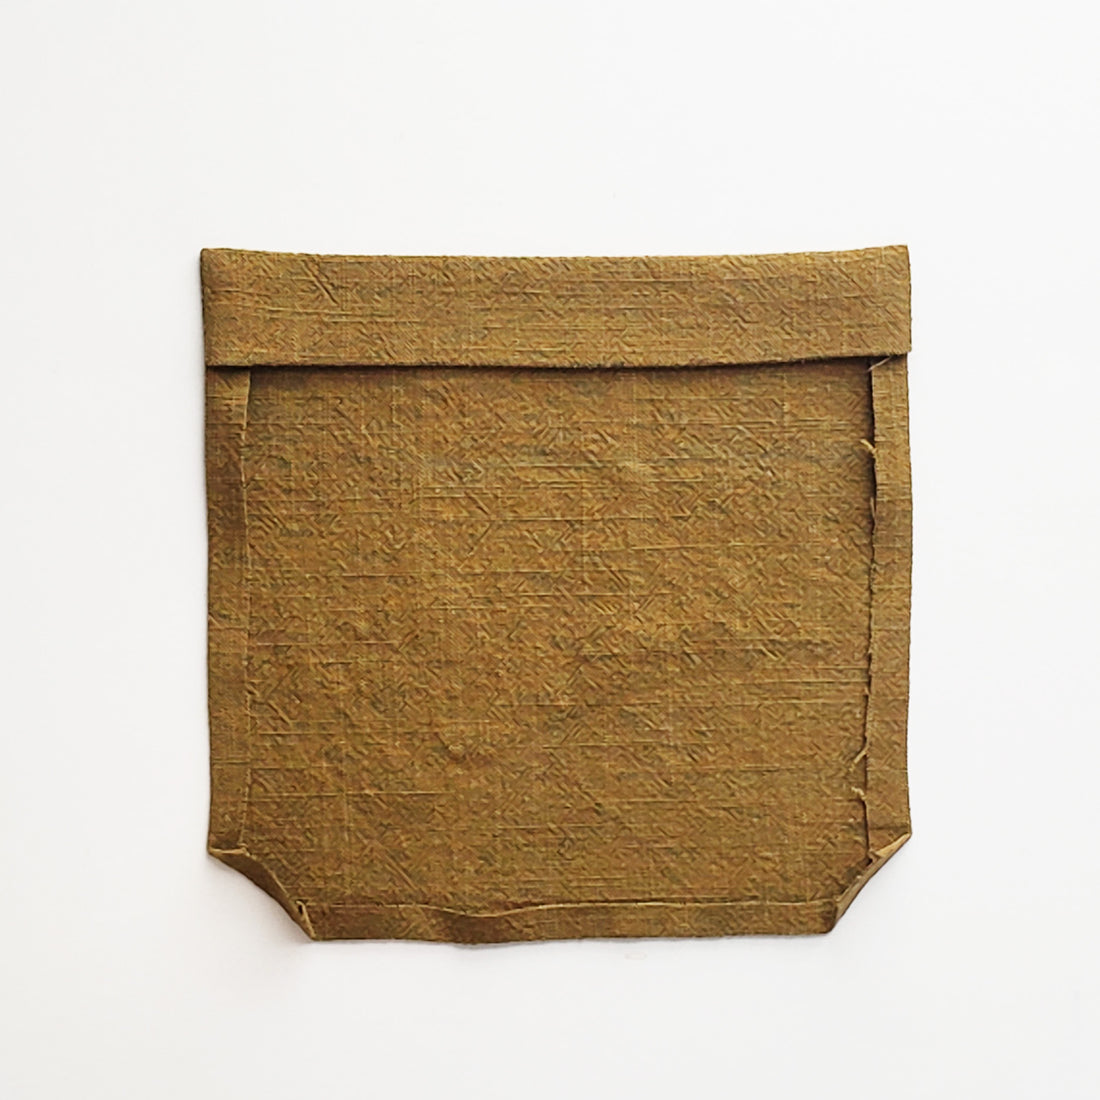
Prepare the front pockets
Right sides together, align the Pocket Facing with the curved edge of the Front Pocket opening. Sew the curved edge with a 3/8" (6mm) seam allowance 1.

Clip into the seam allowance along the curved edge (careful not to clip the stitching).
Press the Pocket Facing away from the pocket and understitch the seam allowance to the facing 2.

Turn the facing to the wrong side of the pocket and press along the pocket opening. Topstitch the facing to the pocket 1" (2.5 cm) from the pocket opening. Then edgestitch the pocket opening.
Repeat for the opposite pocket and facing.


Fold and press the outer three edges of each pocket to the wrong side by 1/4" (6 mm). The top and side of the pockets will be concealed in the waistband and side seam and do not need to be folded. Repeat for the opposite pocket.

Prepare the back pockets
Fold the top edge of the Back Pocket to the wrong side by 1/2" (1.3 cm) using the top notches on either side as a guide and press.
Next turn the folded top edge in the opposite direction (right sides together) by 1" (2.5 cm) using the second notches as a guide and pin in place. Sew the edges on either side with a 1/4" (6 cm) seam allowance to secure in place.
Then clip the corners of the seam allowance at the top fold


Turn the top of the pocket right side out. The sides of the pocket will turn inward by 1/4" (6 mm). Press the remaining raw edges of the pocket toward the wrong side by 1/4" (6 mm). Topstitch the top fold along each folded edge.
Repeat for the other pocket.


Attach the front pockets to the front legs
Place the Front Pocket face up on the Front Leg (also face up), lining the top and side of the pocket opening with the notches at the waist and side seam of the leg. Topstitch the pocket to the leg along the three folded edges with two rows of topstitching at 1/16" (1 to 2 mm) and 1/4" (6 mm) from the edge.

Baste the top and side of the pocket to the waist and side seam at about 1/4" (6 mm) from the raw edges. This will be hidden in the seam allowance later and hold the pocket in place. Repeat on the opposite pocket and Front Leg.


Attach the side panels to the front legs
Lay the Front Leg face up, then lay the Side Panel face down on top of the leg, right sides together, aligning the edge of the panel with the outer edge of the leg. The side panel will have to be eased in along the curved leg edge and at the slightly angled hem at the bottom of the leg pieces. Sew the panel to the leg with a 5/8" (1.5 cm) seam allowance, easing in the seam between notches.


Finish the seam allowance with your prefered method (serging is recommended), then press the seam allowance toward the Side Panel and topstitch to secure it to the side panel.


Repeat for the opposite leg and side panel.

Note: Do not attach the back legs to the front legs/side panels yet. The front and back of the pants will be joined in a later step.
Attach the back pockets to the back legs
Note: this step can be saved for later when you are able to try on the pants and place the pockets in a custom location. You can also baste the pockets in place for this step to make removing them easier if they need to be repositioned later.
Place the Back Pocket right side up on the Back Leg (also right side up) at the dots indicated for your size on the pattern piece of the leg.

Topstitch the pocket to the leg with two rows of topstitching at 1/16" (1 to 2 mm) and 1/4" (6 mm) along the pressed edges, leaving the top of the pocket unstitched.
Repeat for the opposite back pocket and leg.
