Pattern Hack: Romy (Faux) Wrap Top with Elastic Waist
Today’s Romy Wrap Top + Dress pattern hack tutorial has been on my todo list since the pattern launched back in May. One of the testers for this pattern (Kristine @kristinesews) made a faux wrap Romy using this technique and I knew I needed one for myself (see mine at the end of this tutorial)!


This hack is super simple. We’ll be modifying the front skirt pattern piece (I also used gathers in place of all the pleats), and adding either elastic or shirring to the waist of the finished blouse or dress.
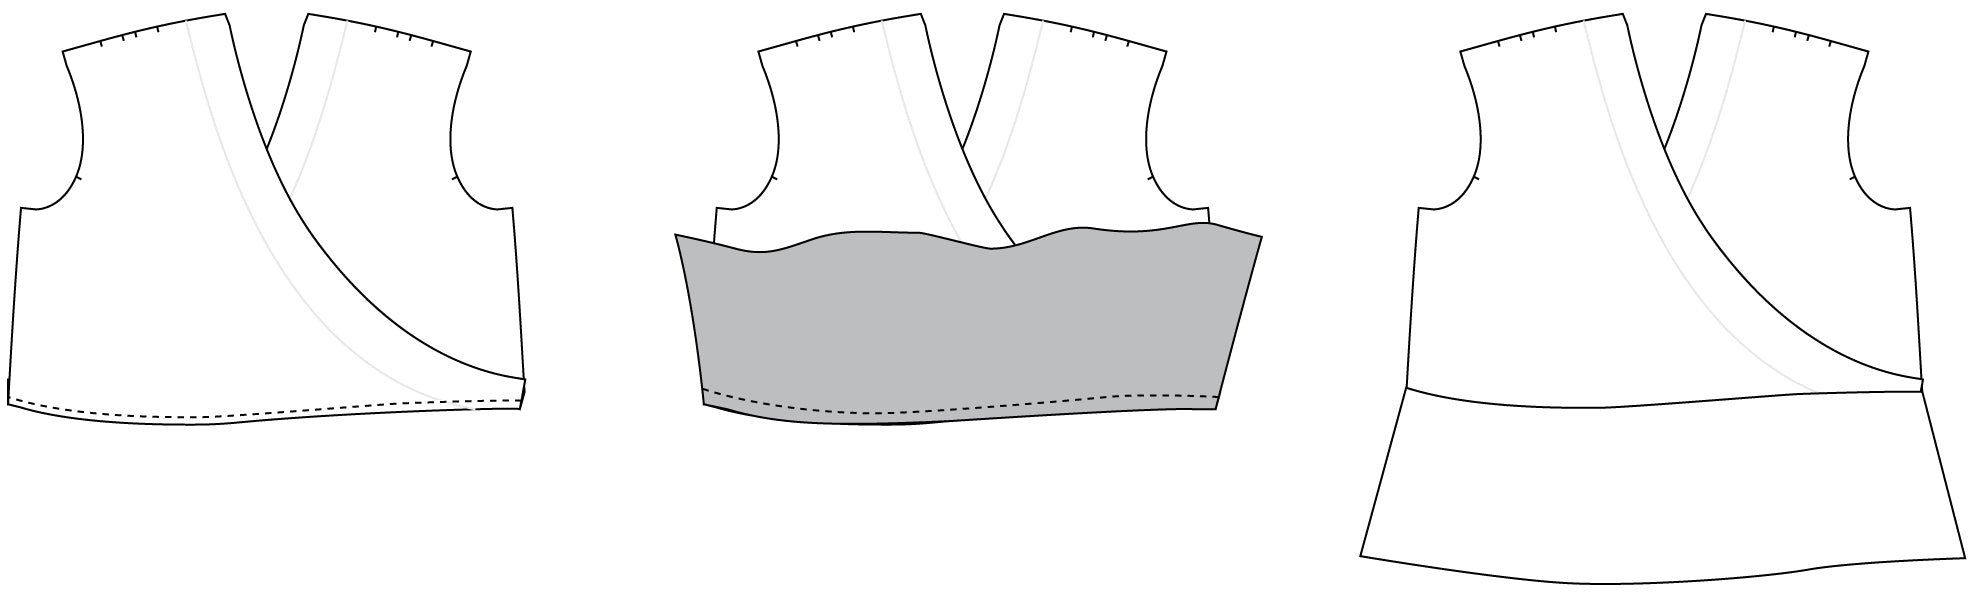
STEP 1: Modify the Peplum or Skirt pattern pieces
Fold the front peplum or skirt pattern piece in half to find the center, matching the top corners at the waistline. Cut along the center fold and discard the curved side of the Peplum/Skirt. If making the dress version, you’ll also want to true the bottom center of the skirt perpendicular to the center line.

Measure the bottom edge of the Front Bodice and divide by 2. Next measure the top edge of the peplum/skirt. Now compare the bodice measurement with the peplum/skirt measurement, and extend the center/fold line of the peplum skirt so that it is the same length as the bodice. You’ll also need to extend the Back Peplum/Skirt pattern piece to match the length of the Back Bodice pattern piece

STEP 2: Cut your pattern out of fabric
Now you have a pattern piece that will be cut on the fold to create a symmetrical front skirt or peplum. Cut all of your pattern pieces out of your fabric as usual, except only cut ONE of the front peplum or skirt (on the fold).
STEP 3: Finish front bodice wrap neckline
For my faux wrap I used bias binding to finish the neckline. The pattern includes a facing if you’d prefer to finish it that way instead. Either way, you will finish this edge before attaching the skirt to the bodice. Then trim the facing at the bodice bottom edge to be flush there. Do this for both front bodice pieces.

STEP 4: Baste the two font bodice pieces together
Lay the bodice pieces right side up, one on top of the other. I typically place right bodice over left (when worn), but you can do it left over right if you prefer. Align the bottom/waist edge of the bodices and baste them together with a 1/2” (1.3 cm) seam allowance.
STEP 5: Attach the front peplum or skirt to the front bodice
Right sides together, align the top edge of the peplum or skirt with the basted edge of the bodice. Sew the skirt to the bodice with a 5/8” (1.5 cm) seam allowance.
STEP 6: Finish garment construction as specified in the pattern instructions
Follow the pattern instructions to complete the back bodice (except do not install the back waist pleats—the back bodice will be gathered later), yoke, and sleeves. You can also go ahead and hem the blouse. For this project, I omitted the sleeve plackets, and created short sleeves with a shirred hem for a cute gathered sleeve.

STEP 7: Install waist elastic
For this project I used 1/4” cotton elastic that I had on hand. Cut a piece of elastic that is the same length as your waist measurement, plus 1/2” (1.3 cm) extra to sew the ends of the elastic together to form a loop. Pin the elastic evenly to the waist of the blouse or dress, just below the waist seam. Sew the elastic to the waist of the garment with a zig zag stitch, stretching the elastic to the length of the waist as you sew.


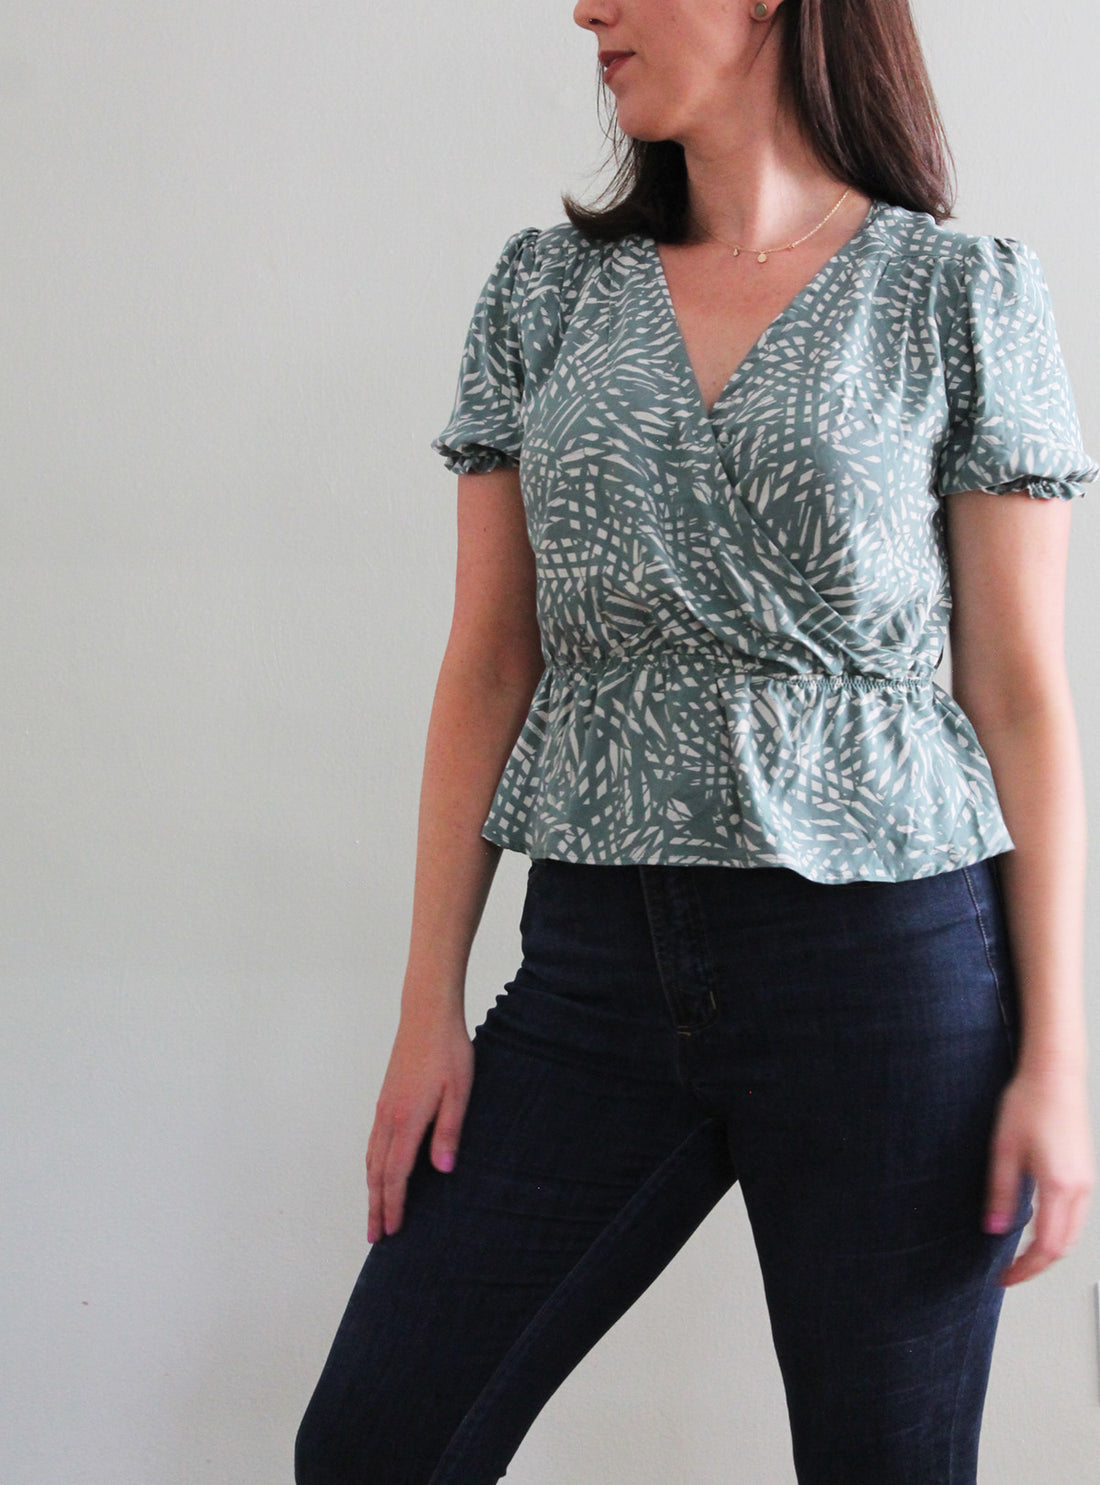
And that’s basically it! I love this hack because not only does it create a fuss-free wrap top, but it also feels a little more casual. I used gathers in place of all the pleats for this make, which made the process even faster. I love it paired with jeans and white sneakers for a more laid back look. The fabric I used for this Romy is Atelier Brunette rayon that I found at D&H Fabrics Co. and I absolutely adore it! I’ve only had a few opportunities to wear it this summer (damn you, Covid!) but reach for it often when the opportunity arises to wear non-pajama clothing ;).
These jeans are my summer-weight Ginger Jeans and sadly, I have worn them so much that they now have a rip right in the crack (the fabric is a lightweight stretch denim that is super comfy, but not super sturdy)! I also poked a hole in the fabric near one of the belt loops when pulling them on a few weeks ago. So, I guess it’s time to make a new pair! :D
These shoes are nothing fancy BUT I did thrift them and they appear to go with everything—kicking myself for not investing in Keds sooner! Today I actually bought a leather pair with some birthday coupons, so yay! Hoping they will be a long-lasting staple in my wardrobe in a nicer, easier-to-clean material.

