Pattern Hack: How to make a V-neck Byrdie using the Hana Tank pattern
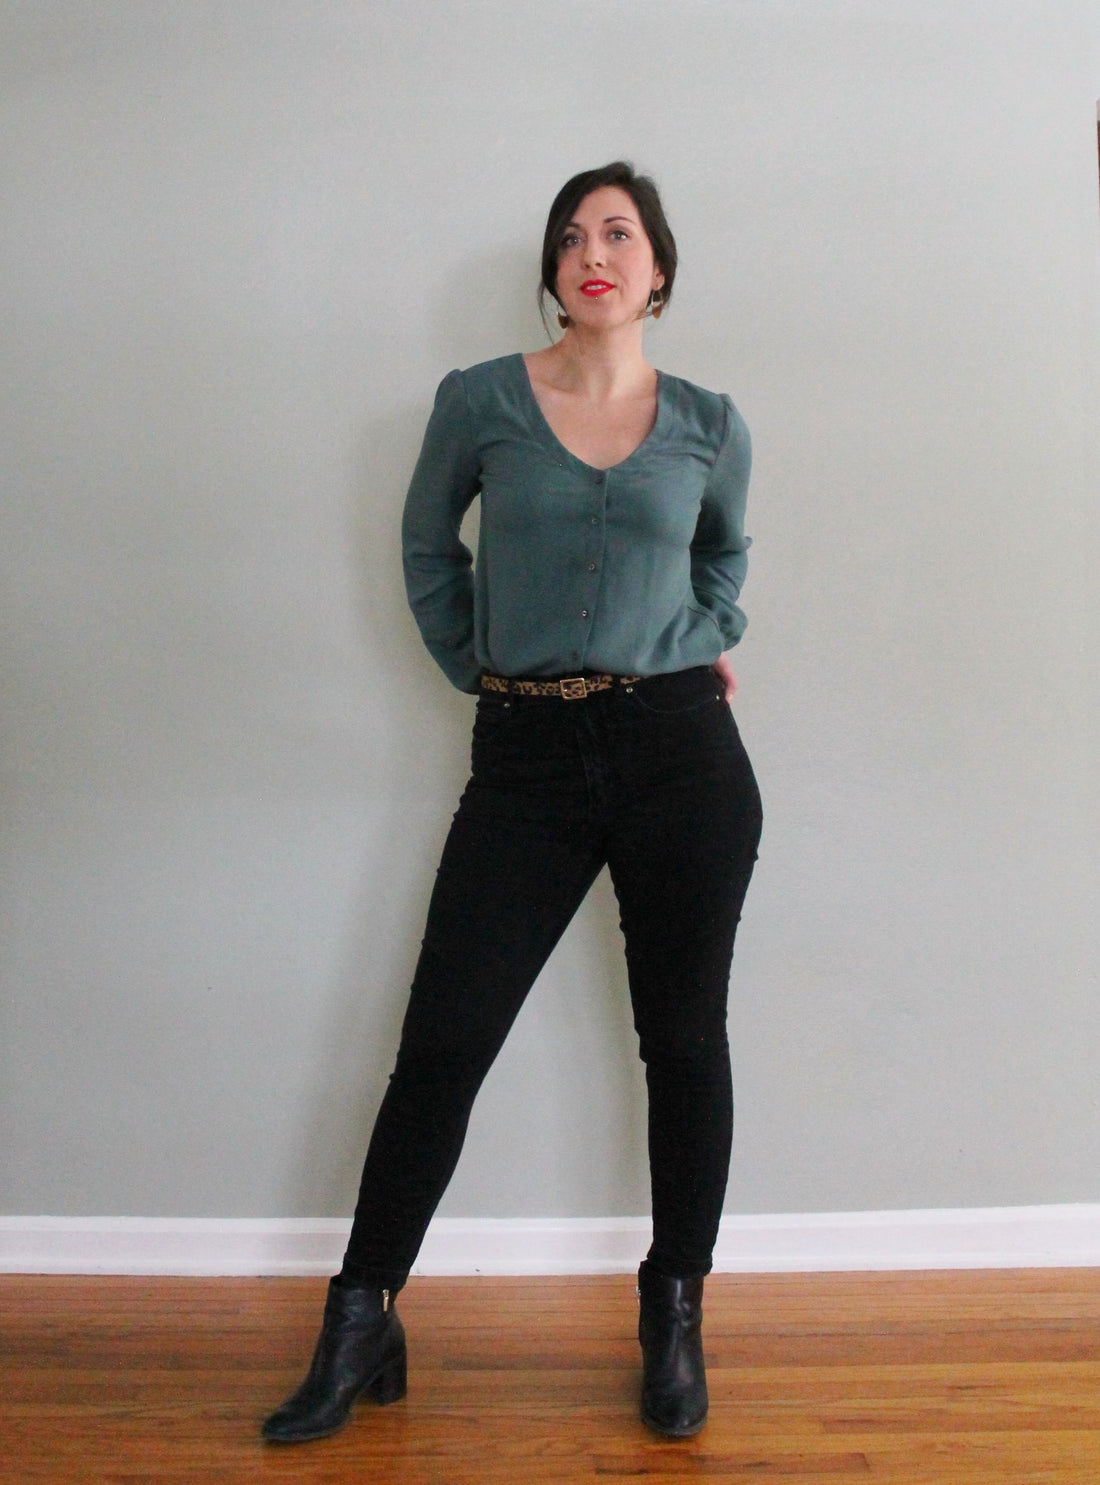
While searching for inspiration for the Byrdie Button-up Blouse pattern, I came across several V-neck, button-up blouses that were so simple and elegant! I knew this would be a spring wardrobe staple and decided to make one for myself in a floaty rayon.

To get the right V-neck shape, I used the Hana Tank + Dress pattern as my guide, and did a mash-up of the two patterns for the front bodice.
I also created a yoke for this shirt hack (I have a blog post for how to do that here!), but this will work just fine without the yoke if you are looking for a quicker sew.
Let’s get started!
Draft the V-neck on the Byrdie front bodice
Align the center fronts and shoulders of the Byrdie and Hana pattern pieces to determine the position of the V-neck lines. Button locations are marked on each pattern to indicate the center front. Trace the V-neck line onto the Byrdie bodice pattern piece and trim, including the zig-zag line of the Hana at the top of the button placket/center front. When lining up the shoulder, extend a guide line along the Hana shoulder that touches the corner of the Byrdie shoulder at the neckline.


Record the new shoulder seam on the back bodice
Align the shoulder seam of the Byrdie front bodice with the Byrdie back bodice and mark the revised shoulder seam. Redraft the new back bodice neckline to meet up to the new shoulder seam. Do this before drafting a yoke, if you decide to go that route.

Decide whether you want to finish the neckline with a facing or bias tape
I went with a facing on this make, but again, doing a bias finish at the neckline as originally instructed in the pattern instructions will work just fine, too!
If you decide to draft a facing, measure 2 5/8” from the entire neckline edge and trace a facing pattern piece for the front bodice (and back bodice if you are NOT doing a yoke). If doing the yoke, you’ll only need the front facing and it will be secured in the yoke at the shoulder seam.
The front facing only needs to go to the center front and will be concealed in the button placket when finished.

NOTE: From this point forward, the instructions will assume you are installing a yoke. See this blog post for how to install a facing that includes the back bodice facing. See this blog post for how to install beautiful bias binding. And see this blog post for more info on drafting a yoke!
Cut your facing pattern pieces out of your fabric and out of lightweight interfacing. I like to sew the edge of the facing and interfacing together along the outer edge (left, in the image below), wrong sides together. Then flip the facing and interfacing right sides out and press (right, in the image below). This conceals the facing edge neatly!

Prepare the button placket
Apply interfacing to the edge of the front bodice where the button placket is located (on the wrong side of fabric). I cut a 2” strip of interfacing and centered it over the “v” dip in the top of the placket where it will be folded.
Then press the edge of the button placket to the wrong side by about 3/8”.


Install the facing
Fold the top of the button placket back on itself, right sides together, by 1” to match the top edges at the neckline. Stitch the fold in place with a 1/2” seam allowance.
Then pin the facing to the neckline with the interfaced side facing you (right side of facing to right side of bodice). You will pin it on top of the fold you just stitched.


Sew the facing to the neckline with a 5/8” seam allowance from the edge of the placket fold to the shoulder. Turn the facing and the placket right side out and press. Your placket will be pressed 1” wide the entire length of the bodice and the facing will be neatly tucked into the placket.


Flip the bodice over and pin the facing in place at the top of the placket from the exterior side. Topstitch the placket and facing in place from the exterior side with a seam that is 1” from the placket and neckline edges.


I sewed the placket first, then started my facing topstitching right at the edge of the placket topstitching for a clean finish:

Repeat the placket and facing installation on the opposite side.
Attach front bodice to the yoke
Note: if you are NOT doing a yoke, you can proceed with construction of the blouse shoulder seams as instructed in the original Hana/Byrdie instructions.
Once your yoke is installed on the back bodice, attach the front bodice to the yoke shoulder seams. Only sew the shoulders to the interior yoke—flip the exterior yoke out of the way. Lay the back bodice with the interior facing you, then lay the front bodice pieces right side up and align the shoulder seams. You should have 5/8” of extra shoulder length on the back bodice as shown below. Sew the shoulder seams together with a 1/2” seam allowance (not shown).

Now, using the Burrito Method, roll the front and back bodice to the top. Then pull the exterior yoke piece to the front and align the shoulder seams and the back neckline. You want to make sure you roll the bodice up nice and tight so that you can get the yoke to wrap around it. I used a lot of pins to get everything lined up, and made absolutely sure that the bodice would not be caught in my seams in the next step.

Sew along the shoulder seam, around the neckline, and along the opposite shoulder seam with a continuous 5/8” seam allowance. This part is a little tricky and cramped with all that fabric rolled up inside. Take your time here.
Trim the seam allowance to 1/4”.

Pull the bodice through one of the armholes to turn the yoke right side out. Oh yeah! Now you have a nice neckline finish on the back bodice! WHOOP!
Press the yoke and topstitch along all the edges.

Finish the rest of the blouse as instructed in the Byrdie Pattern. And that’s it!
I also chose to simplify the sleeve placket on this make (I show how to do this on this blog post for the Byrdie pussybow blouse hack). This blouse is so soft and floaty! I love it! And it’s a nice alternative to the traditional buton-up.

