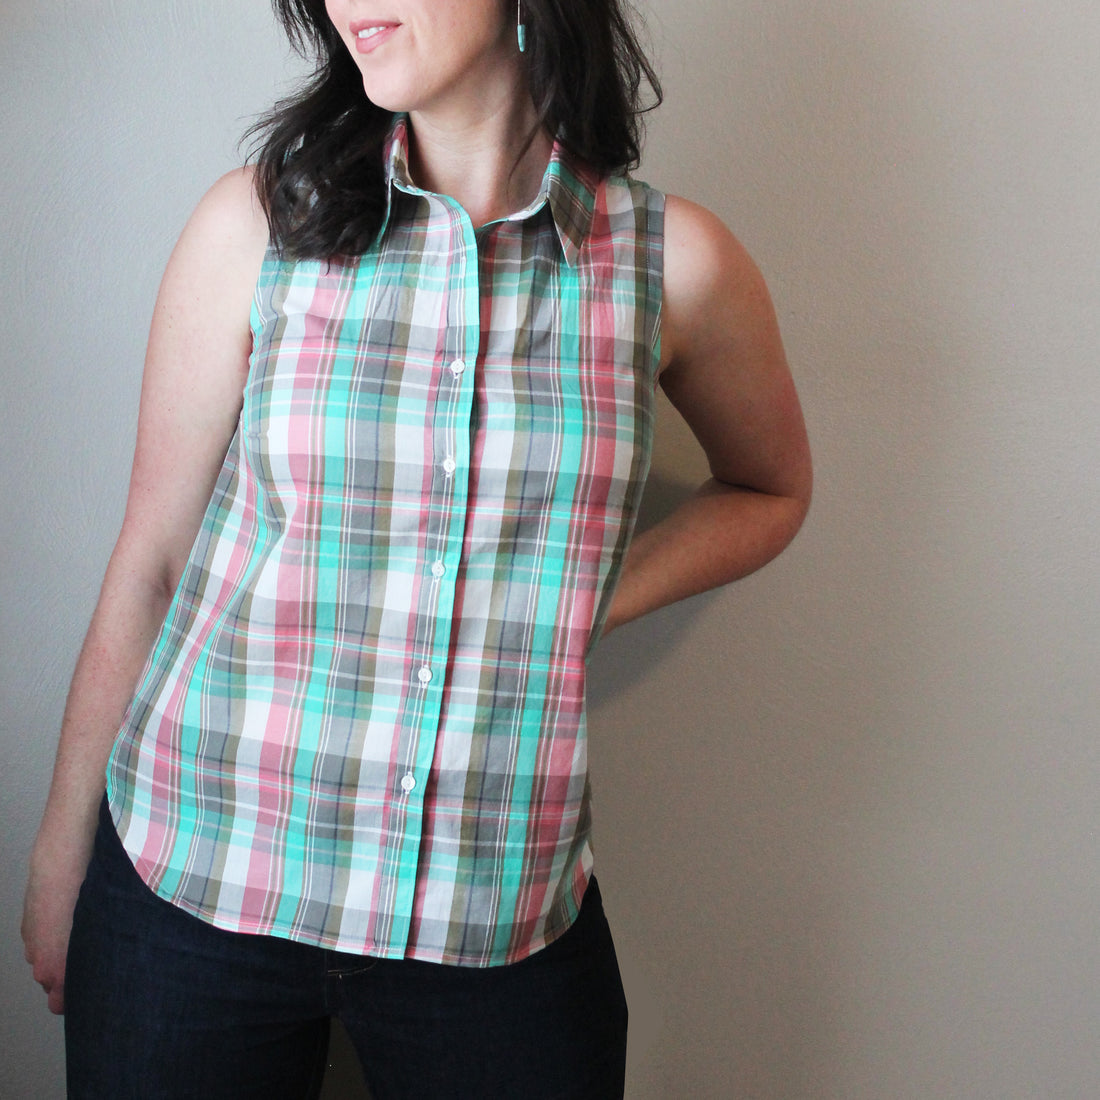
Pattern Hack: A sleeveless Byrdie Button-up
Spring is almost here (finally!) and it was high time for me to make a sleeveless Byrdie Button-up! I’ve had the fabric for this project since January—I found it on deep discount and snagged a couple of yards in anticipation of this very hack.
To make the Byrdie sleeveless you’ll have to make a couple of simple pattern adjustments in addition to leaving off the sleeves.

Adjust the back armscye
First, we need to remove a tiny wedge out of the back armscye. This will help to prevent gaping at the abck armscye. You may have come across similar pattern hacks on shirts with a yoke that do this where the bodice attaches to the yoke and it works great. Since Byrdie does not include a yoke, it’s little different adjustment to take out that little wedge, but it will achieve the same result.
Draw a line across the back bodice that goes through the top third of the armscye, just a few inches down from the shoulder. Now draw a line from the center of the shoulder seam—perpendicular to the shoulder seam—down to the first line.
Cut along the shoulder line down to the horizontal line. Then cut through the armscye horizontally along that line to the first cut, leaving a tiny “hinge” of paper attached where the lines meet. Now, pivot the wedge you just created down to remove about 3/8” from the armscye and tape to secure.

You now have a dart in the shoulder seam that needs to be resolved. Tape a little sliver of paper underneath the dart. Draw a new shoulder seam by connecting shoulder tip to tip from the neckline to the shoulder tip, then trim off the excess paper. Compare the new shoulder length to the front bodice shoulder length and mark the shoulder of the back bodice to match the length of the front. Using a french curve (or eyeball it, if you’re feeling bold!) draw a new armscye from the revised shoulder point to the base of the armscye.

Narrow the shoulders of the front and back bodice
This step can be made to the paper pattern before cutting your fabric, or you can do it after cutting your pieces out of fabric. You’ll just want to take 1/2” to 1” off the outer edge of the shoulders and blend to the bottom of the armscye. I took off 1” because I like the look of a more narrow shoulder.

Doing this will give you a more flattering and comfortable fit around the shoulders. You could also skip this step, but you might achieve more of a country-music-singer-cut-off-sleeves look (and if that’s your thing, you do you!). And the front armscye might dig into your armpit a little…
Now you can proceed!
Sew the bodice together and check the fit
I also ended up removing about 1/2” of ease right under the arms at the side seam. The Byrdie is drafted for a casual fit, so the side seam ended up a little too far from my underarm for my liking without the sleeves (and you could see my bra when I had my arms lifted with my hands on my hips in a power pose…no bueno!).
And be careful not to make it too tight here, just enough so that it’s not gaping and still gives you a little wiggle room.
Finish the armscye with bias binding
I created my own bias tape and used a 3/8” seam allowance to attach it to the armscye. I have a blog post here all about installing bias tape for a beautiful finish (seriously, these tips will make you love bias binding).
Finish sewing the rest out the blouse as instructed in the pattern
And that’s it! Easy peasy!

