As I was designing the Fern Top, I saw so many possibilities for customizing this blouse with a few really simple hacks. Today I am sharing a few of those hacks AND introducing an expansion pack for additional neckline options!
The Fern Top Neckline Expansion pack includes new pattern pieces for creating a V-Neck or Square Neck style blouse. When I found myself hacking my own pattern into these styles, I knew I needed to add them as an option!
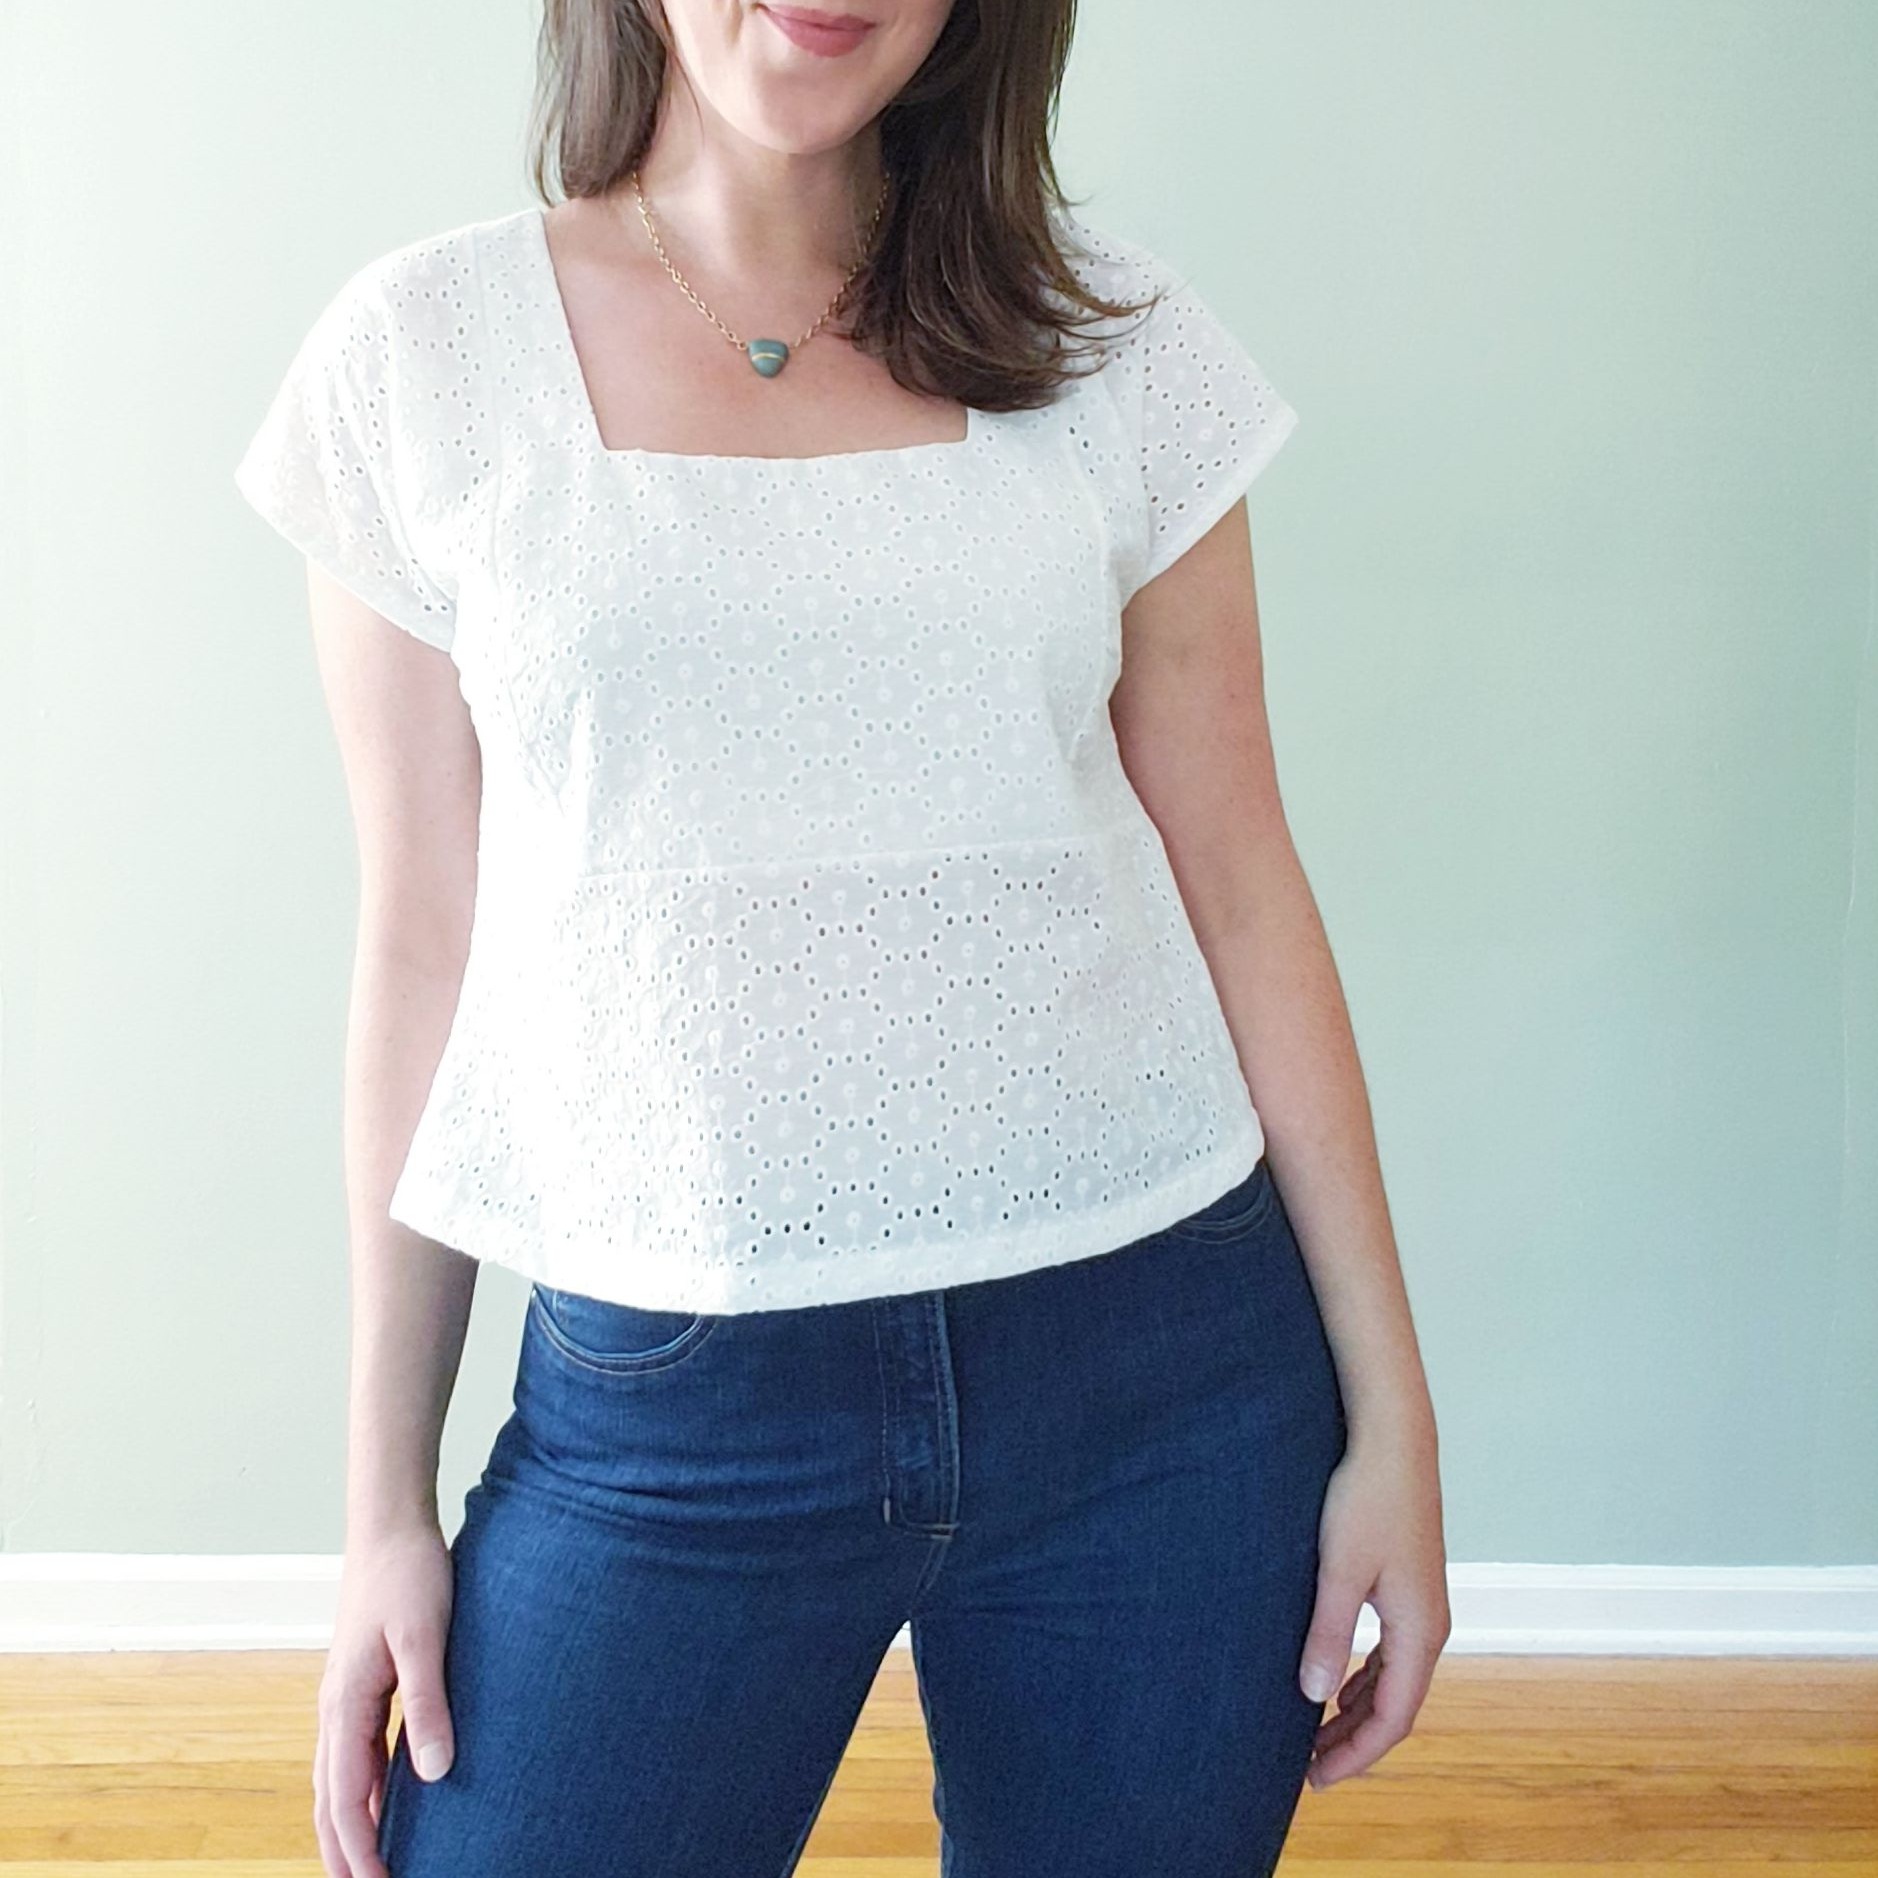
The original Fern pattern and expansion pack includes facings for each neckline, but during testing, some testers mentioned that they prefer to do a bias bound neckline finish. Today I will show you how to do that! I’ll also show you how I finished the neckline of the Square Neck version with a lining instead of a facing, which was perfect for the eyelet fabric I used.
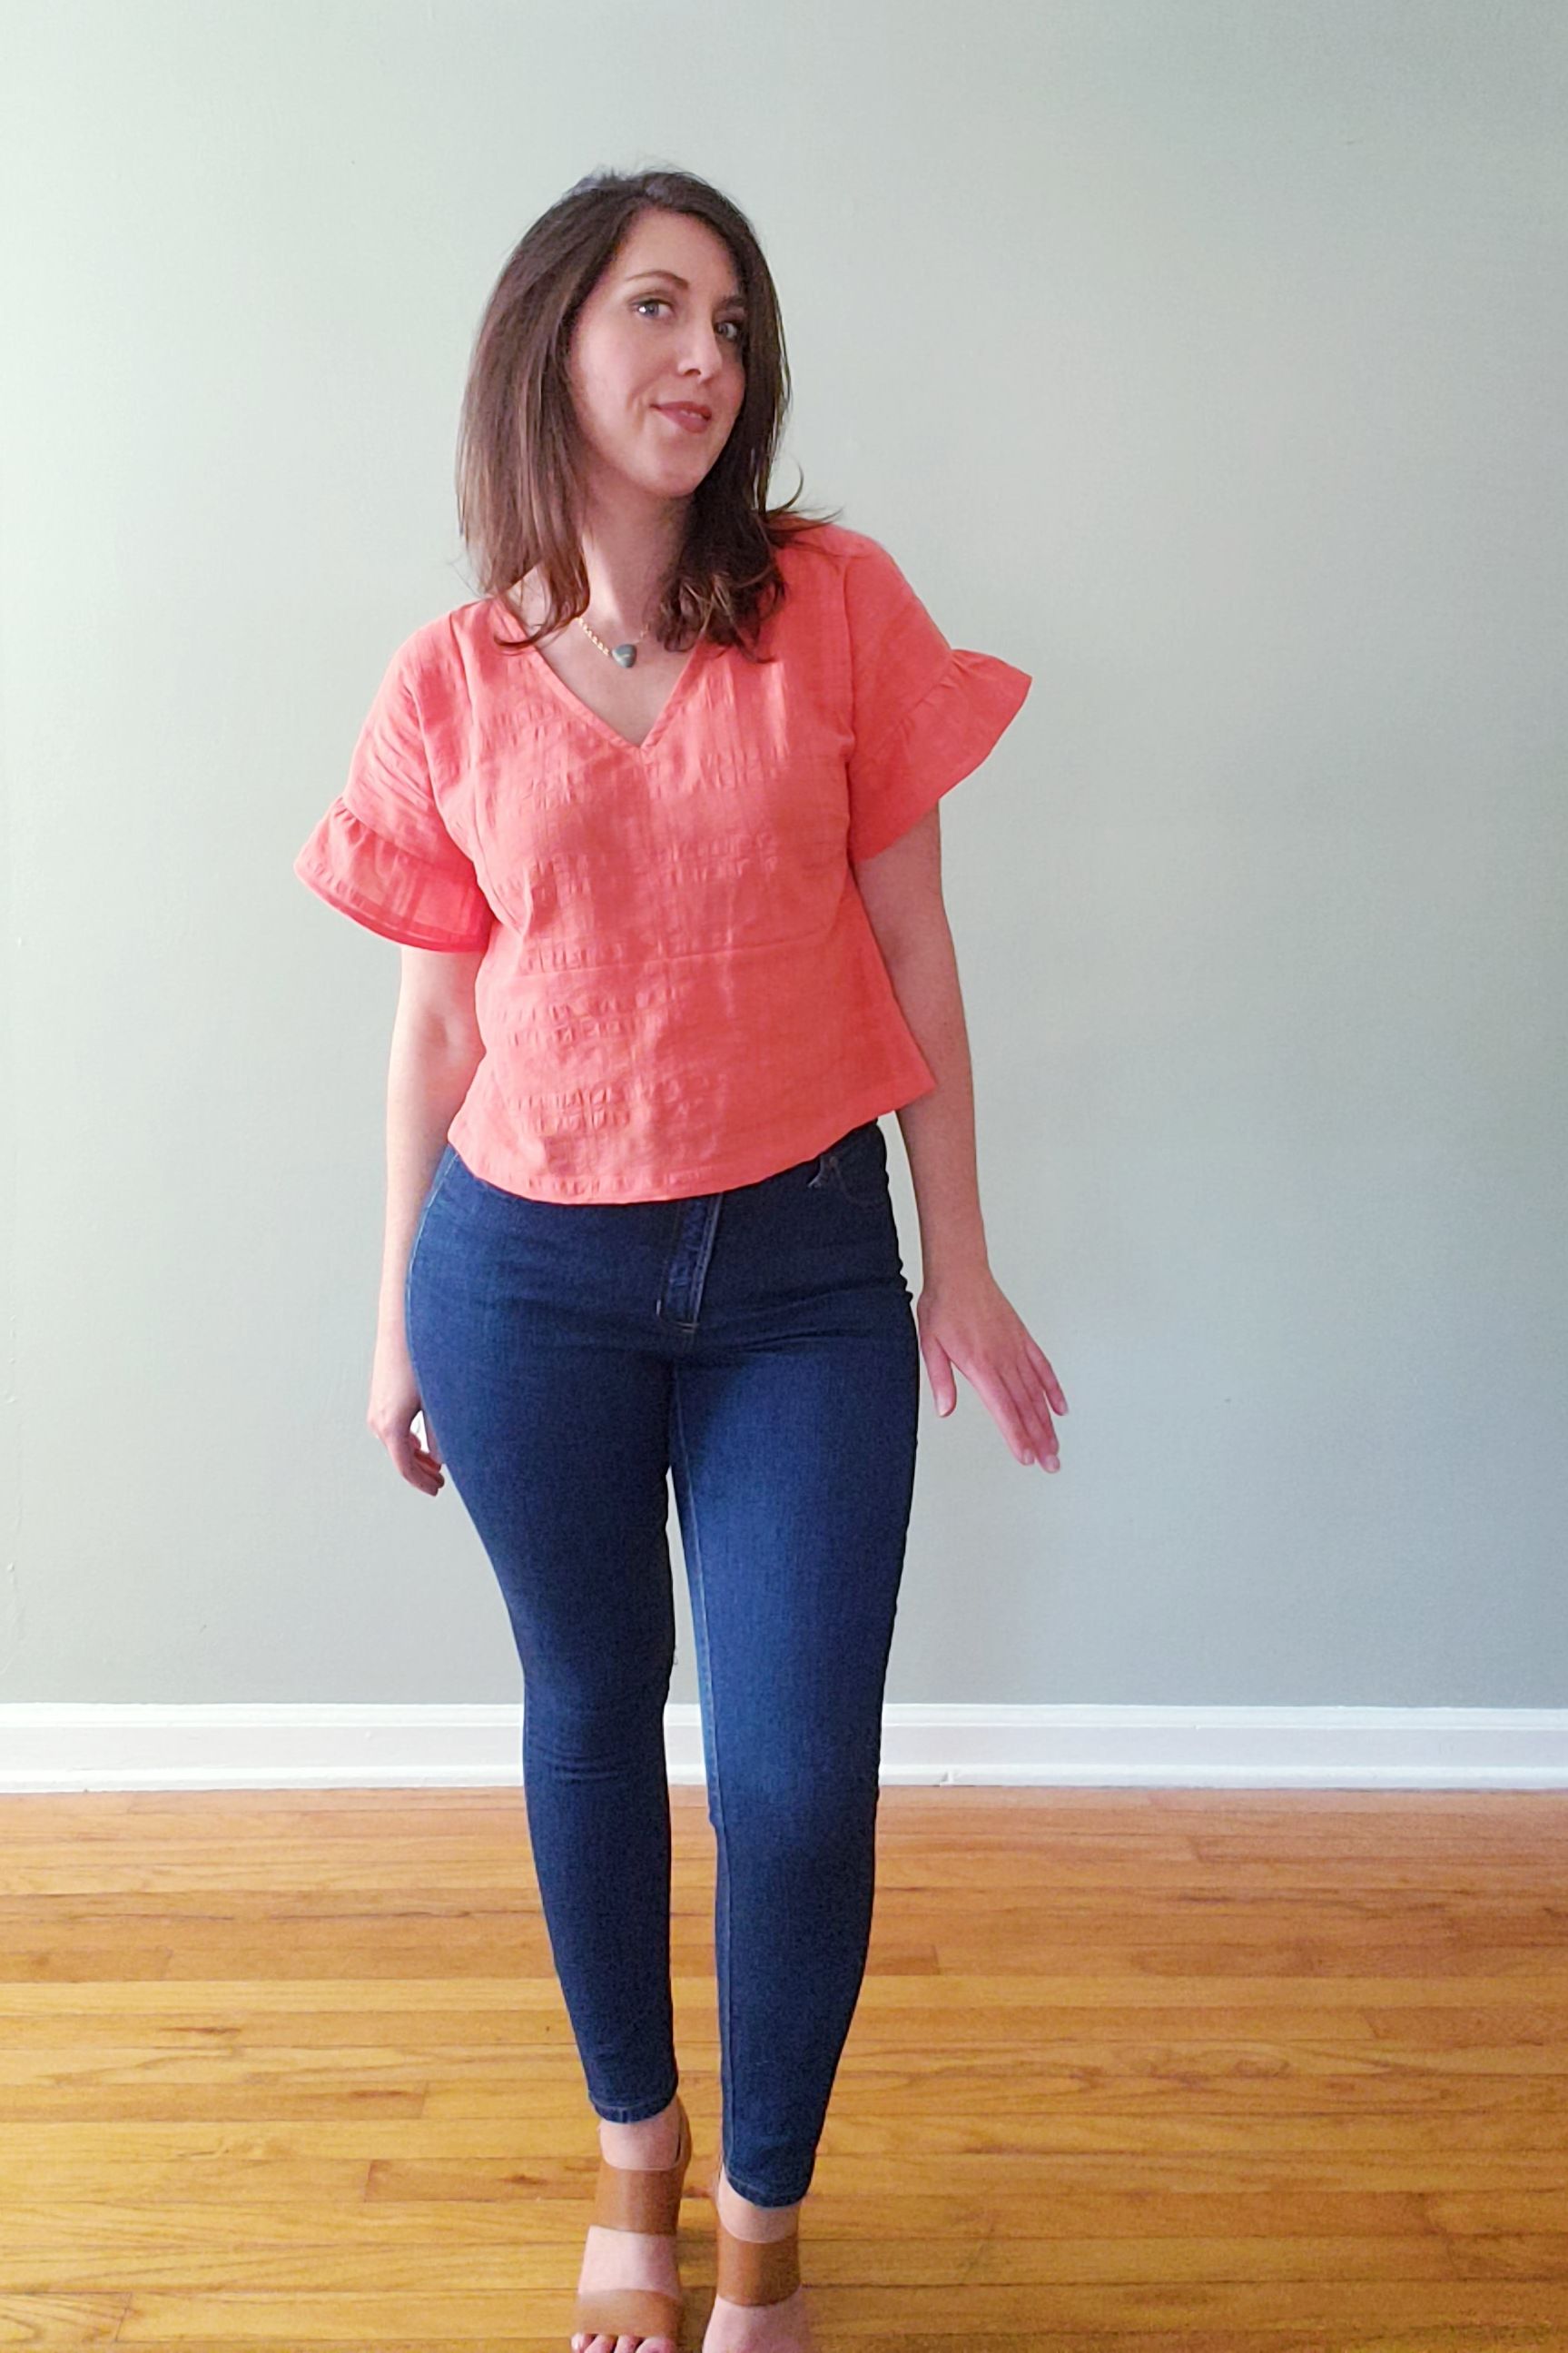
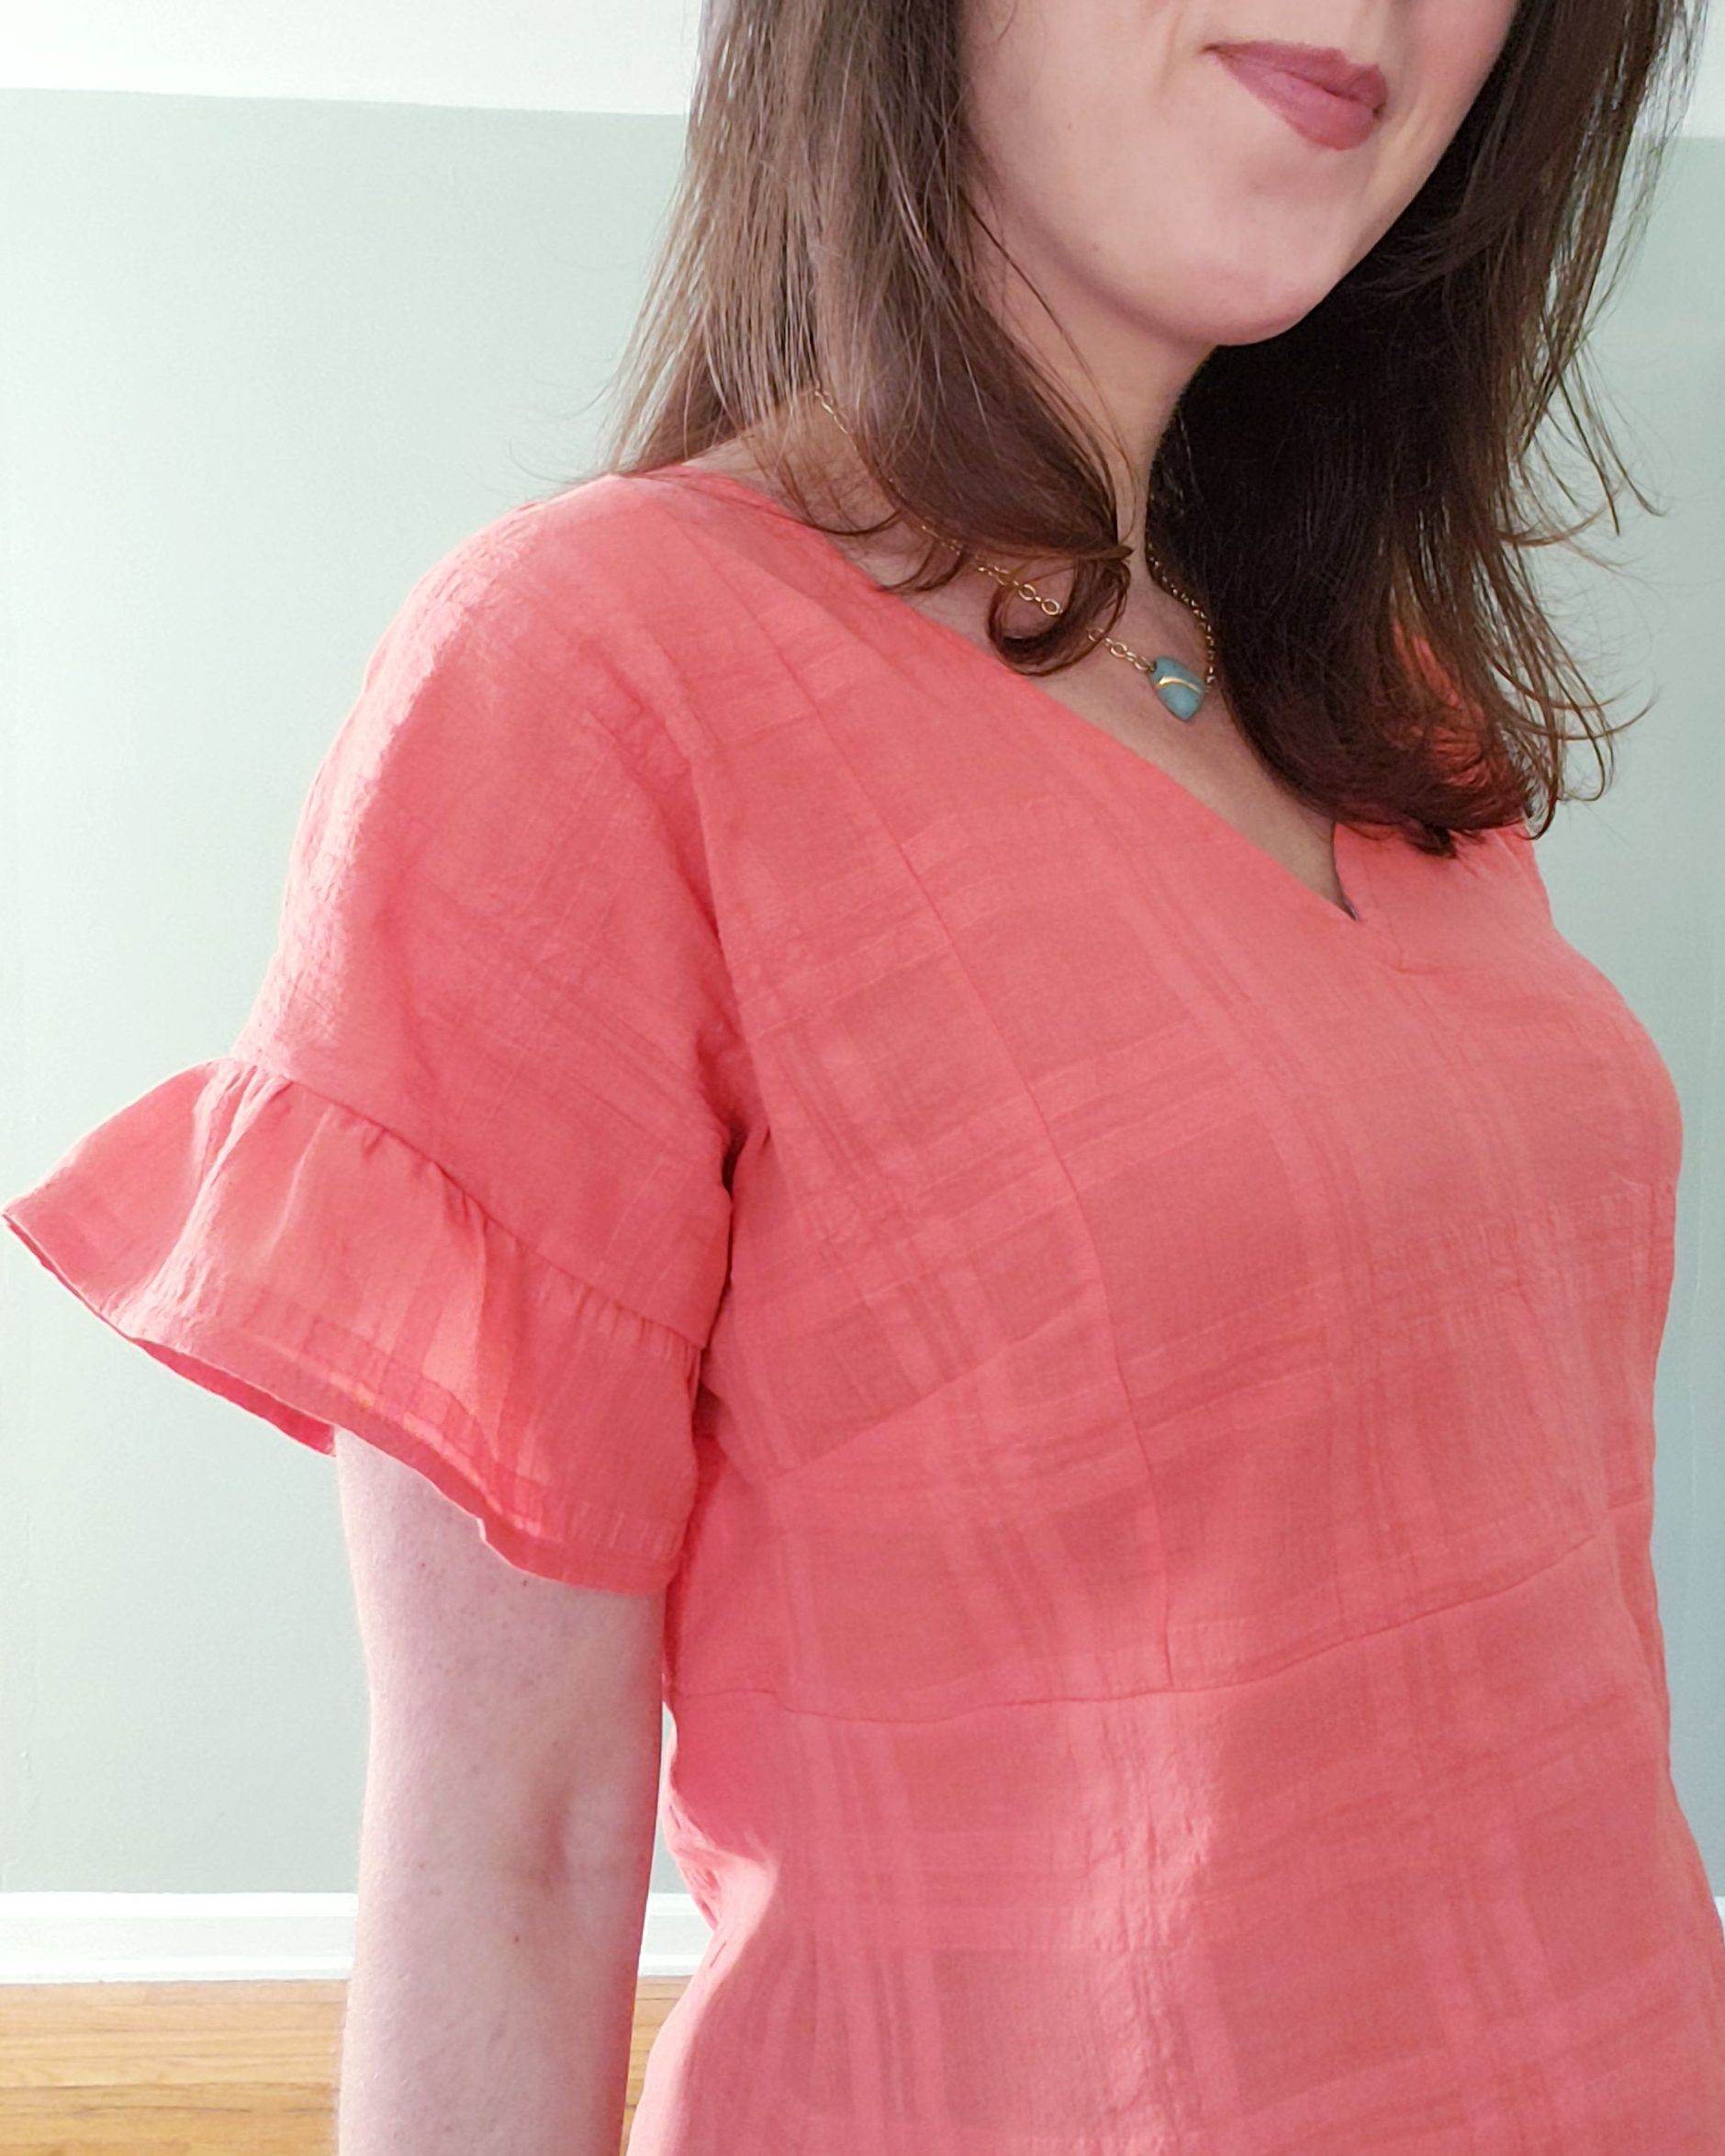
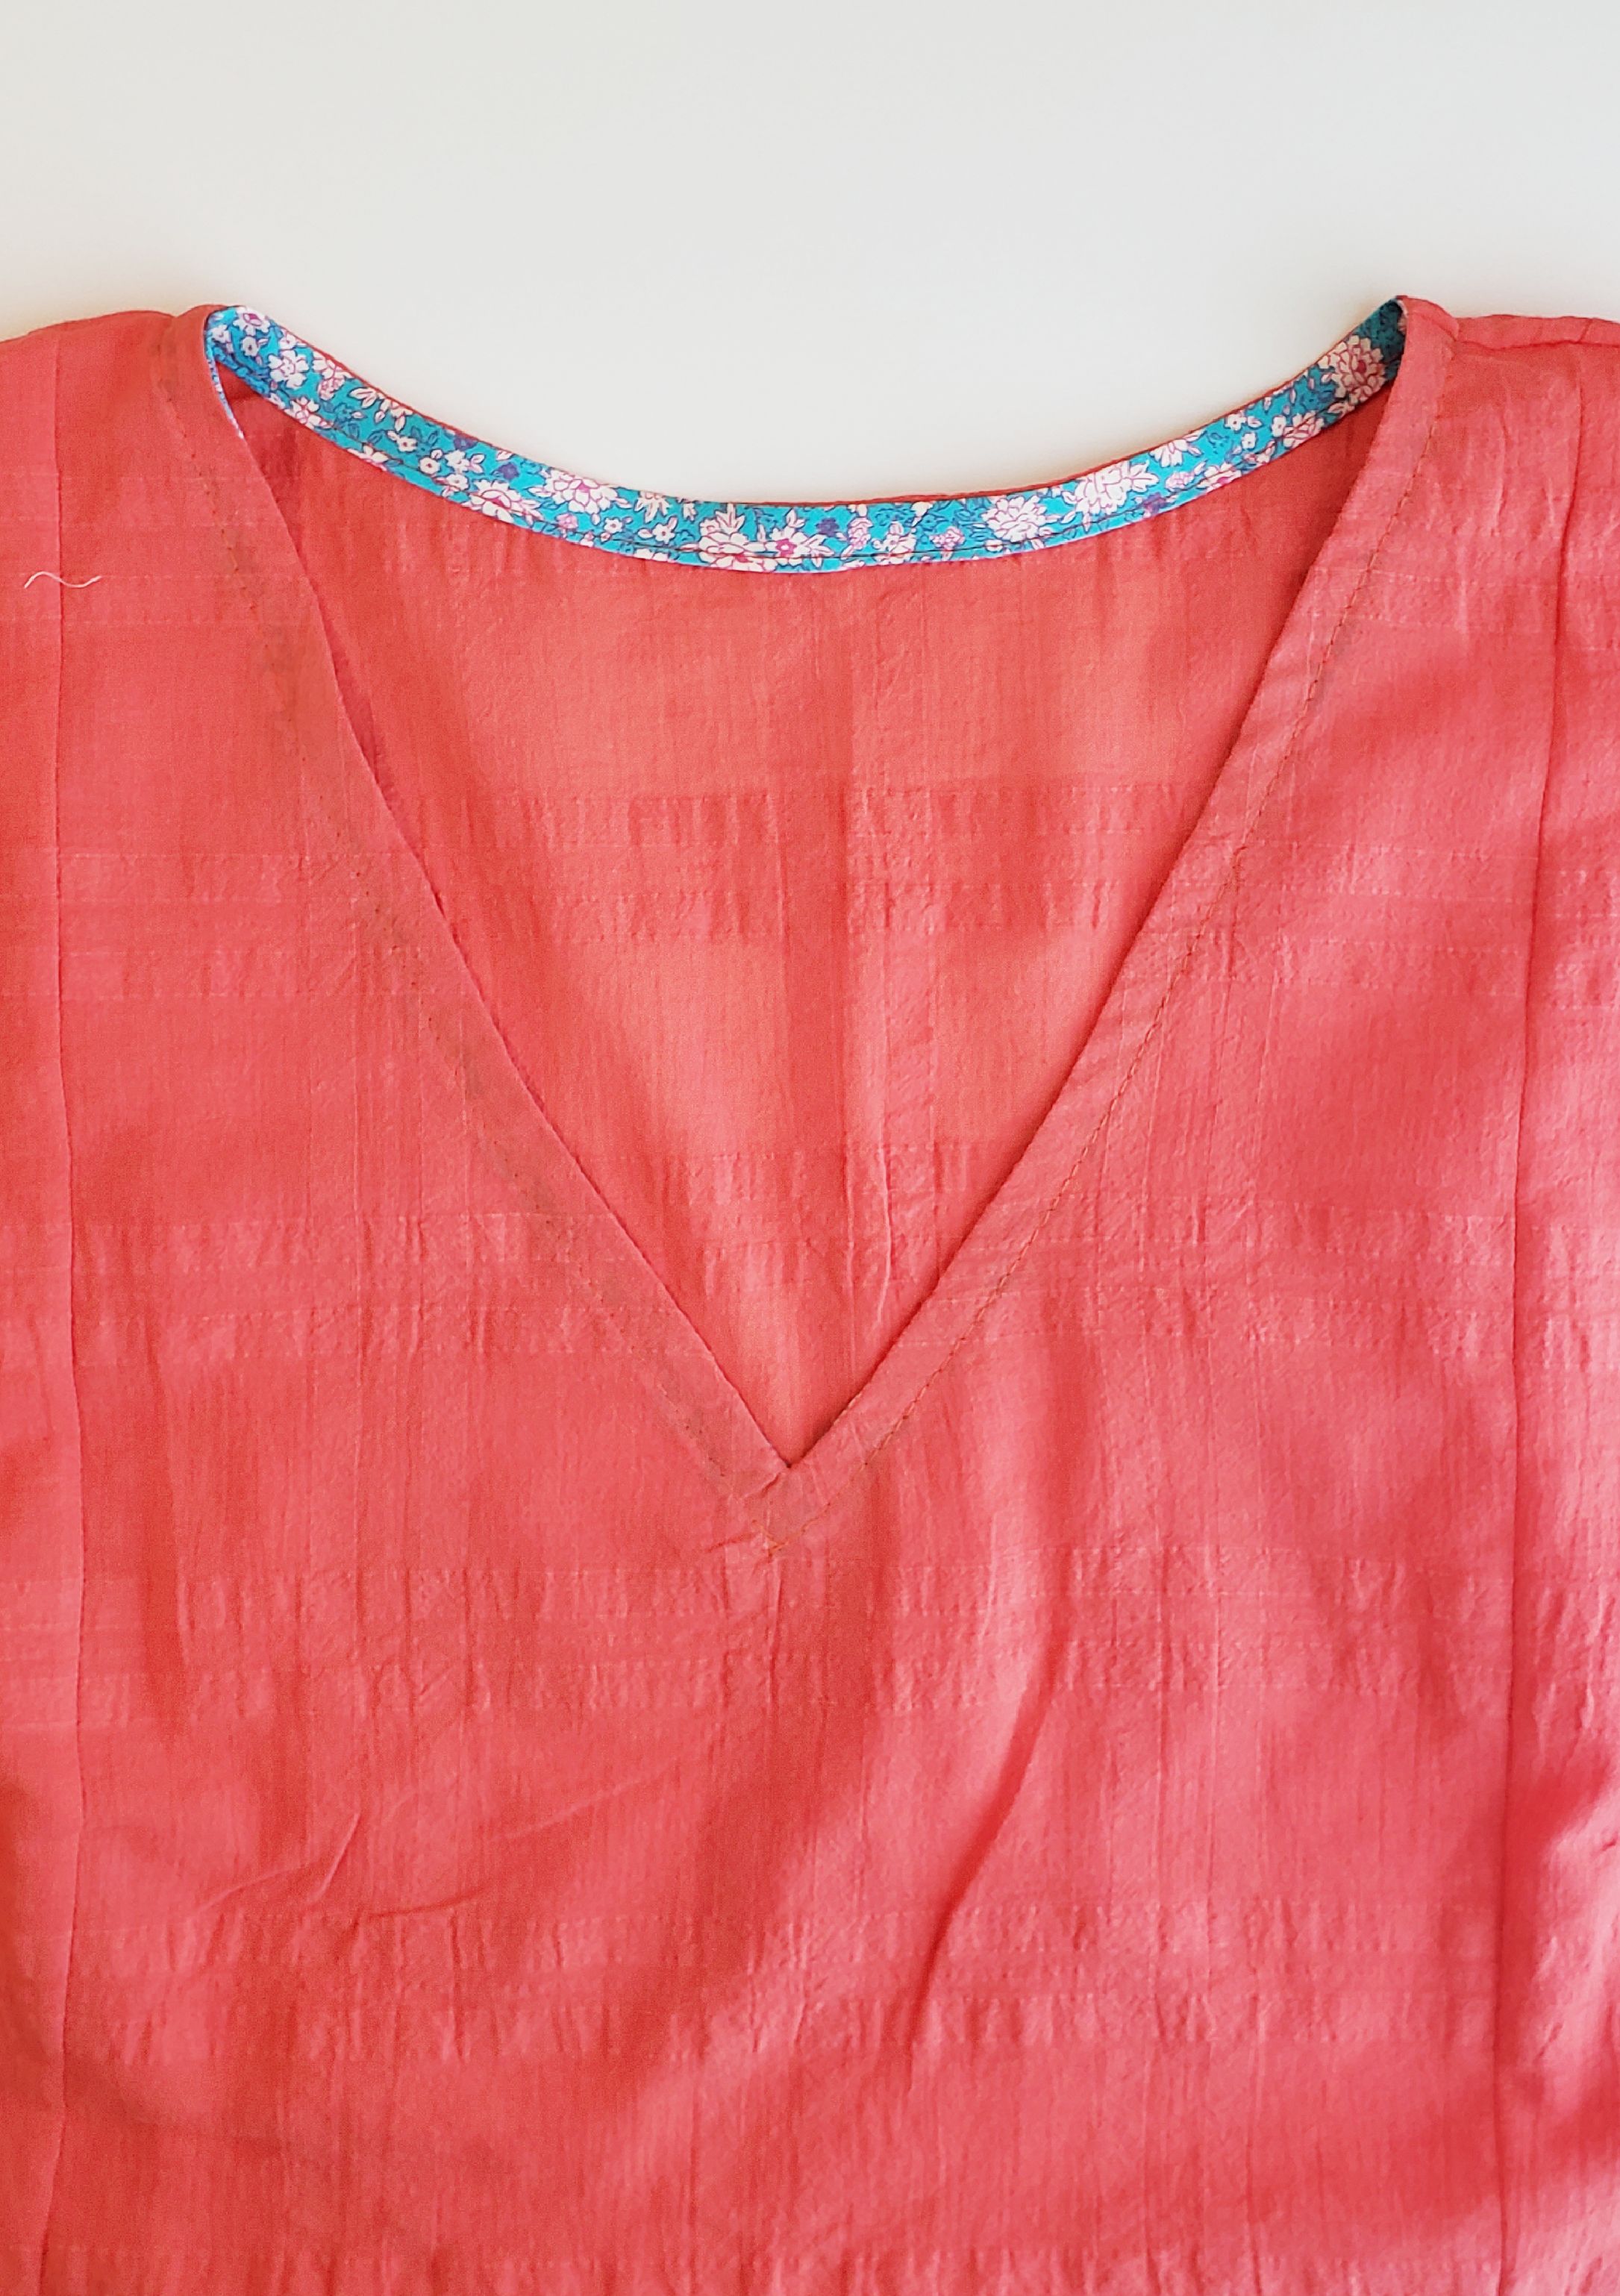
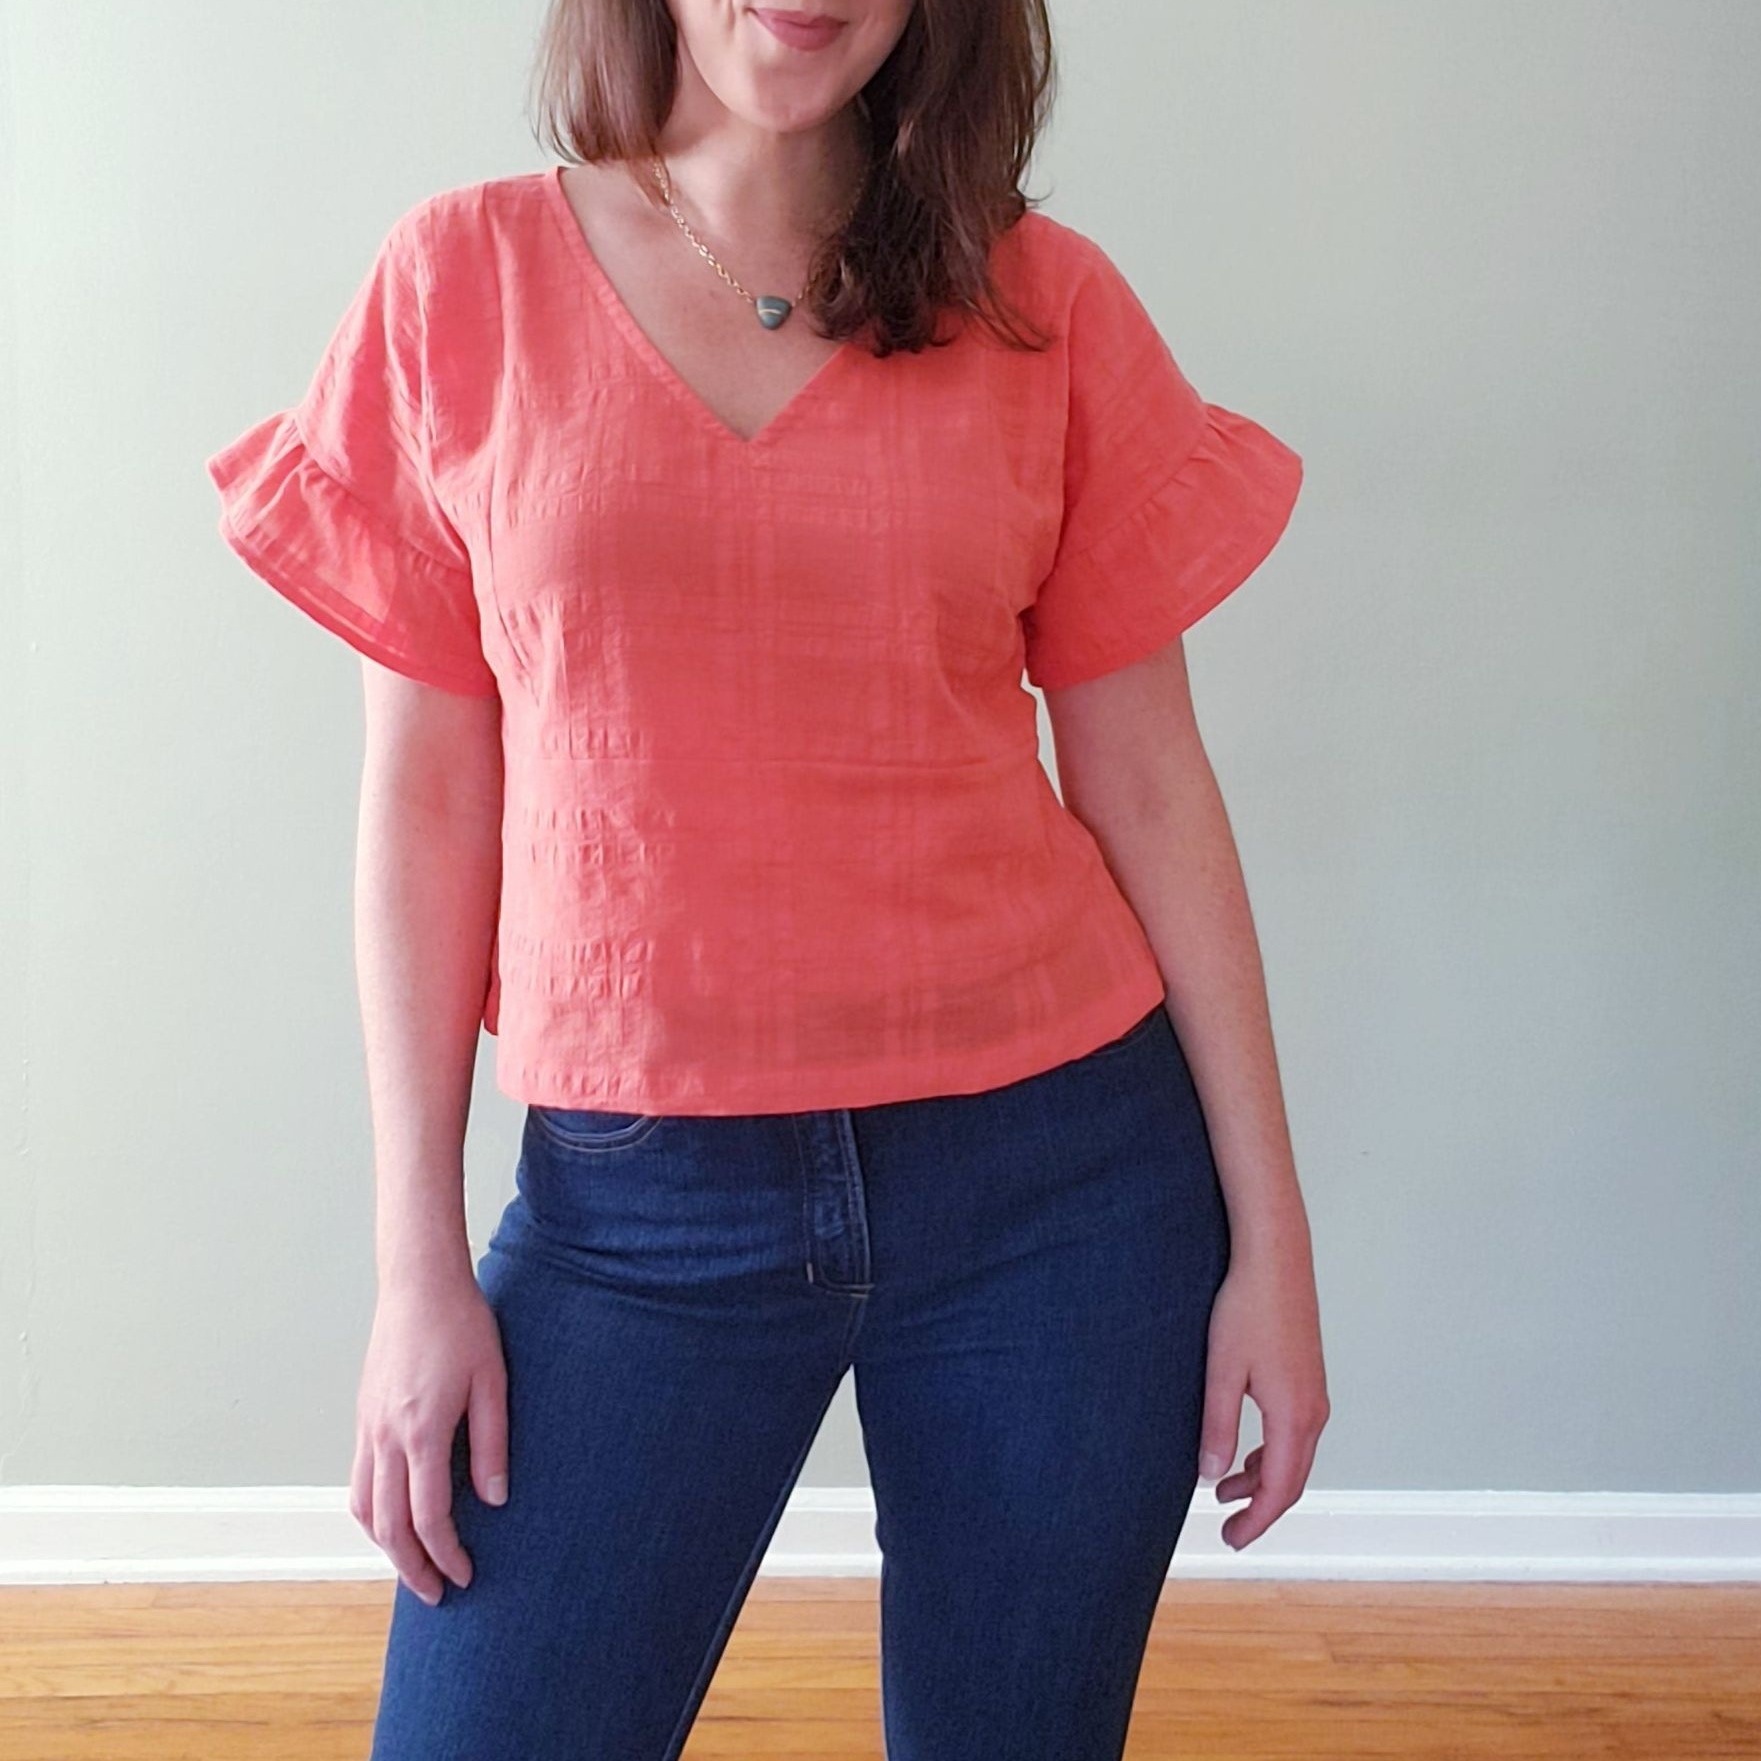
First up: a V-Neck Fern with bias-bound neckline:
For this version, you’ll assemble the pattern per the instructions, but instead of attaching the facing, you’ll attach bias tape. You can buy pre-made bias tape at your fabric store, or you can make your own. I decided to make my own with a bias tape maker (I purchased this one at Joann…and it’s my new favorite tool!).
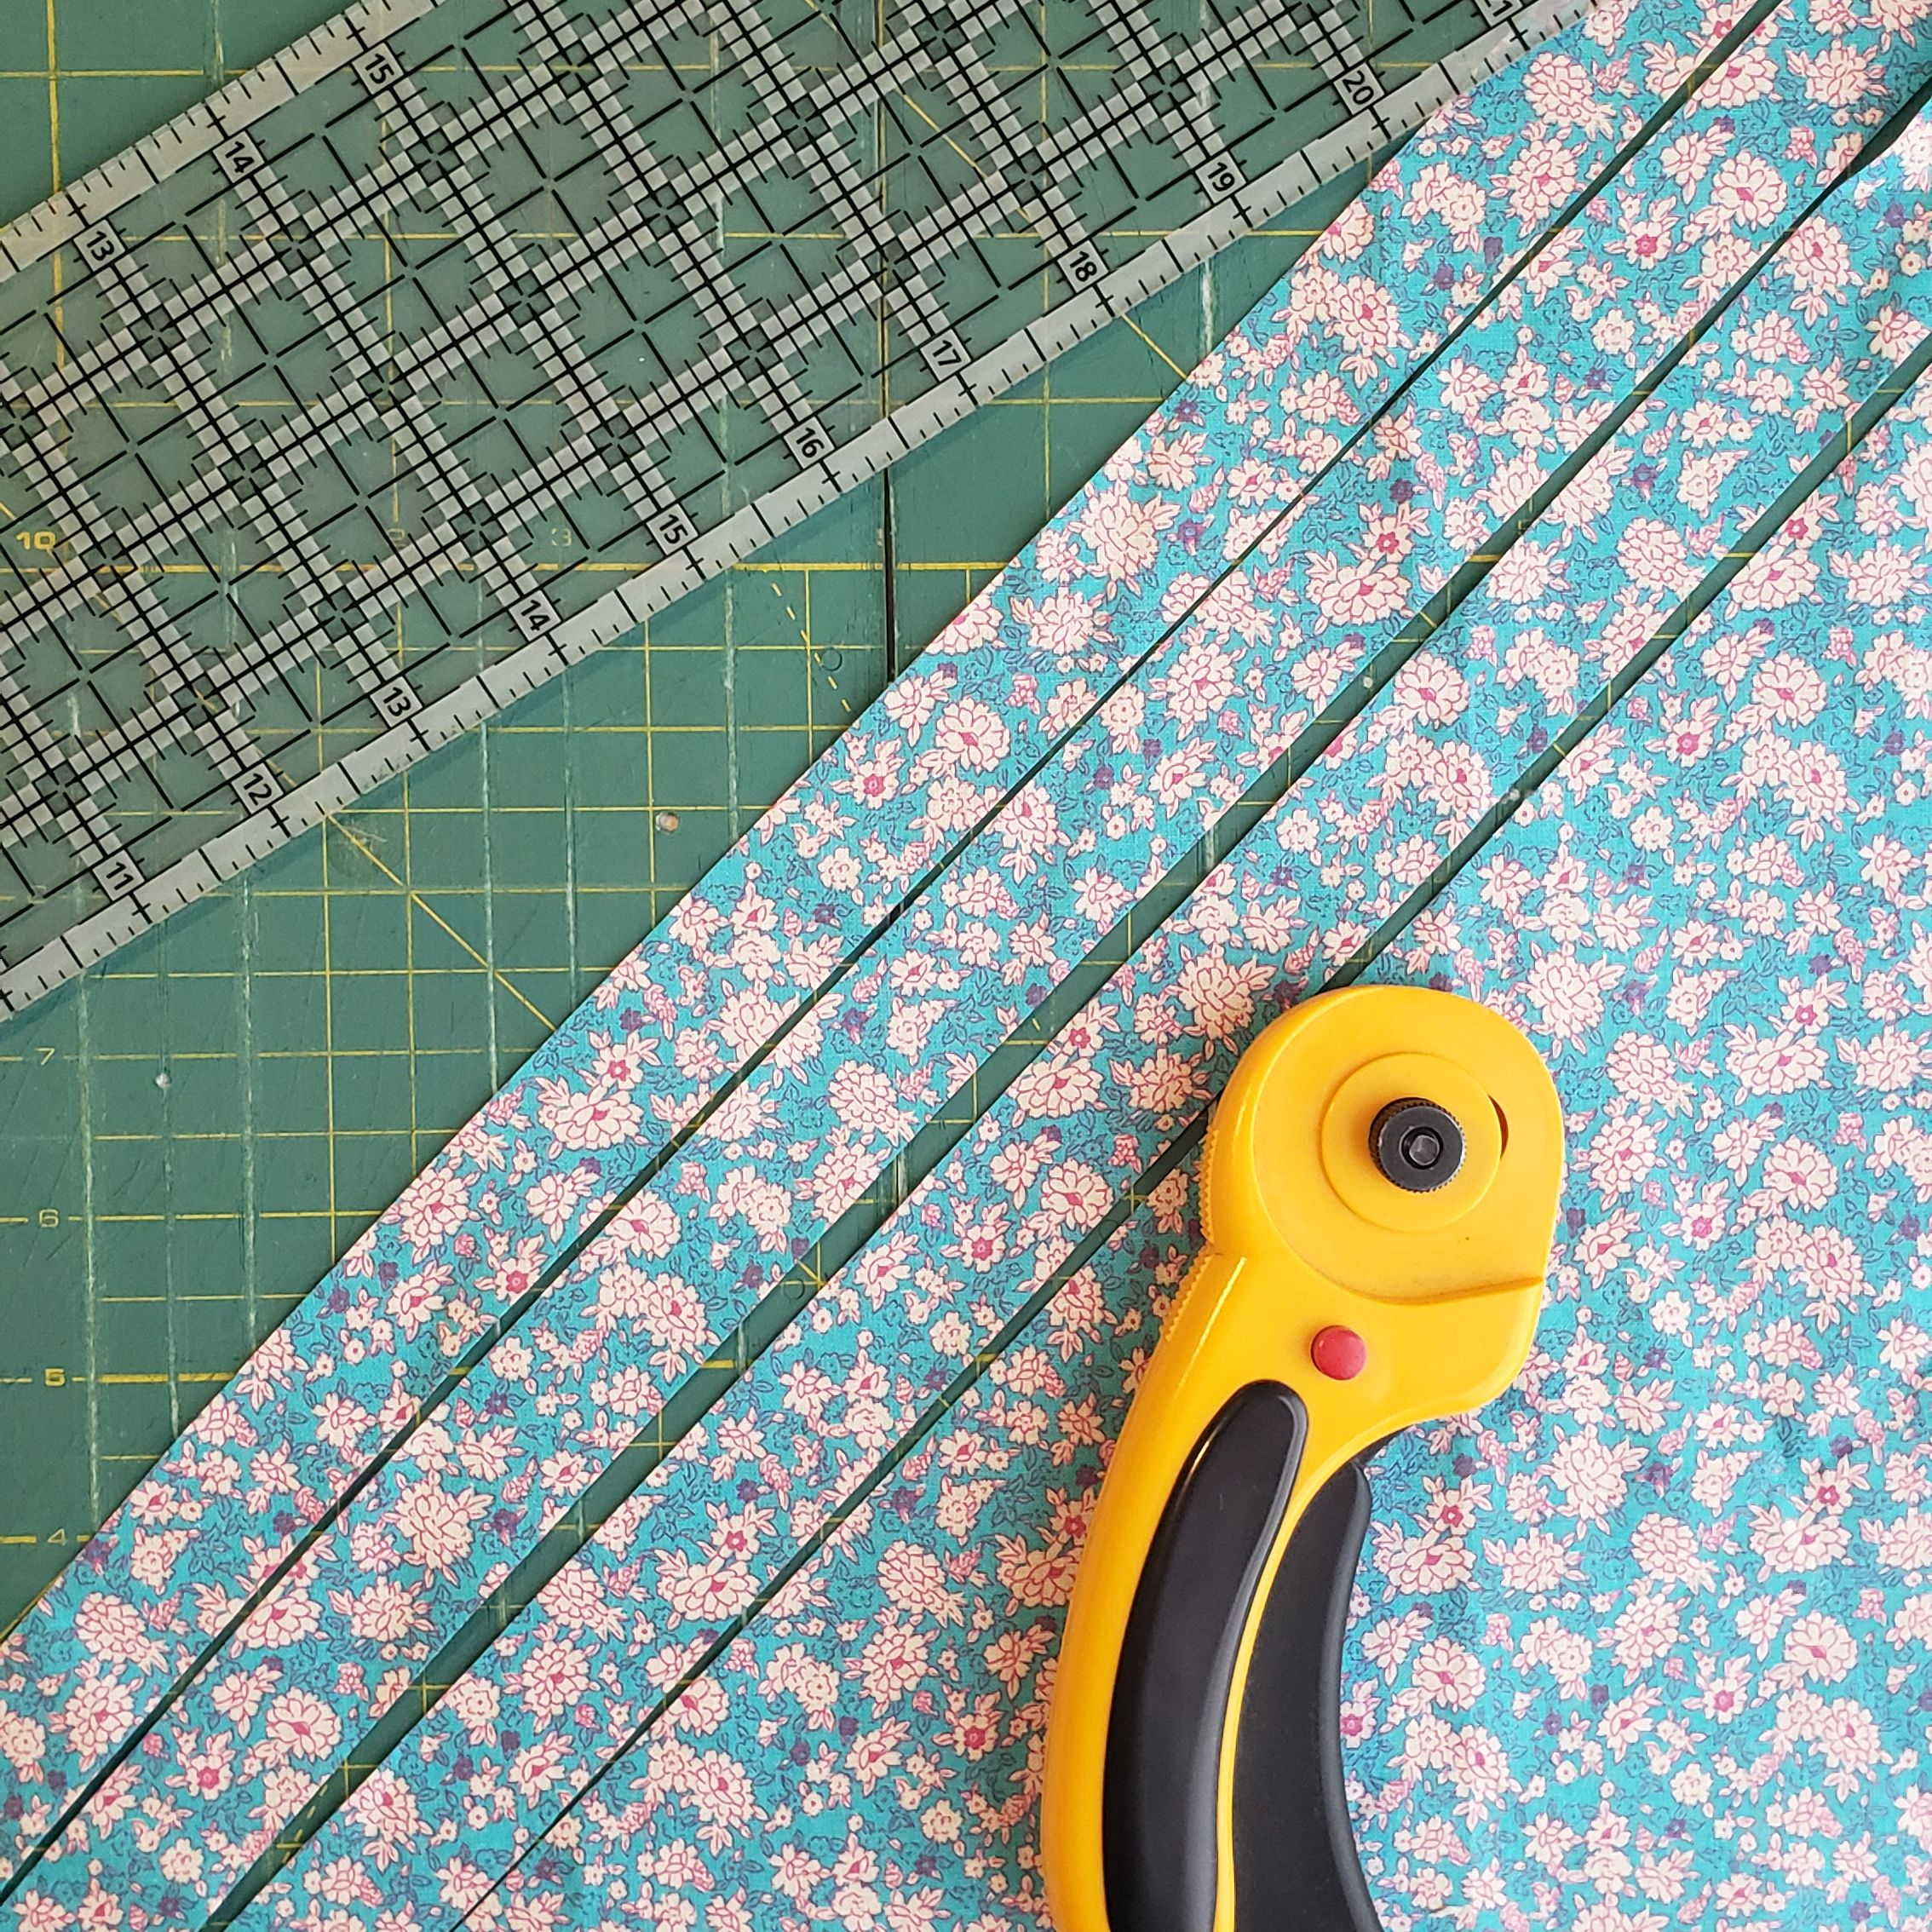
1. Cut strips of fabric on the bias.
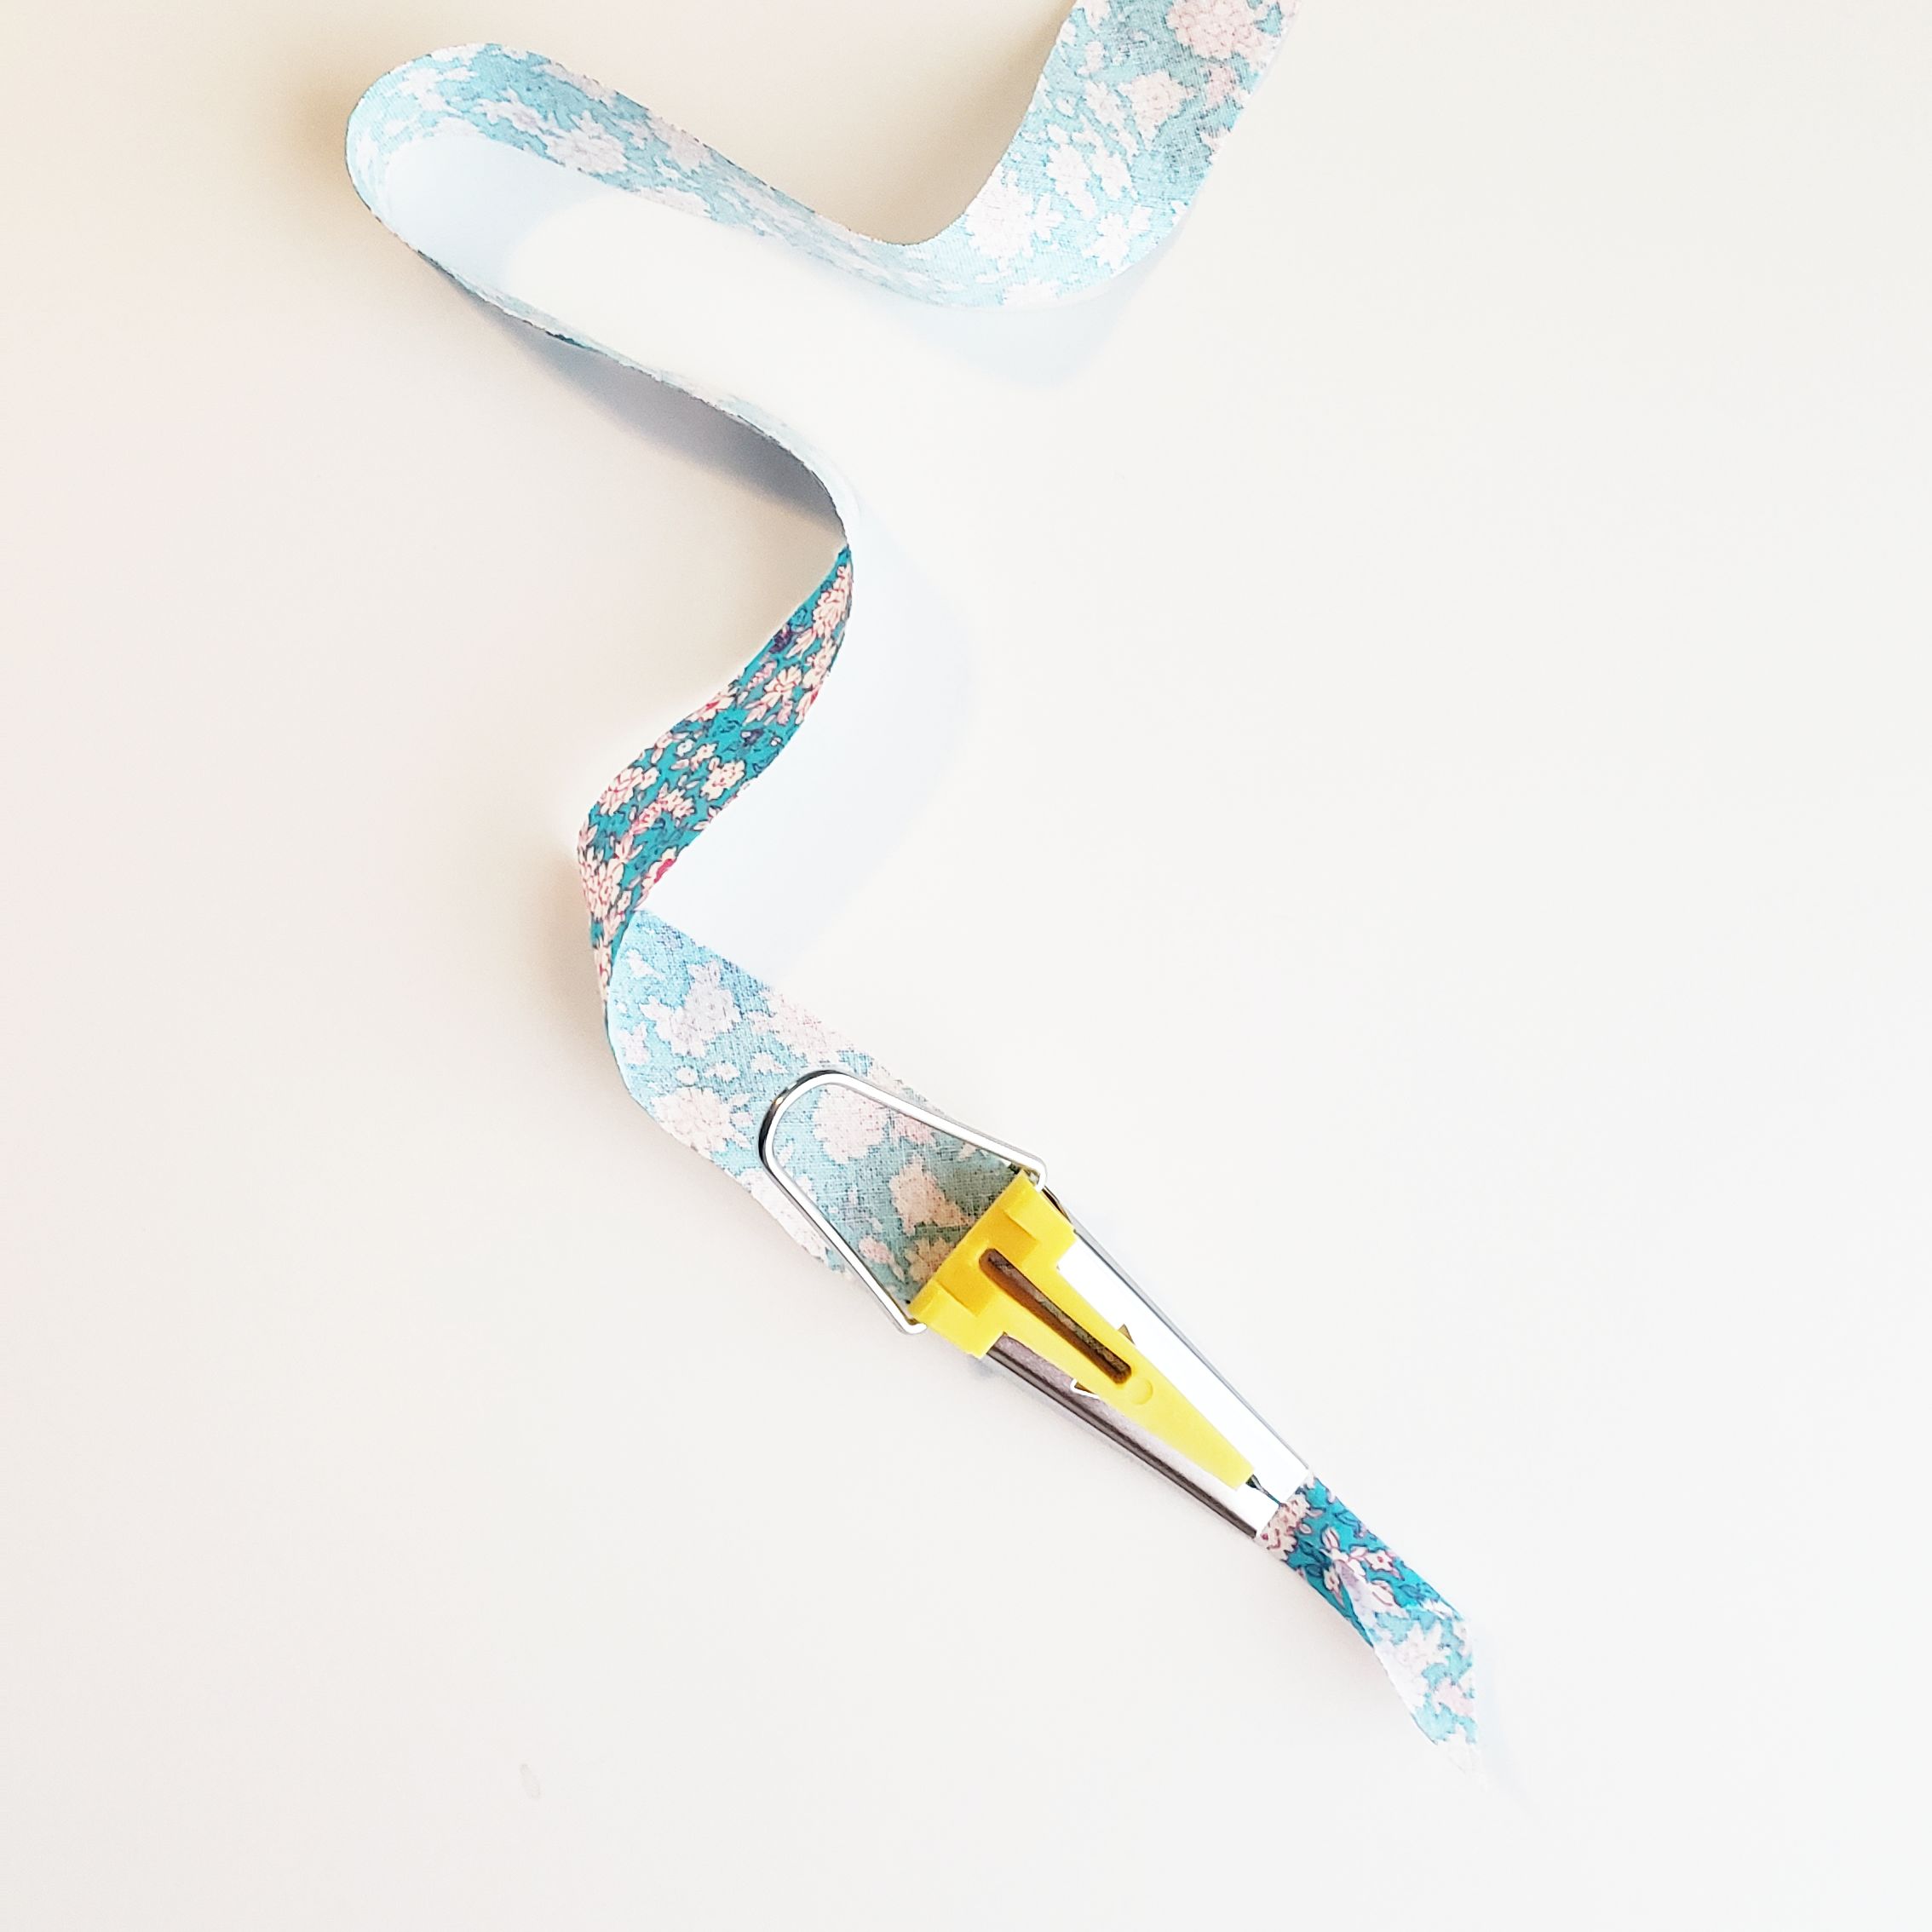
2. Pull end of strip through bias tape tool with about 1” sticking out to get it started.
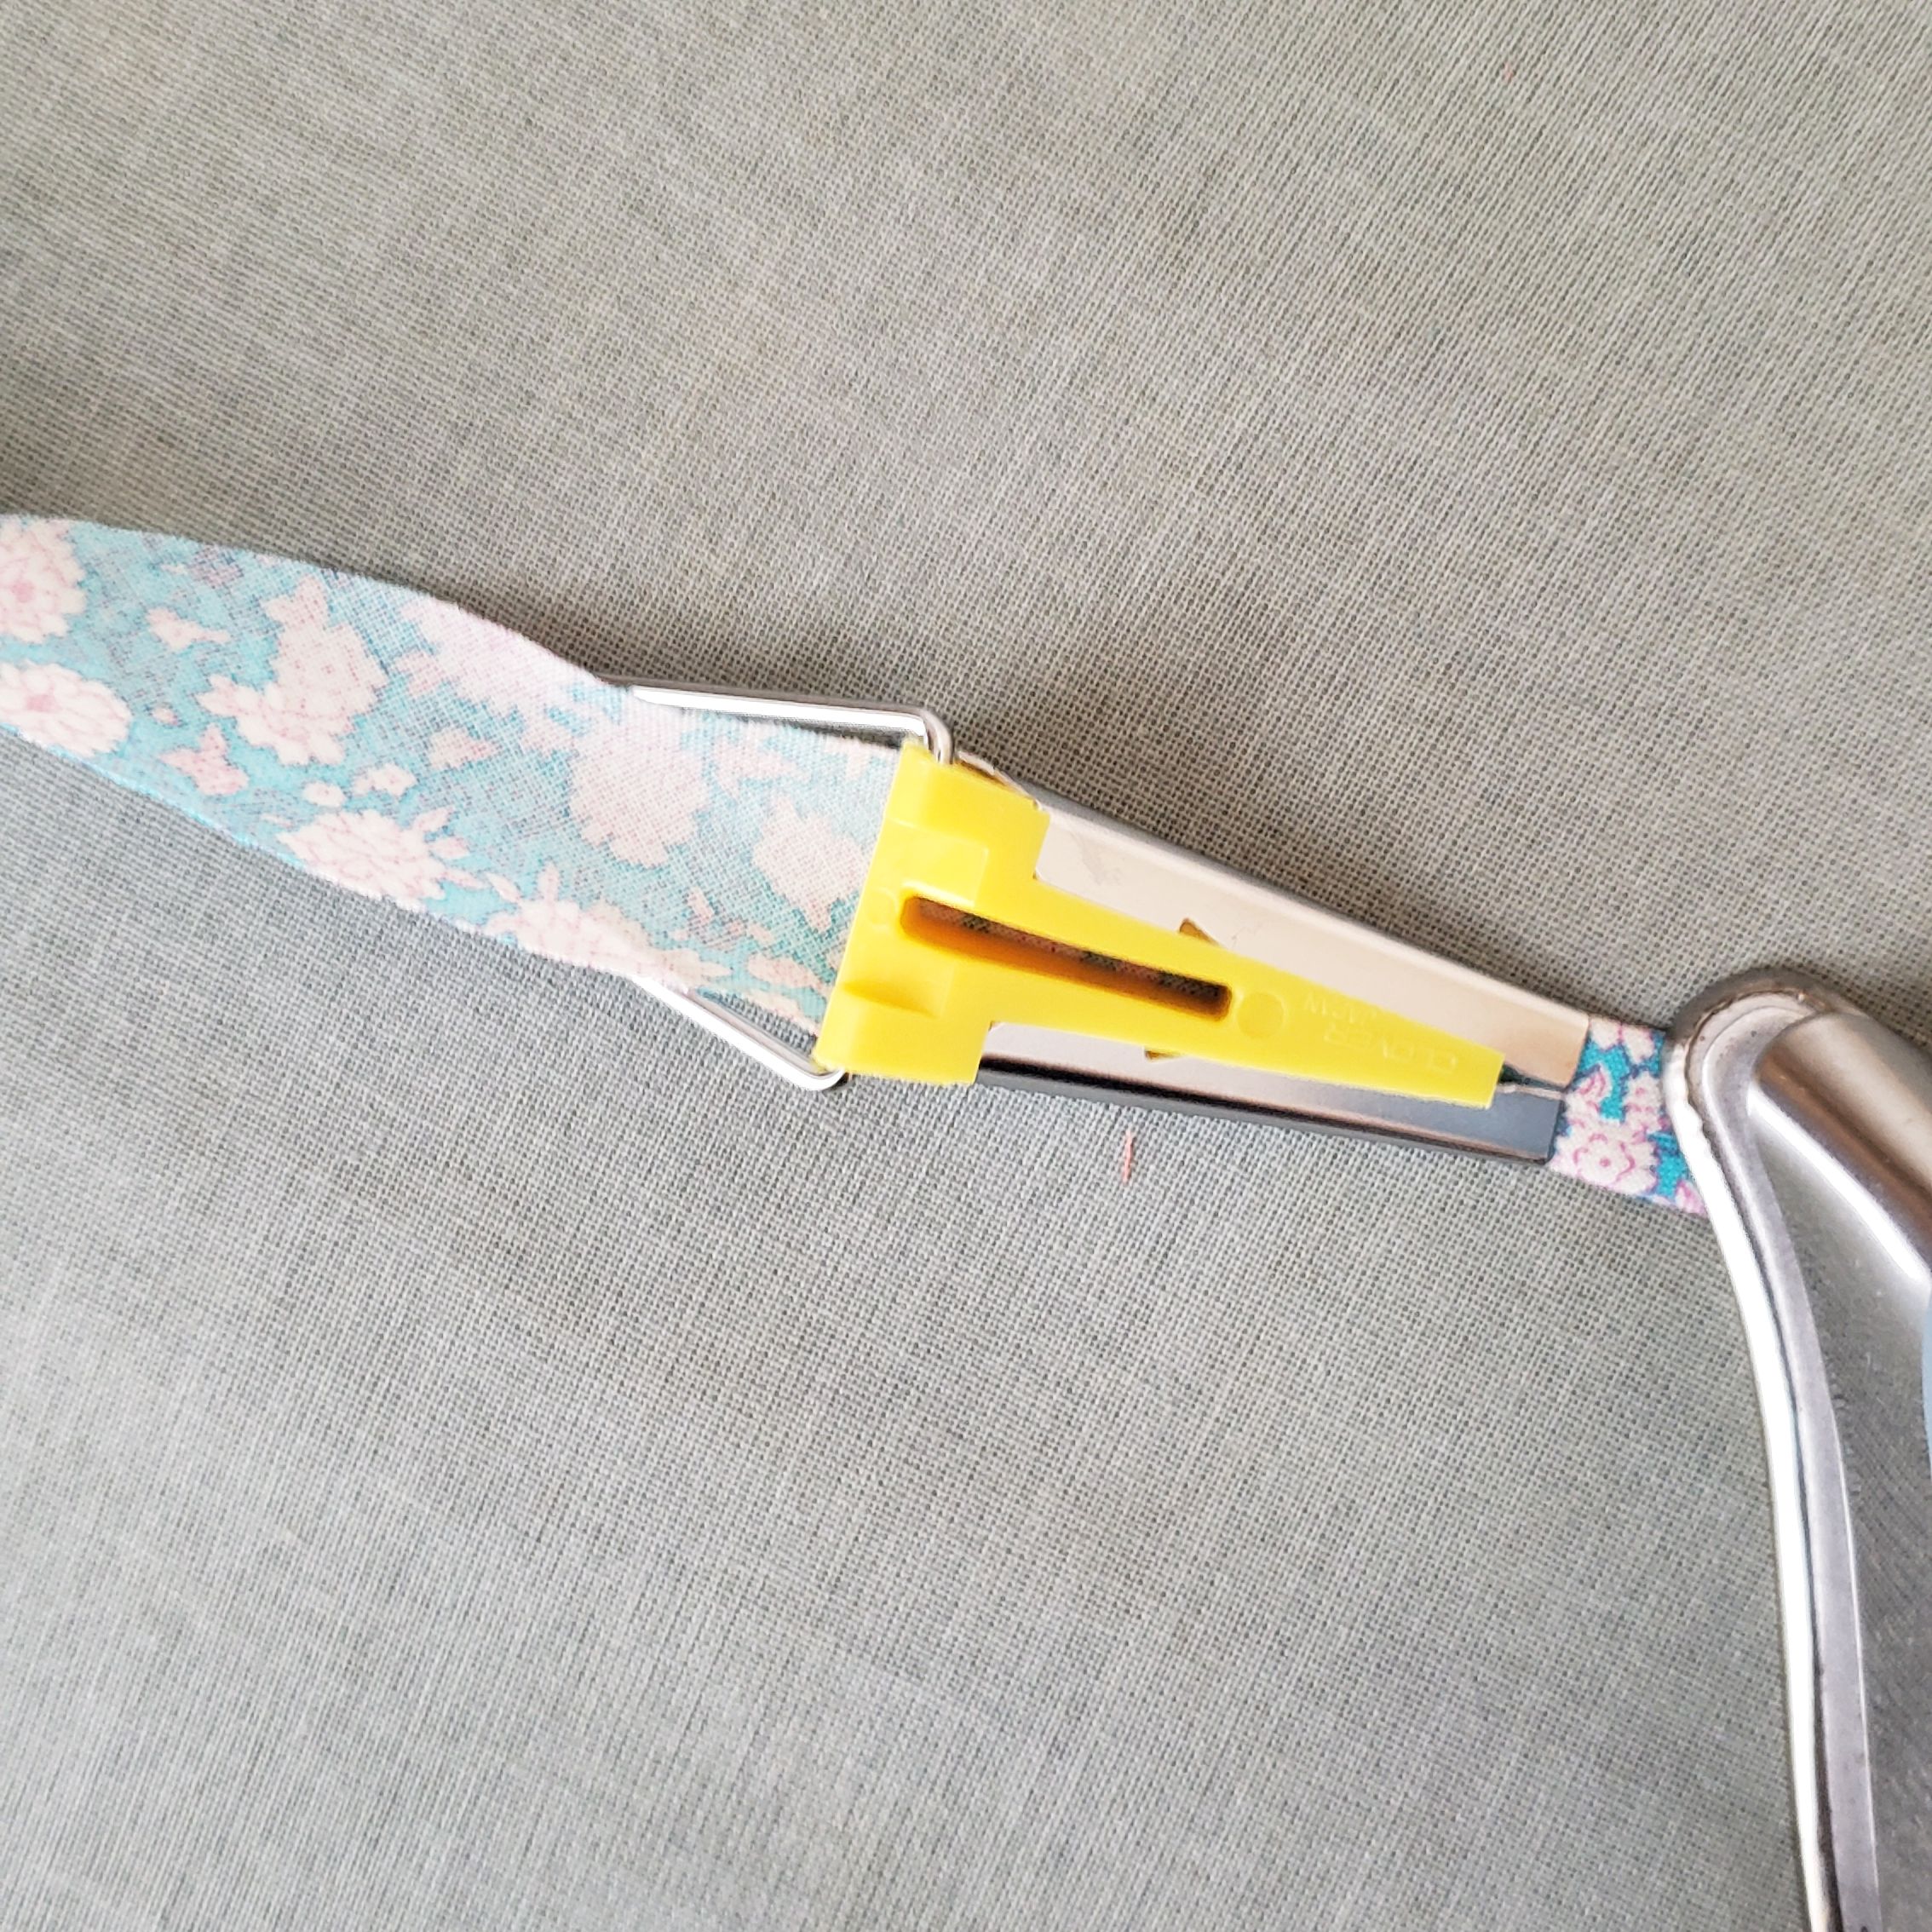
3. Iron the end to get it started.
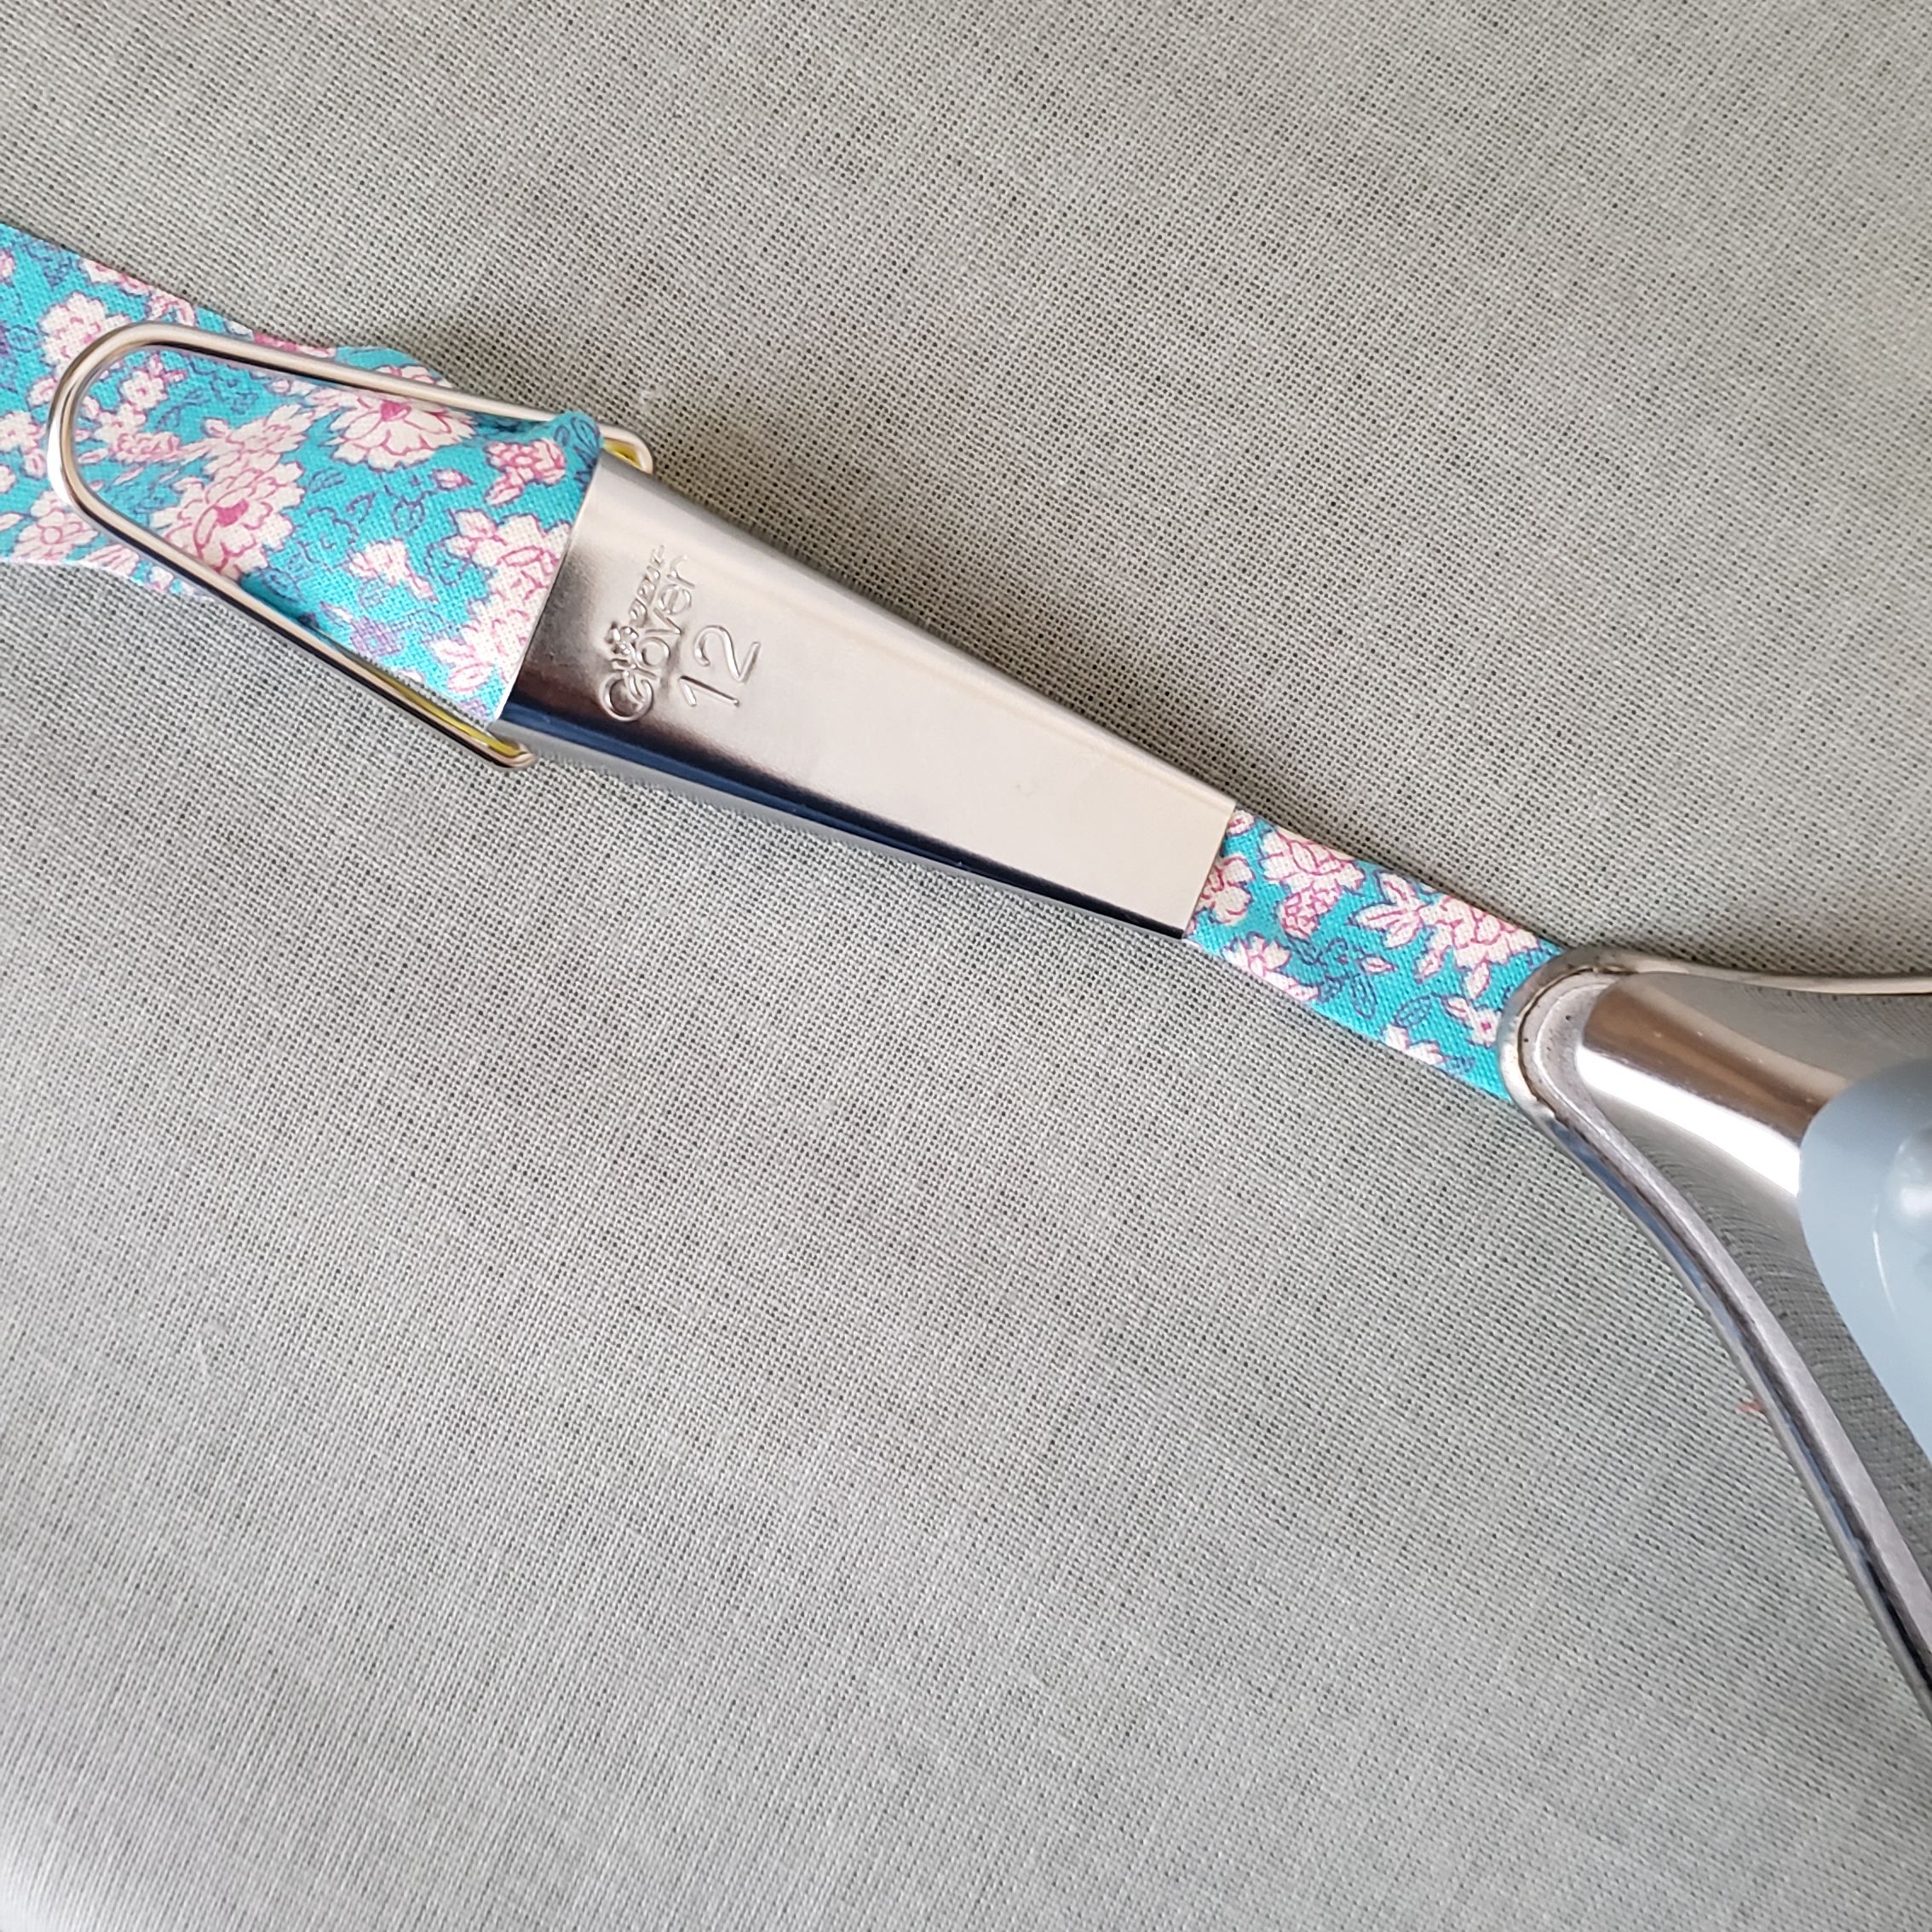
4. Then flip it over to slowly iron on the “right” side while you gently pull the bias tape maker away from the iron.
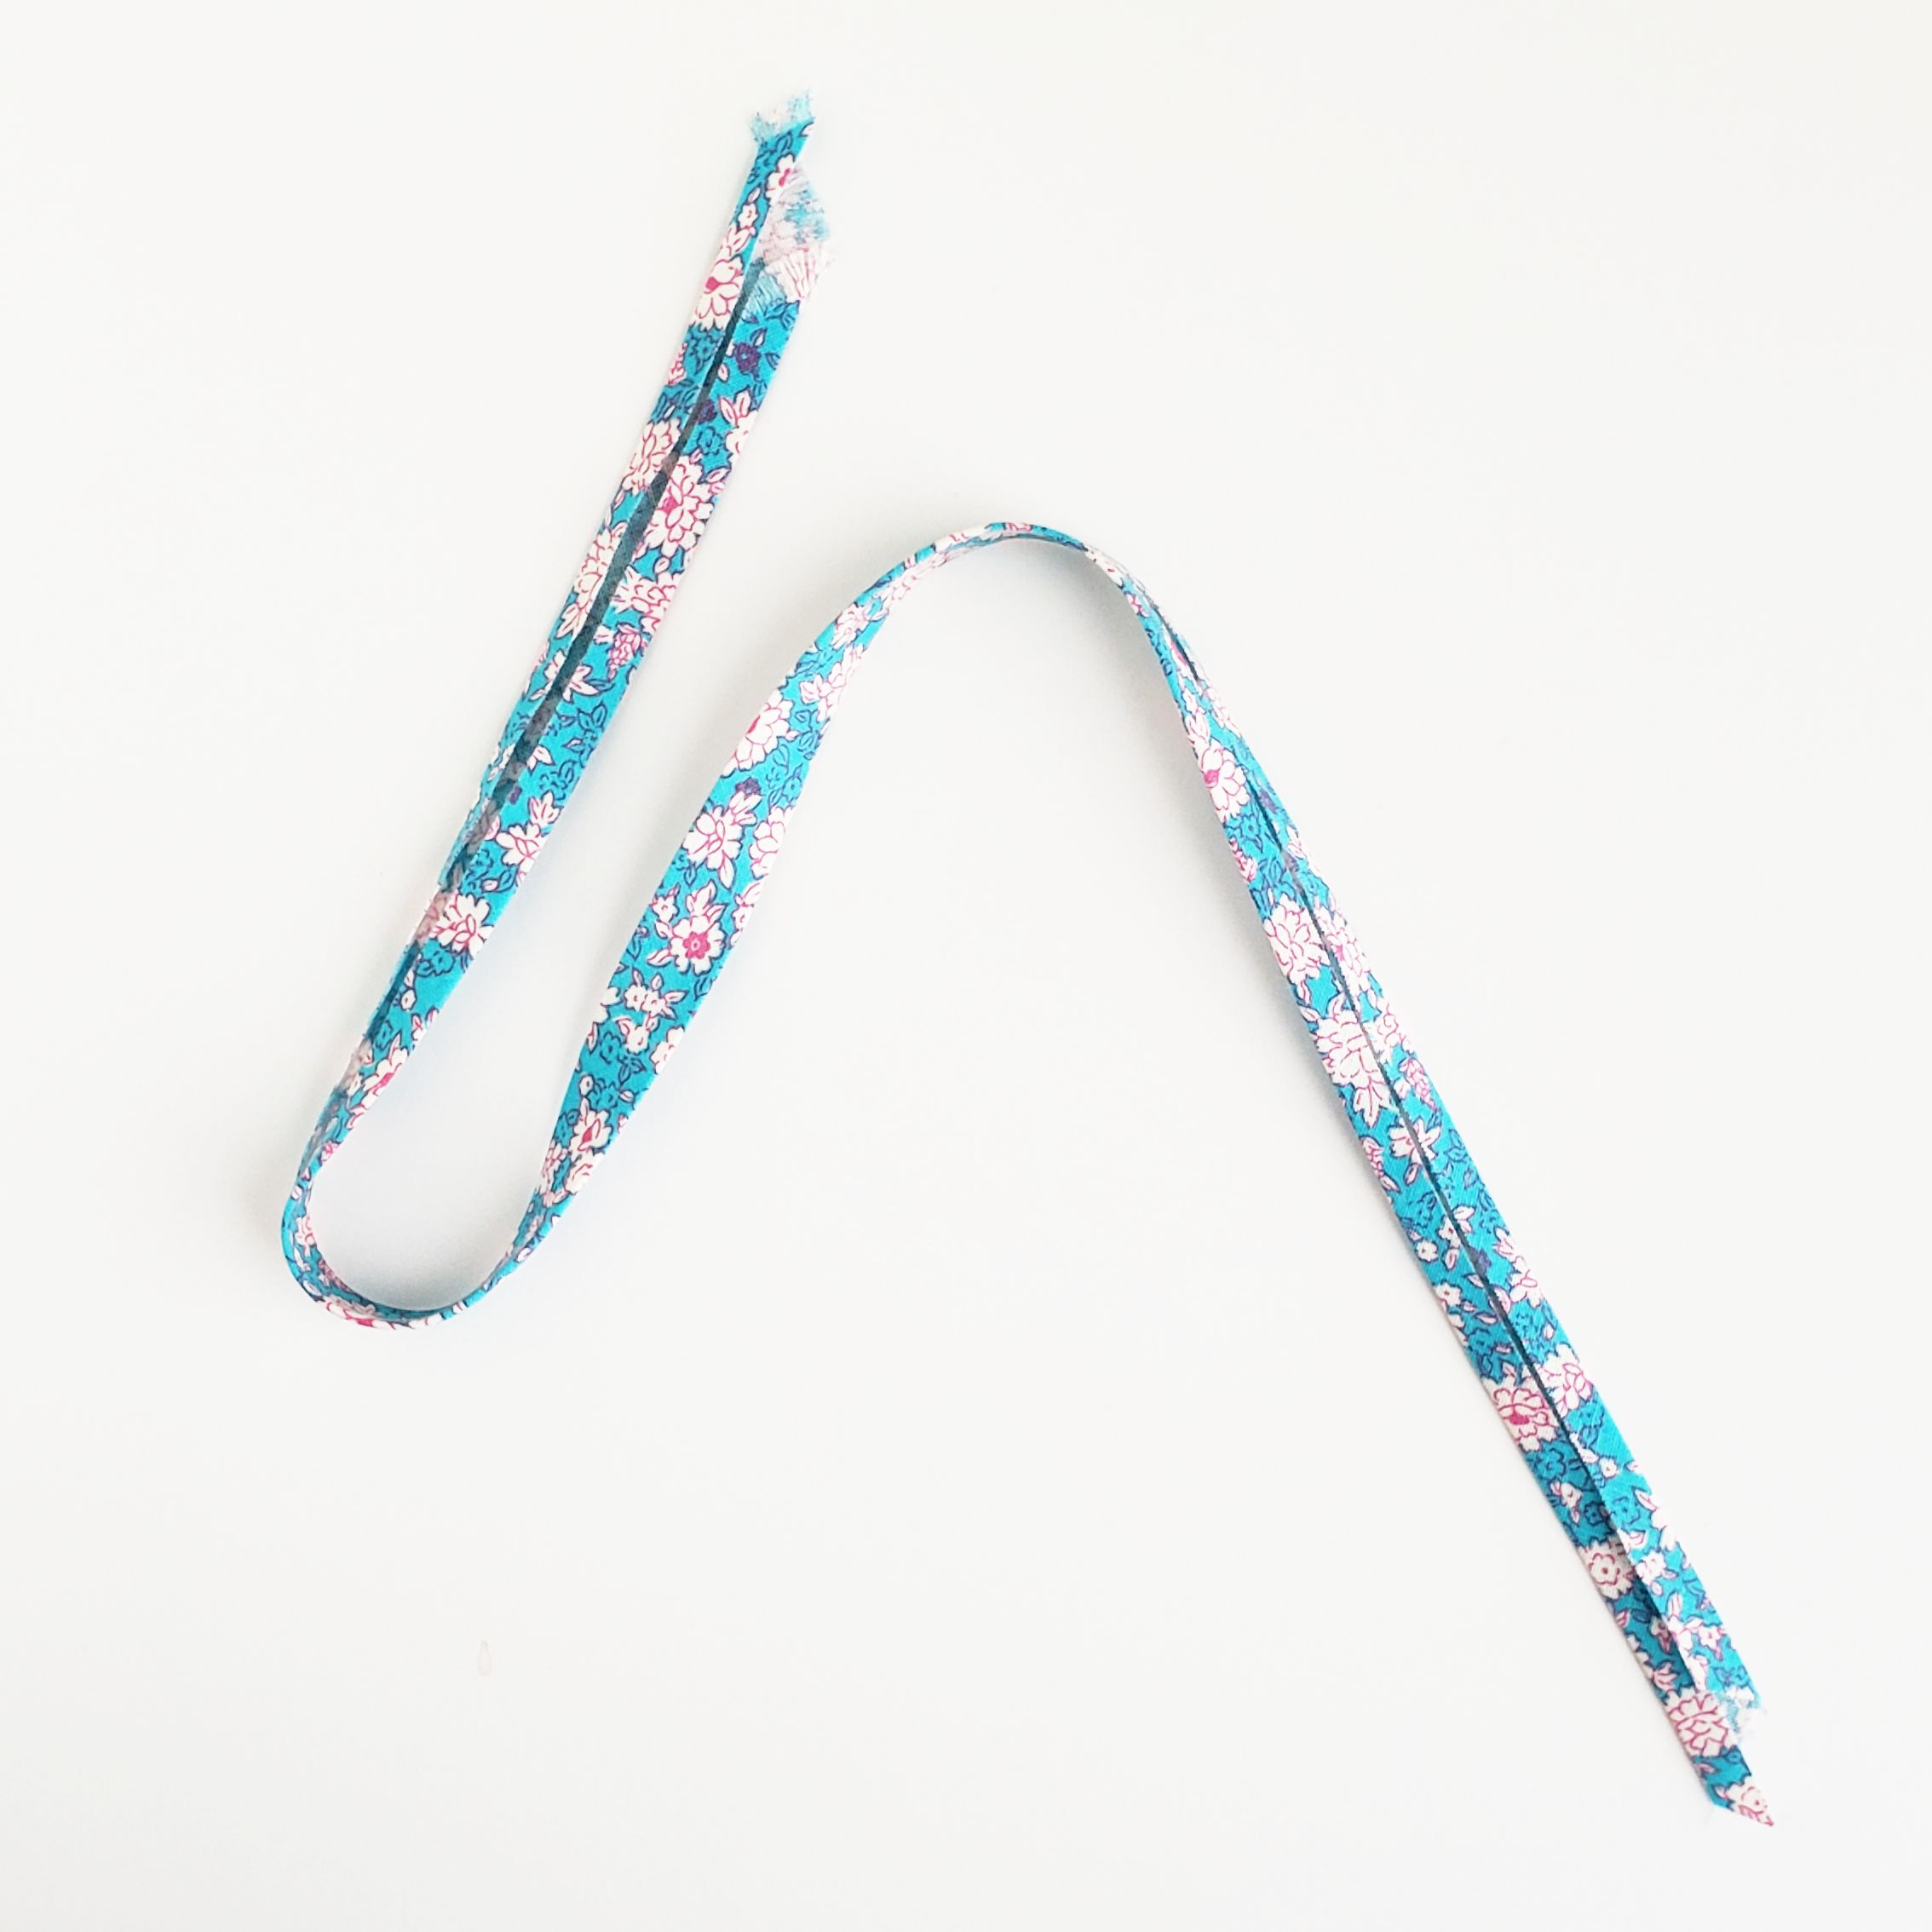
Voila! Bias tape!
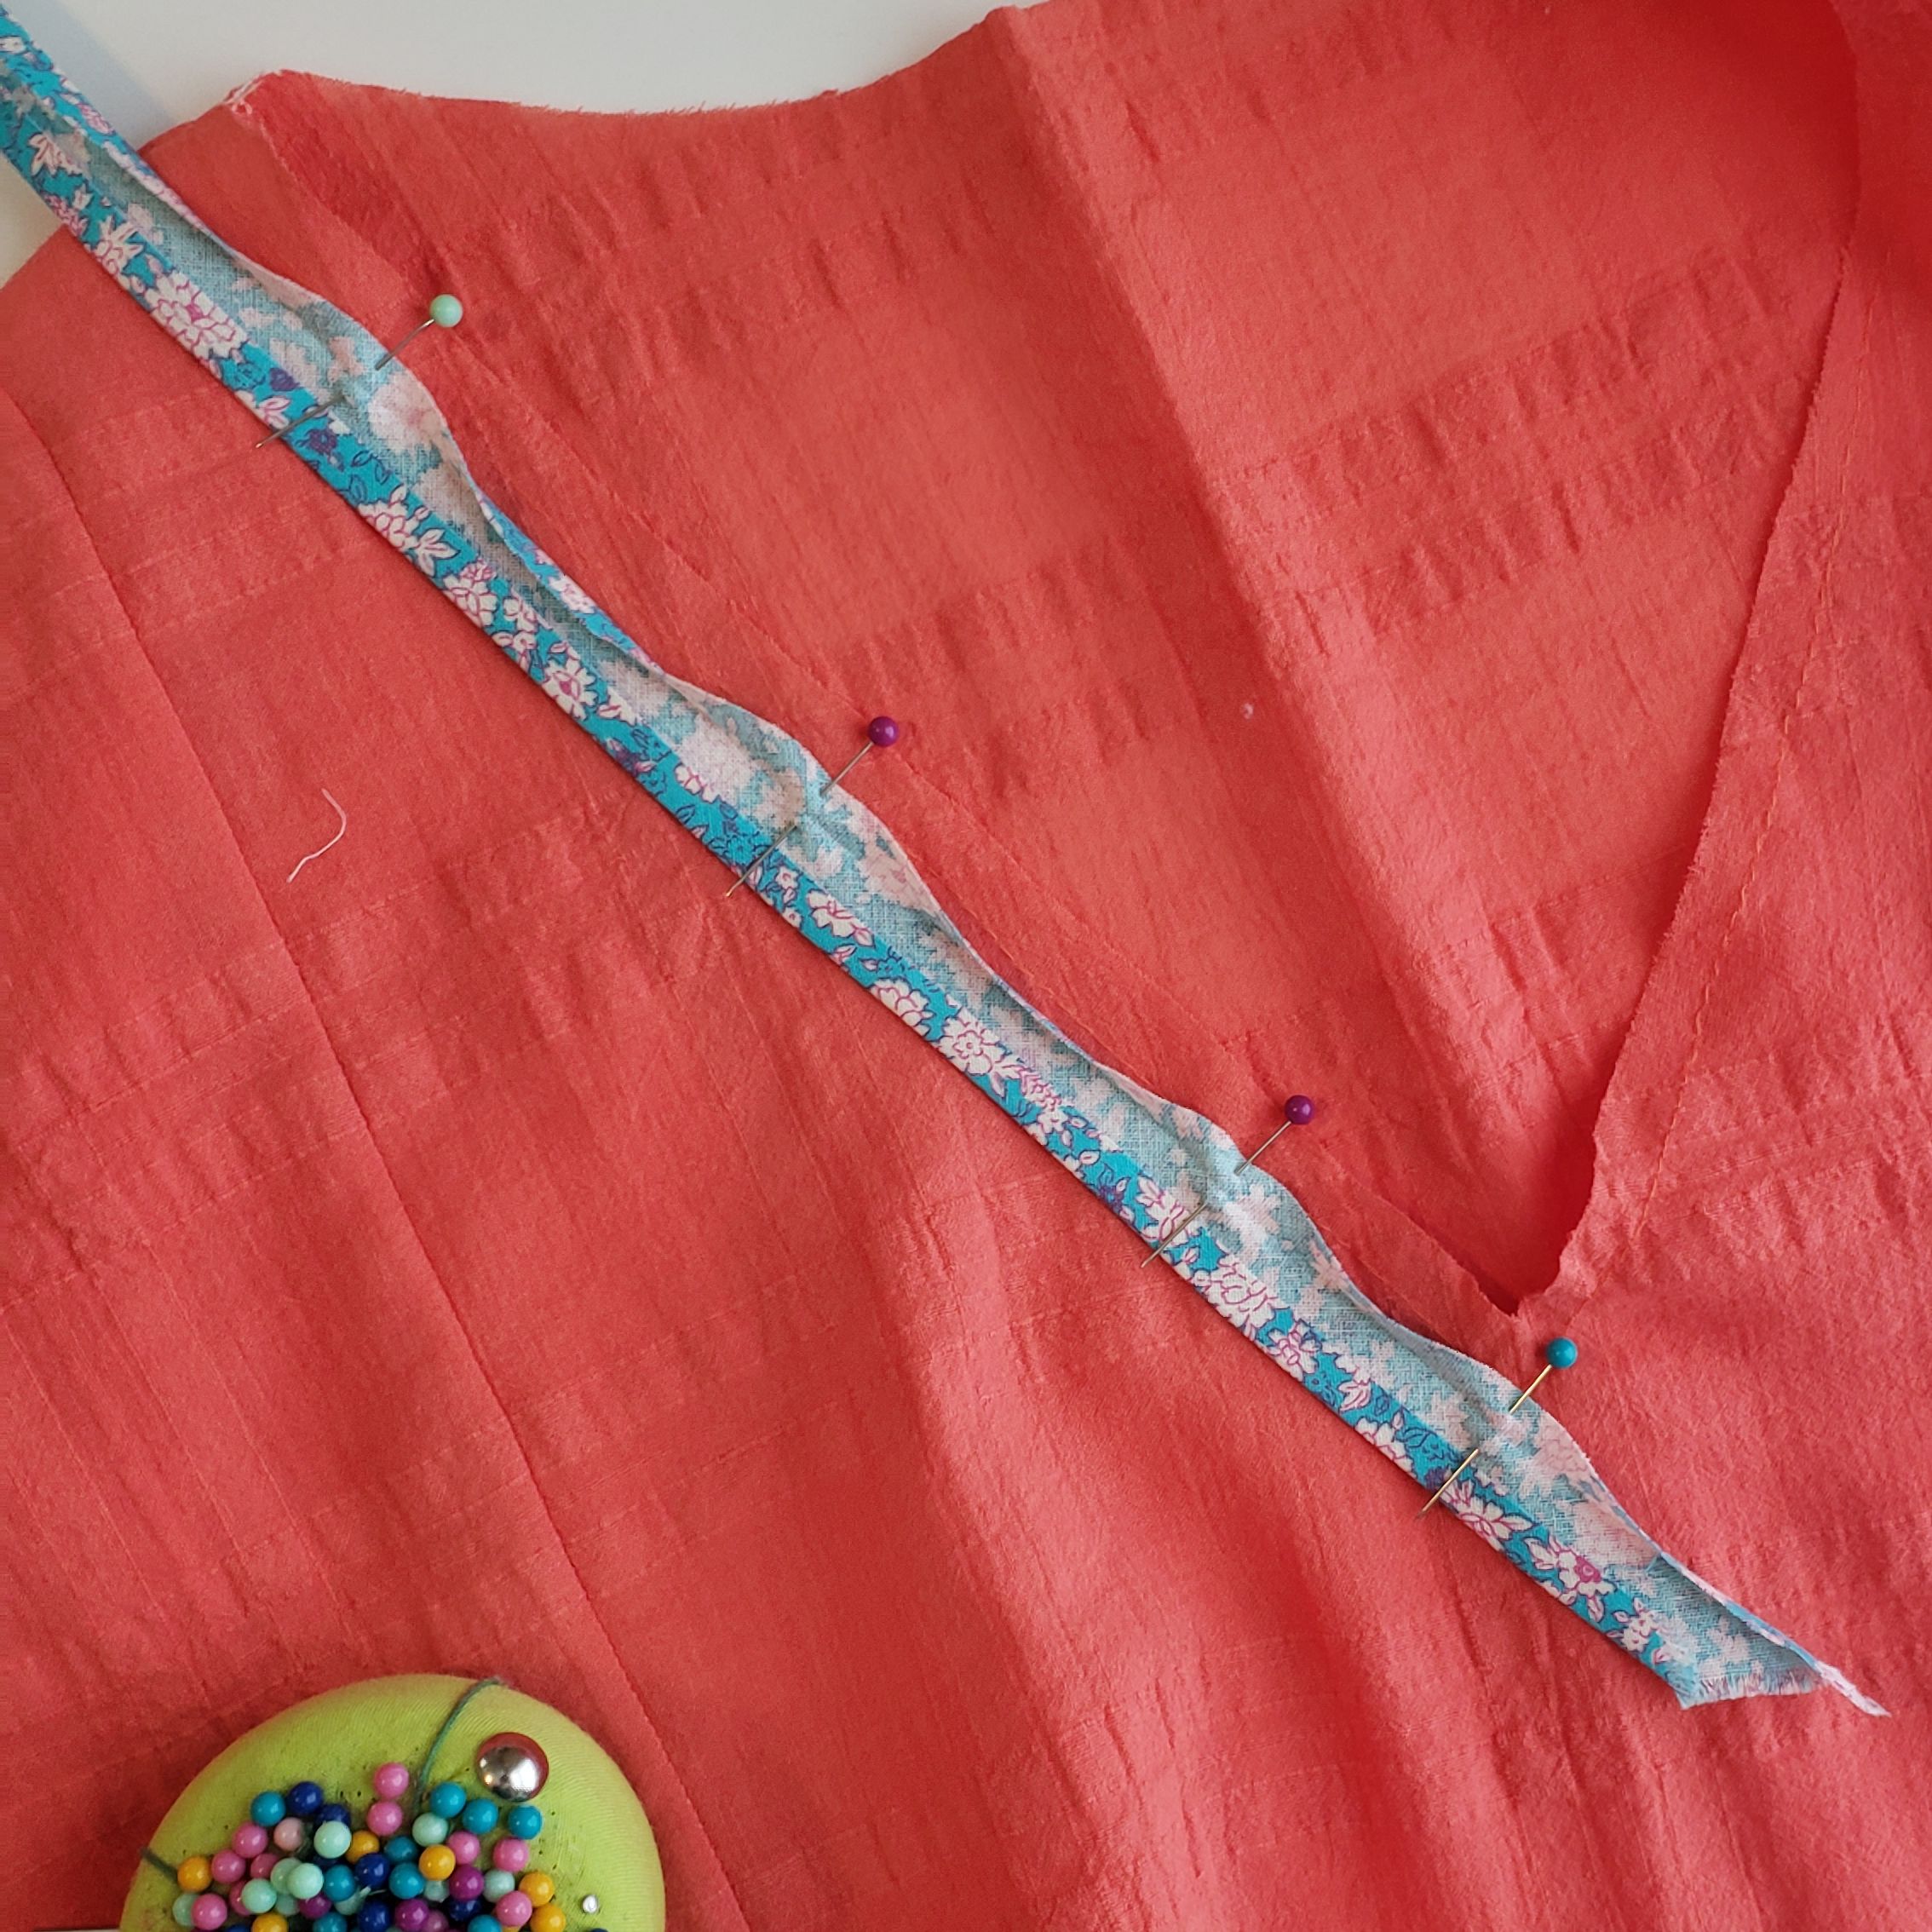
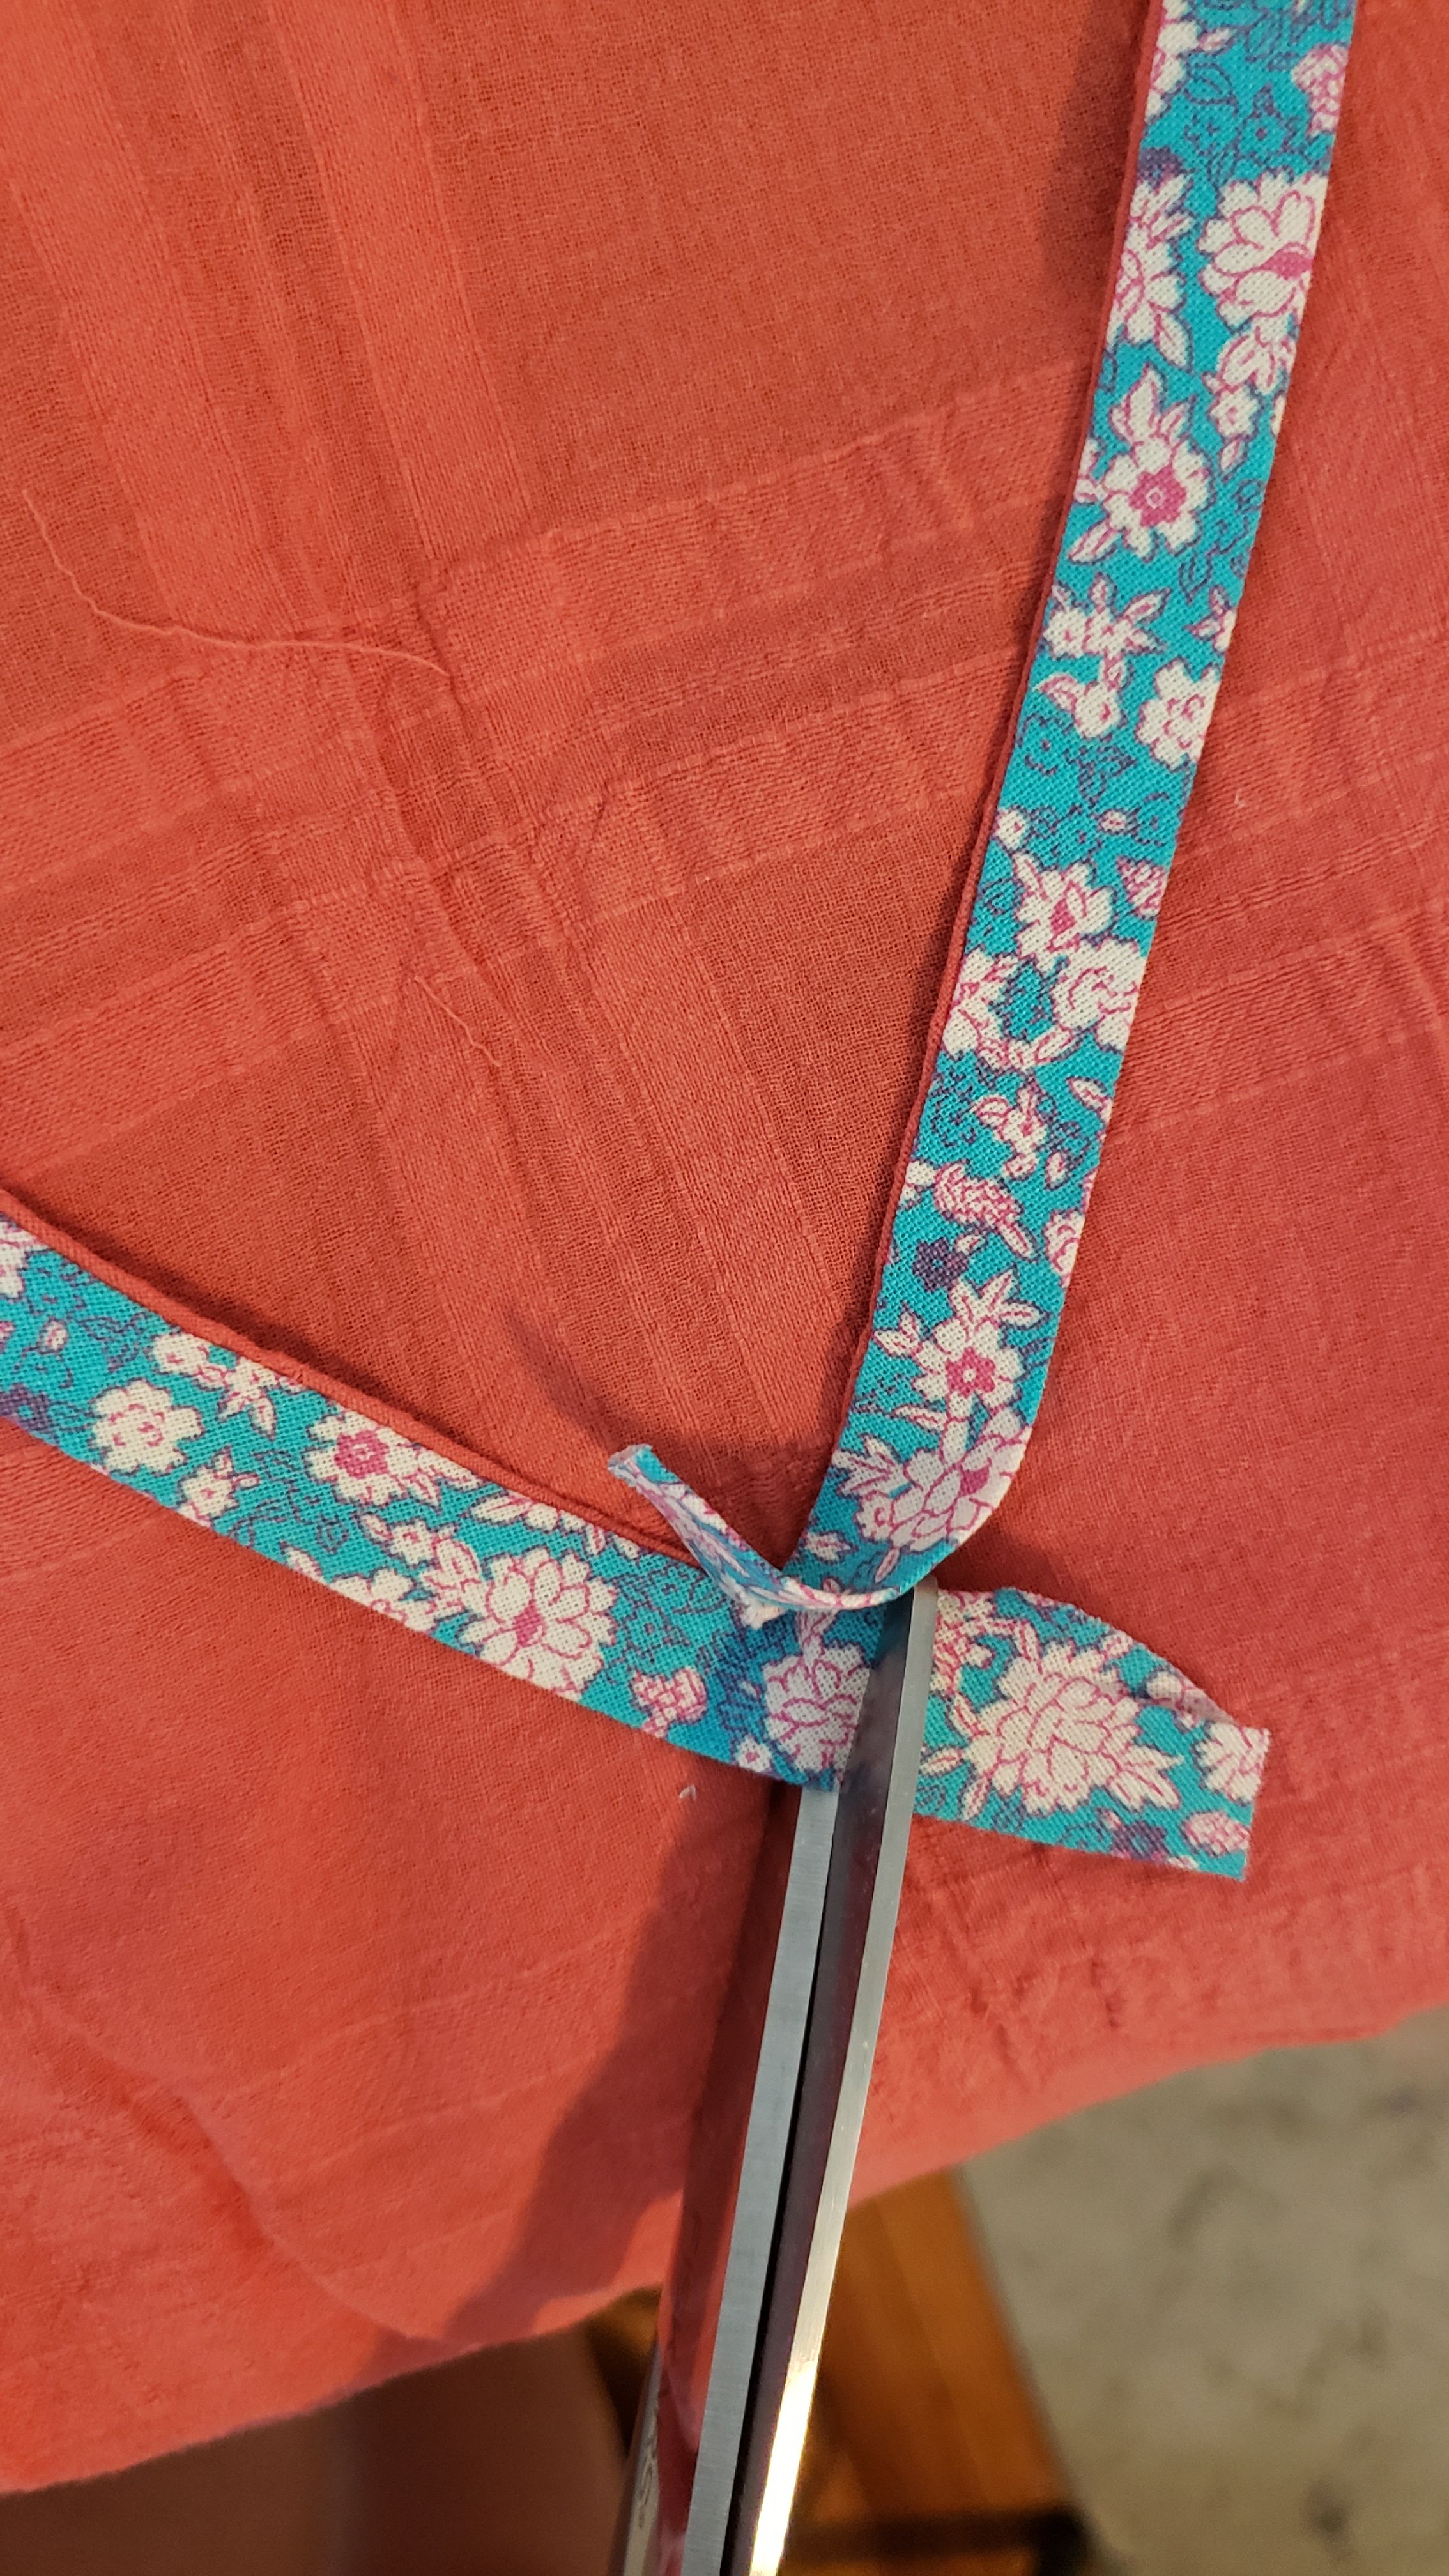
Next, I carefully pinned the bias tape edge, right sides together, to the perimeter of the neckline. You want to get the fold along one side to line up with the seam line (You can see here that my bias tape fold was actually a little too narrow, but I just tried to maintain the seam allowance by pinning it about 1/4” from the raw edge of the neckline).
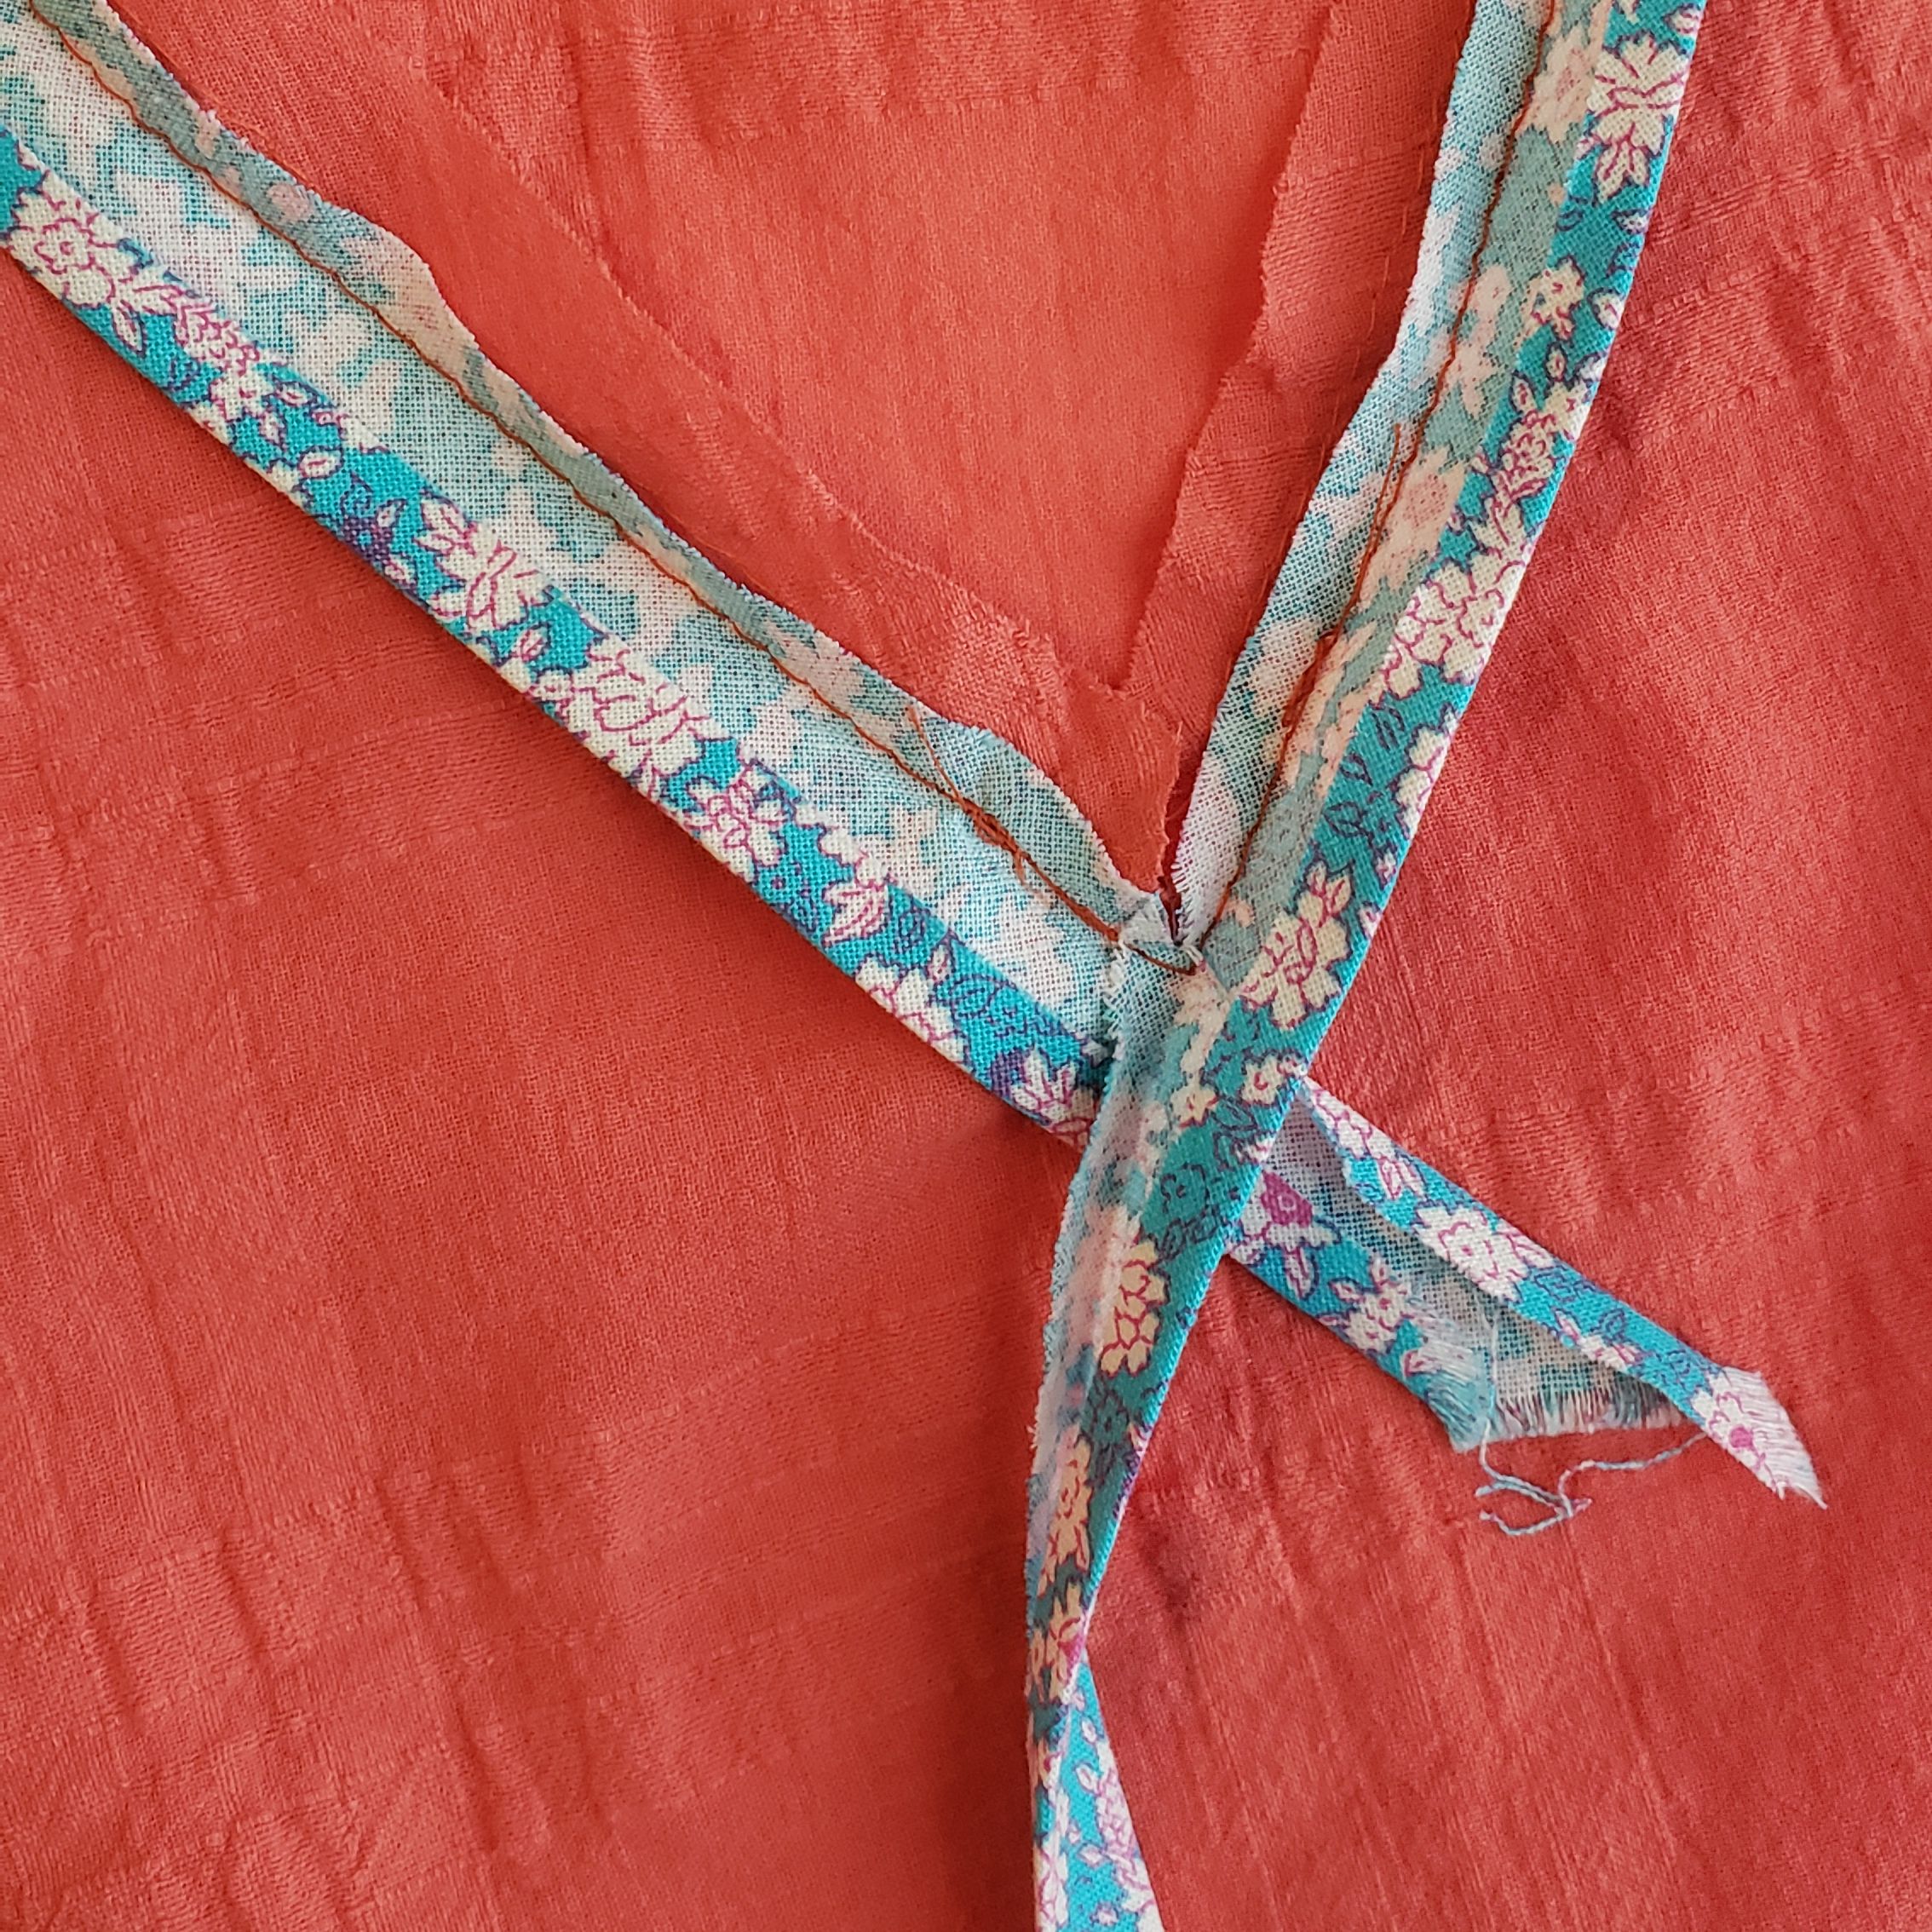
I sewed the bias tape to the entire perimeter of the neckline, overlapping the ends at the point of the V-Neck. Then I clipped the interior corner of the V-neck (without clipping the seam), to make turning easier.
Next, I turned the shirt inside out and folded the bias tape to the interior to press, making sure the fold on the other side of the tape was pressed under for a clean finish. Once it was all pressed in place, I clipped one of the raw ends so that it would be concealed under the other end of the bias tape. Then I folded the other end under and pressed for a clean finish.
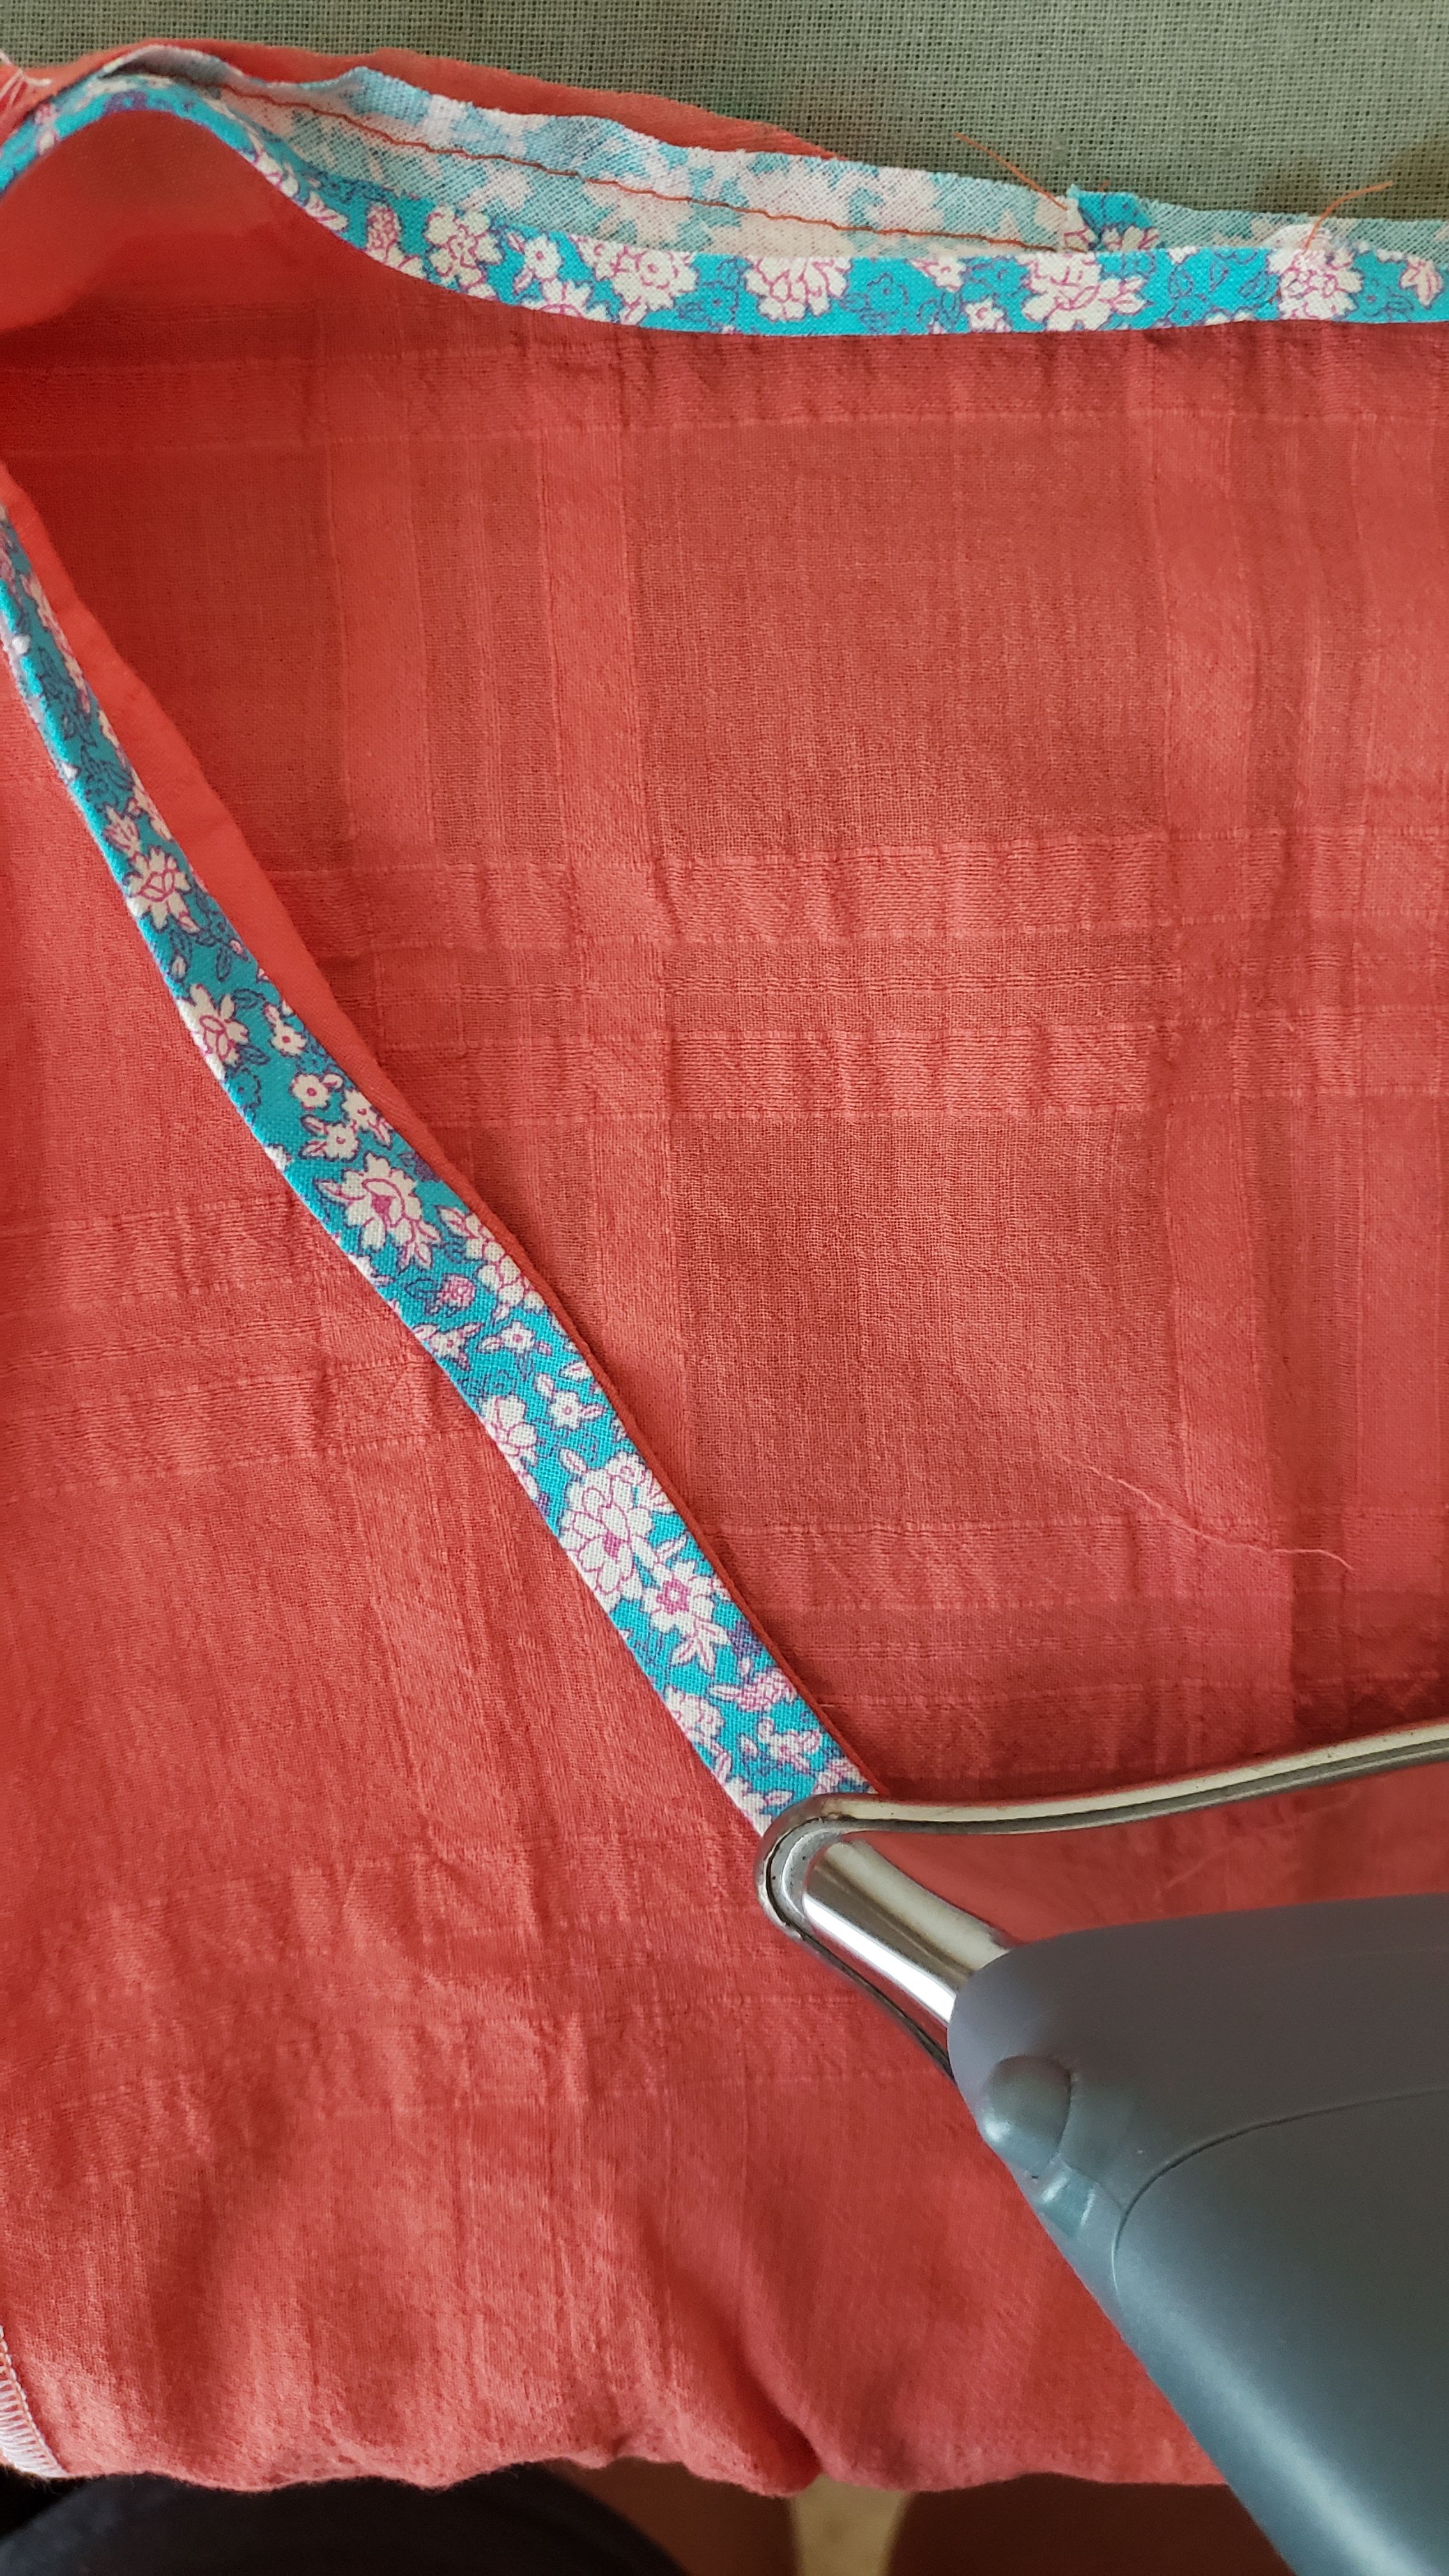
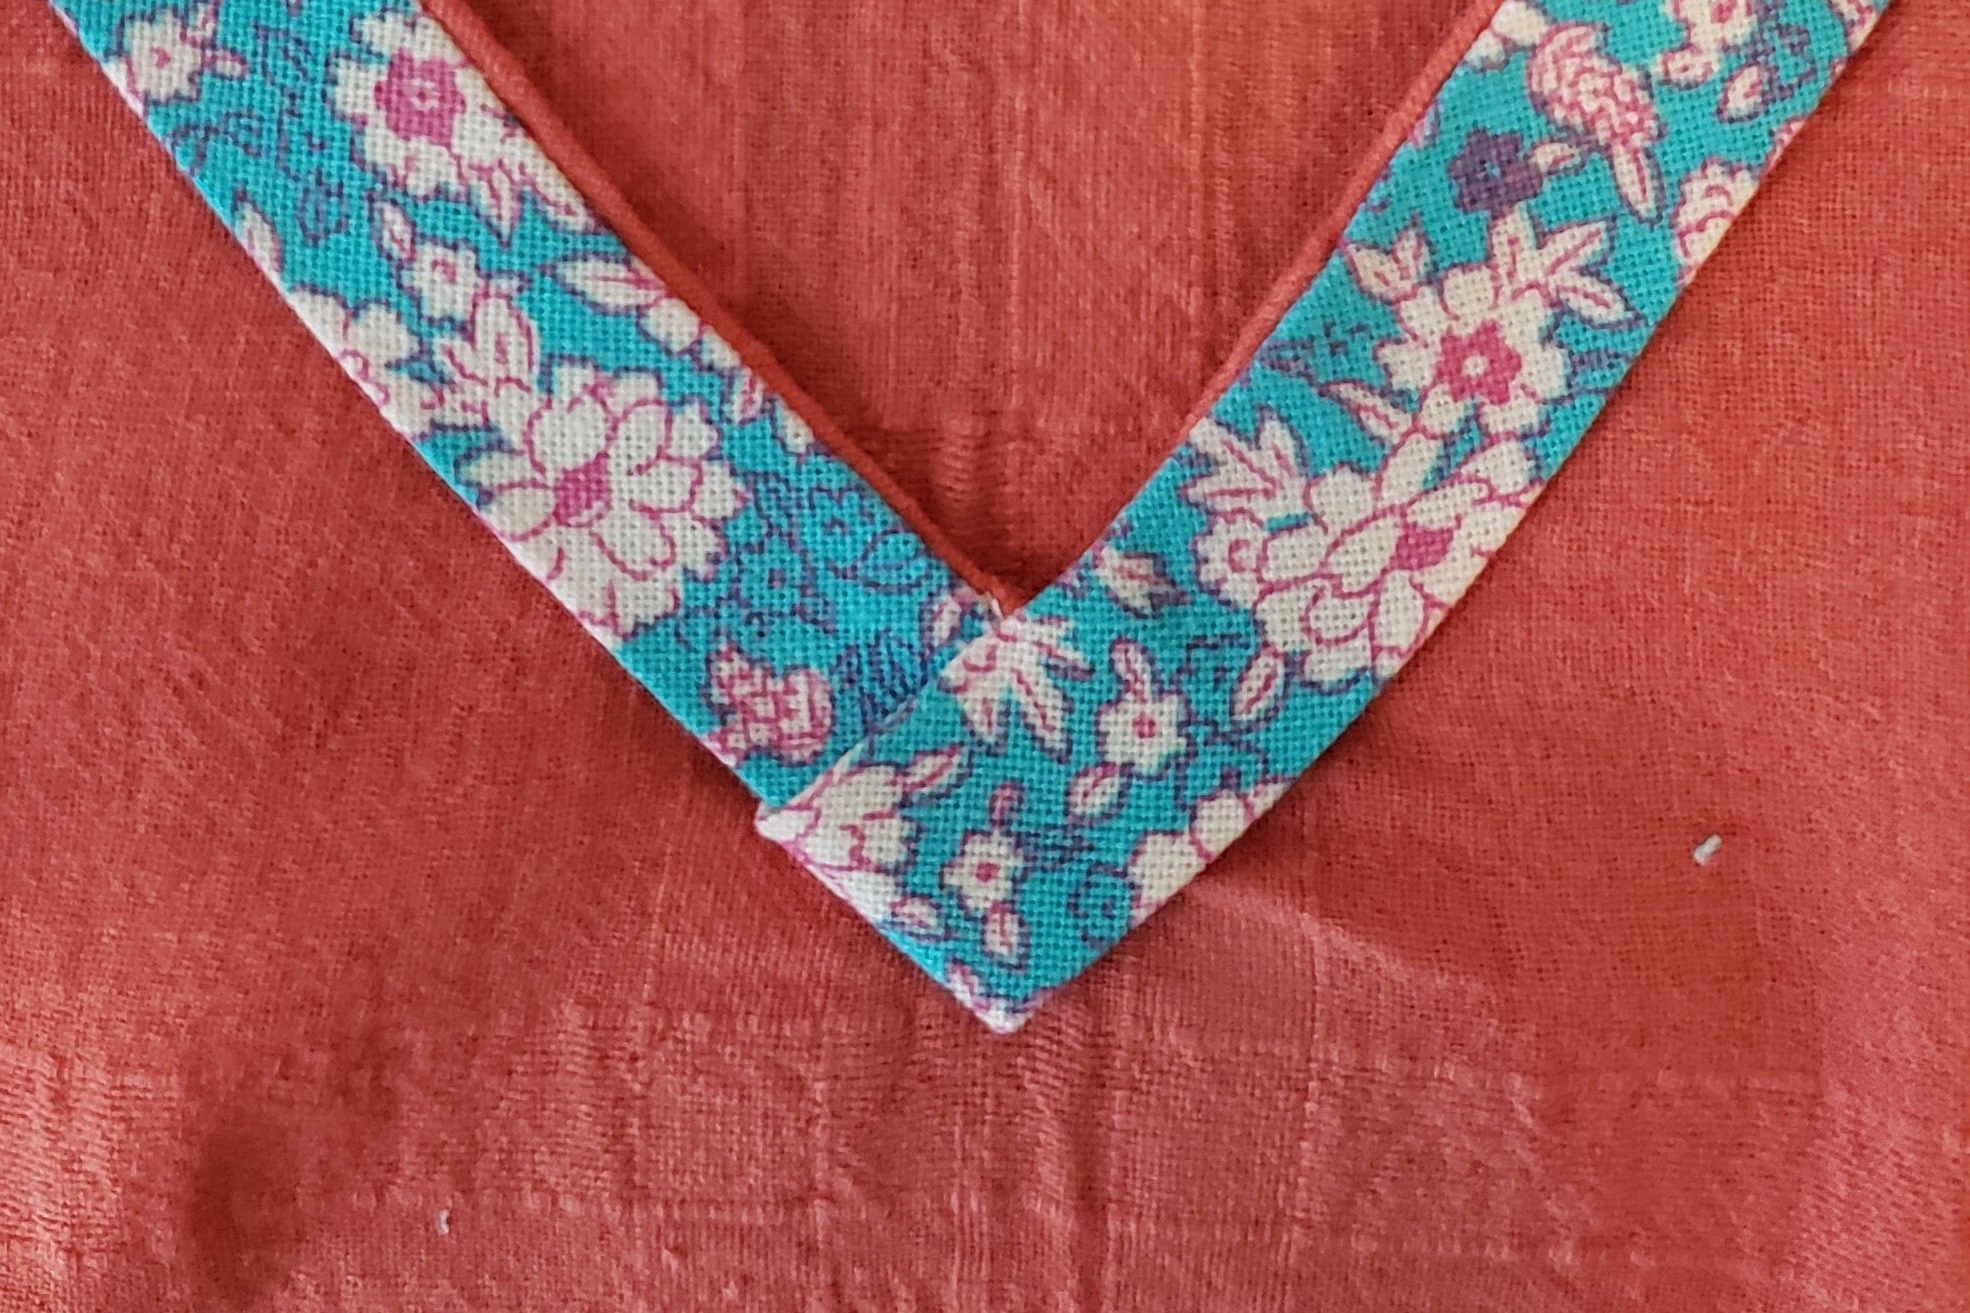
Last, I pressed the neckline on the right side to make sure there were no wrinkles at the V-corner, and secured the bias tape by sewing around the perimeter of the neckline (I sewed this from the wrong side to make sure my seam stayed on the bias tape).
Next up: Lining the Front Center panel of the Fern Top
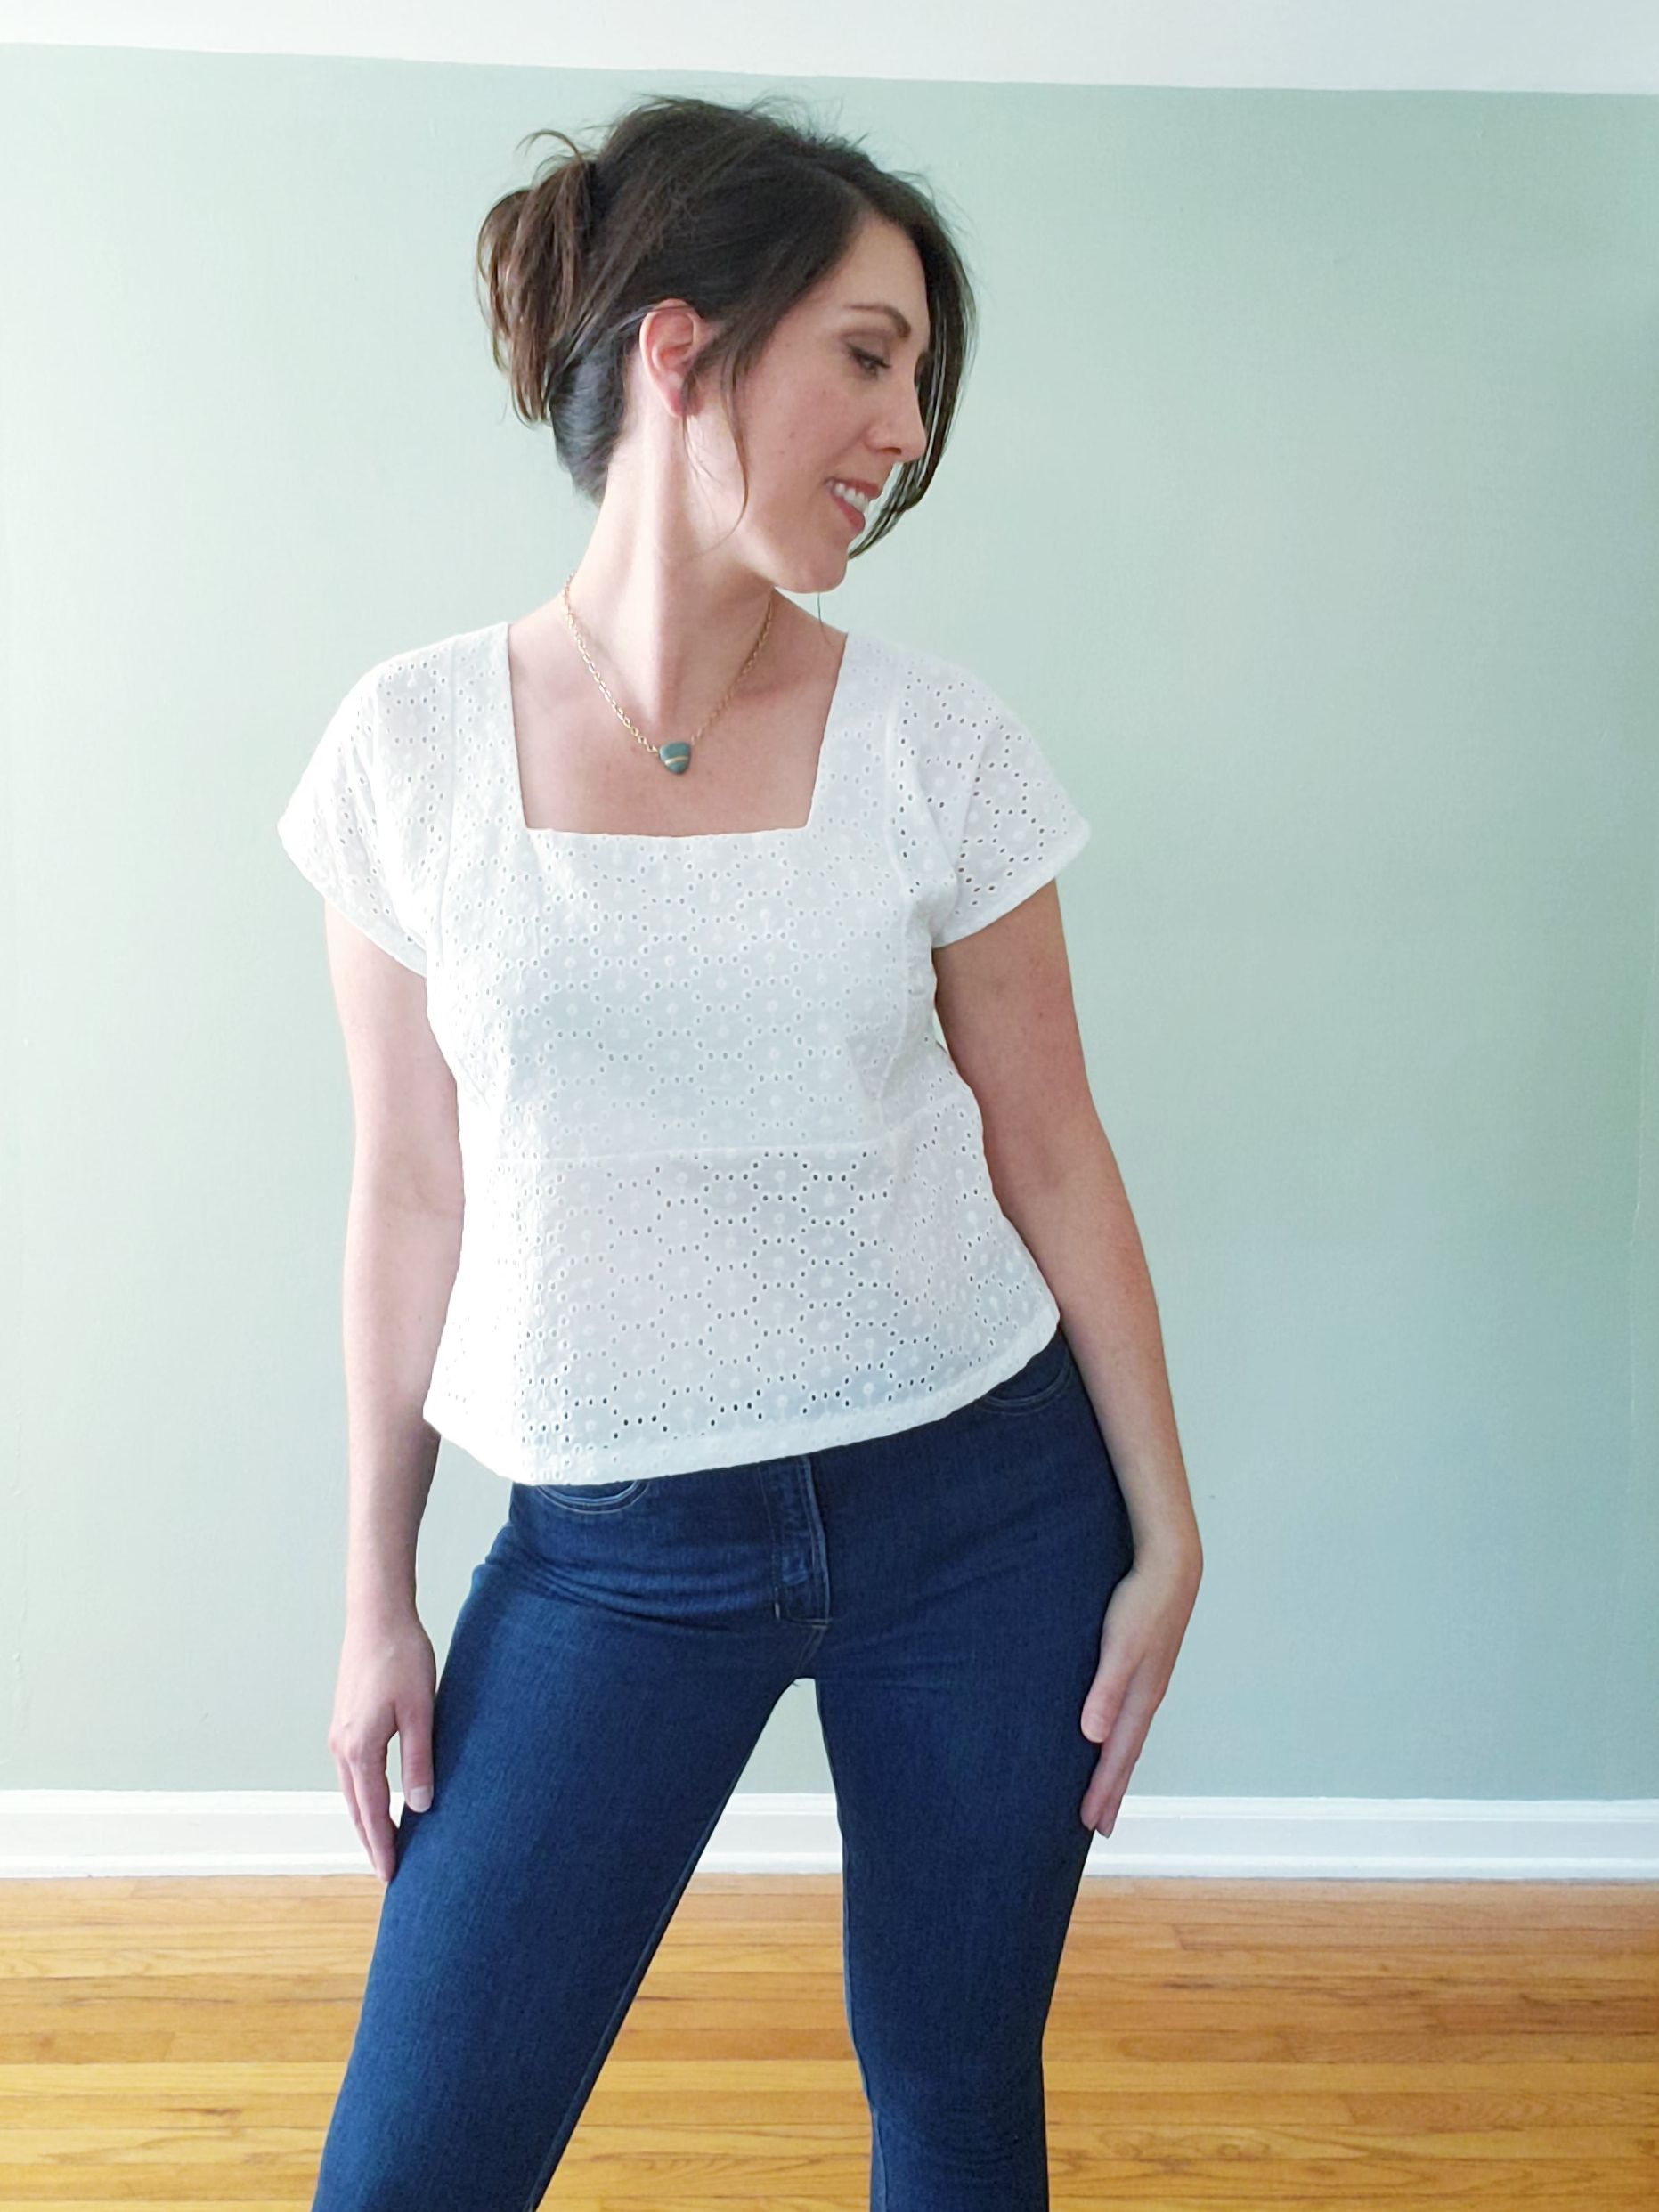
Another option for finishing the neckline of the Fern Top without a facing is to line the Center Front and Center Back pattern pieces. This is a great option for shear or eyelet fabrics to provide a little modesty without compromising and easy-breezy fabric!
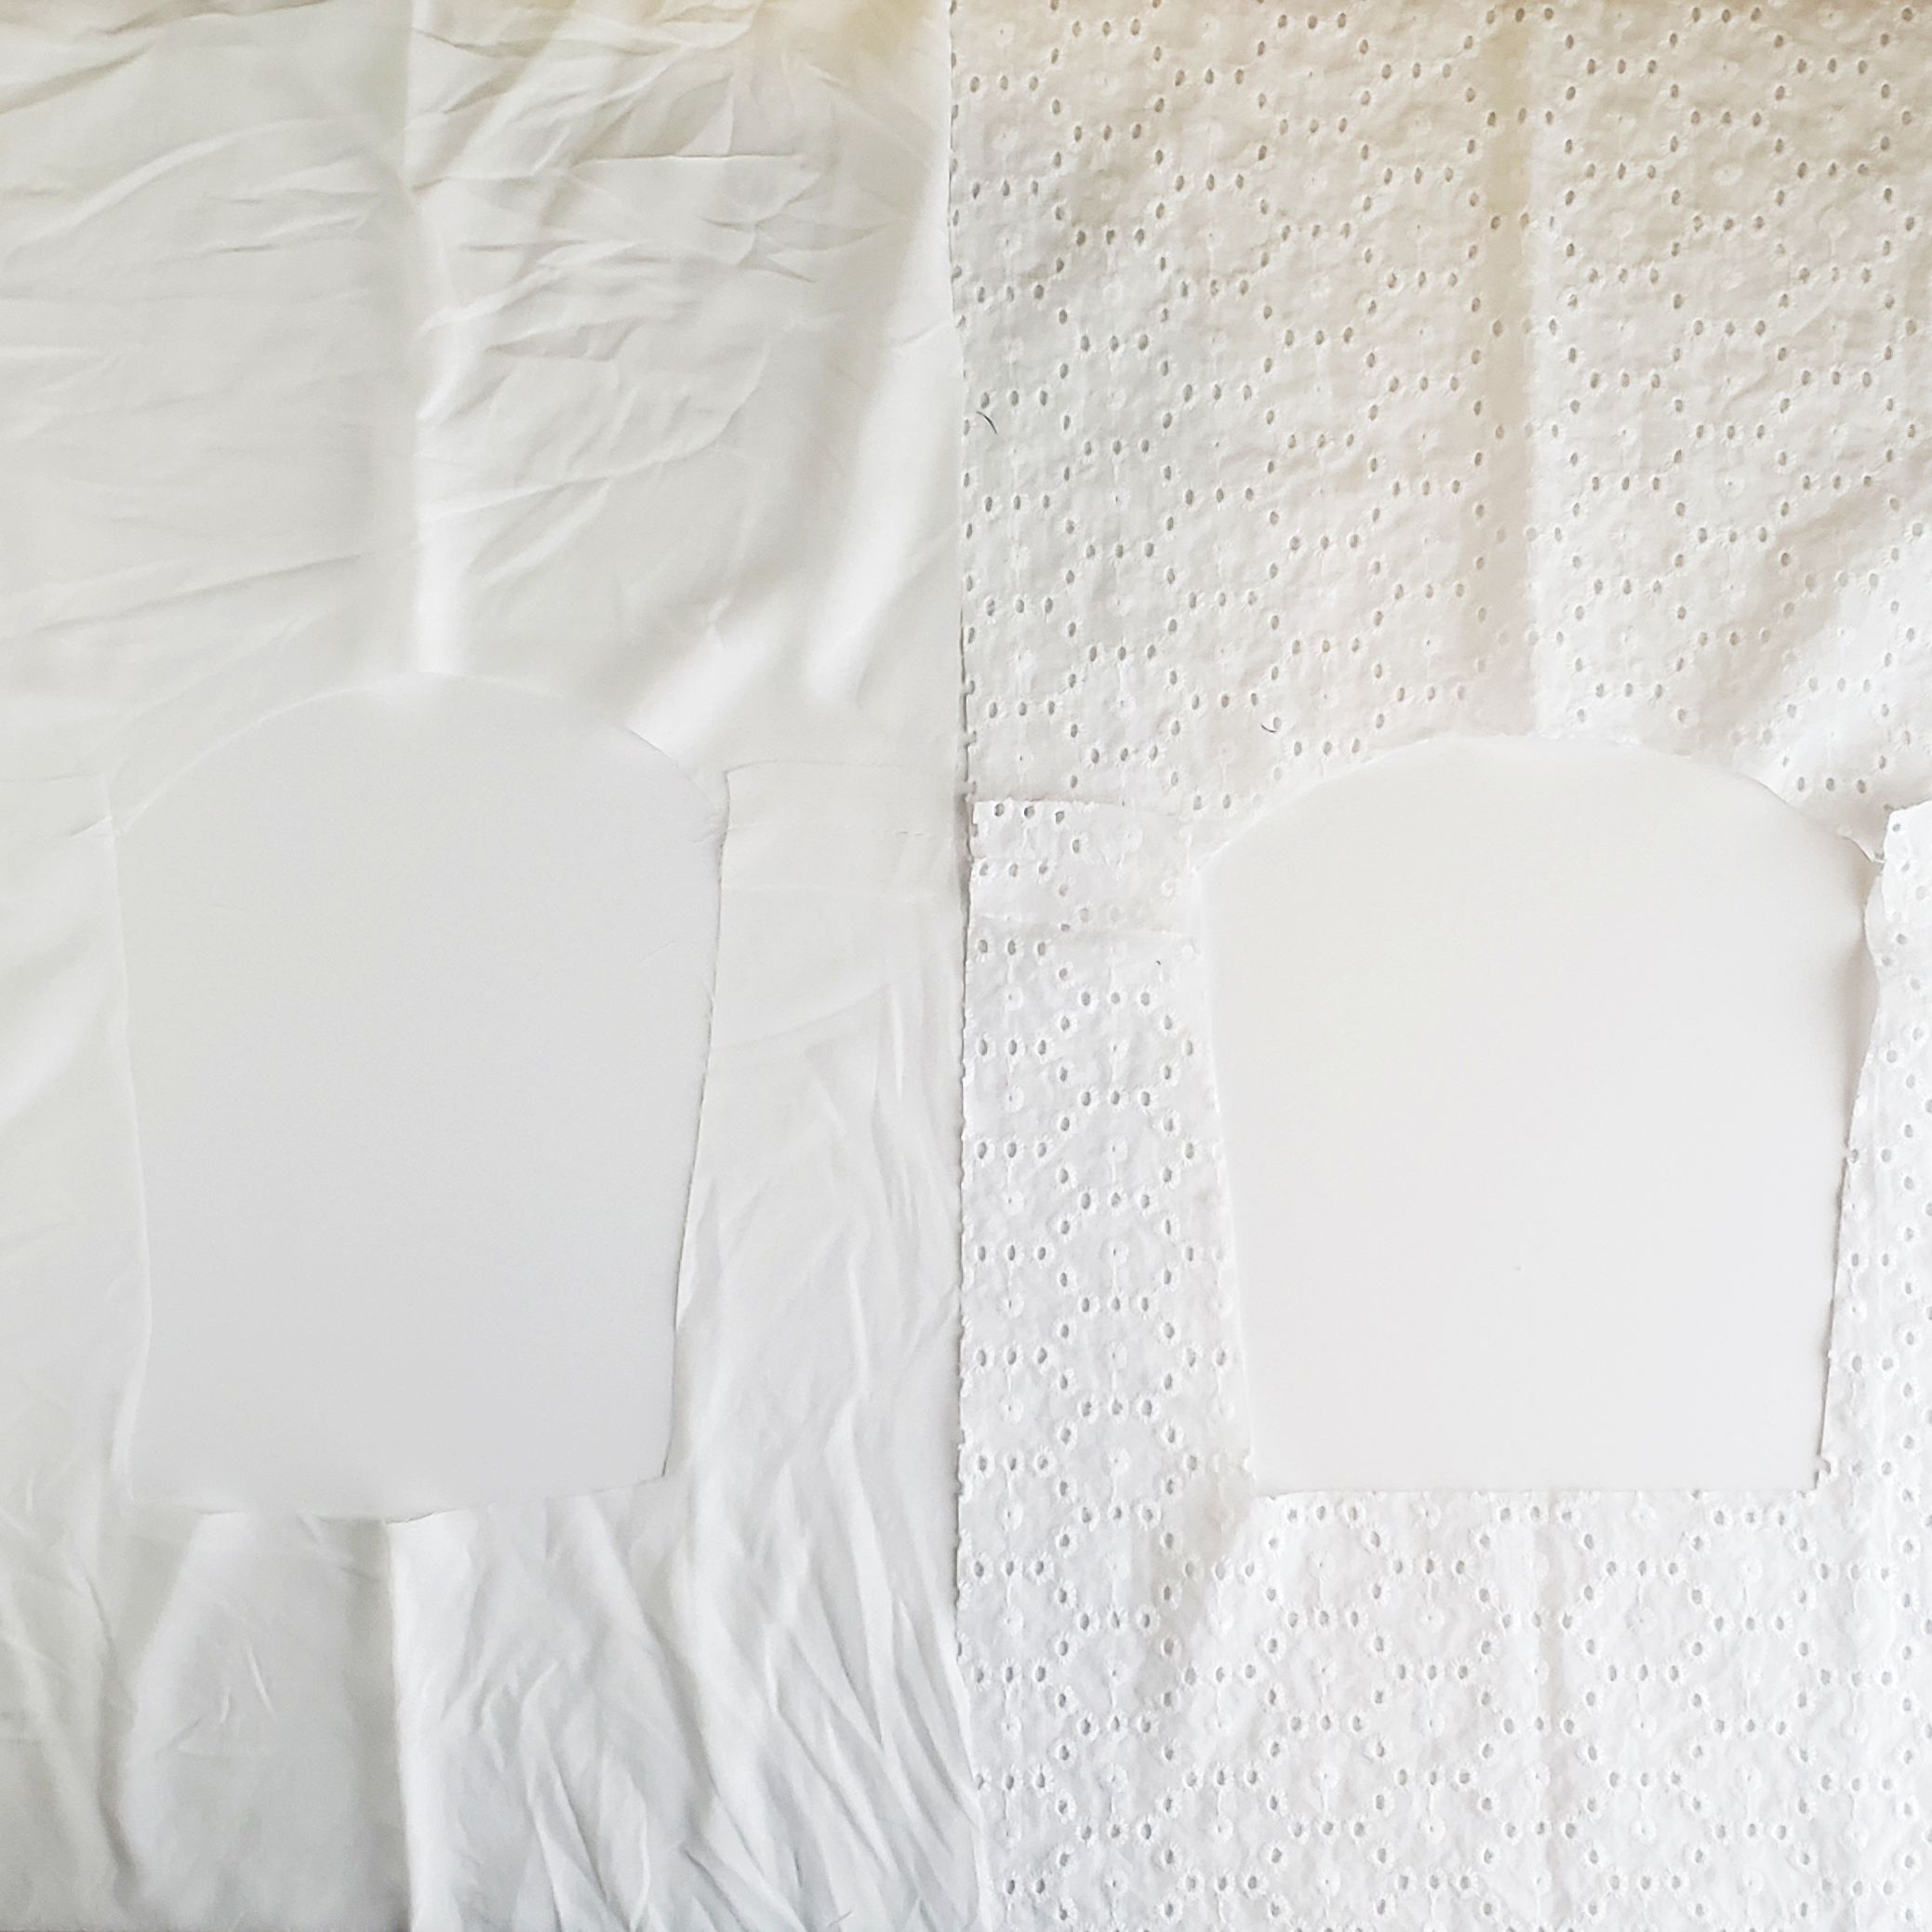
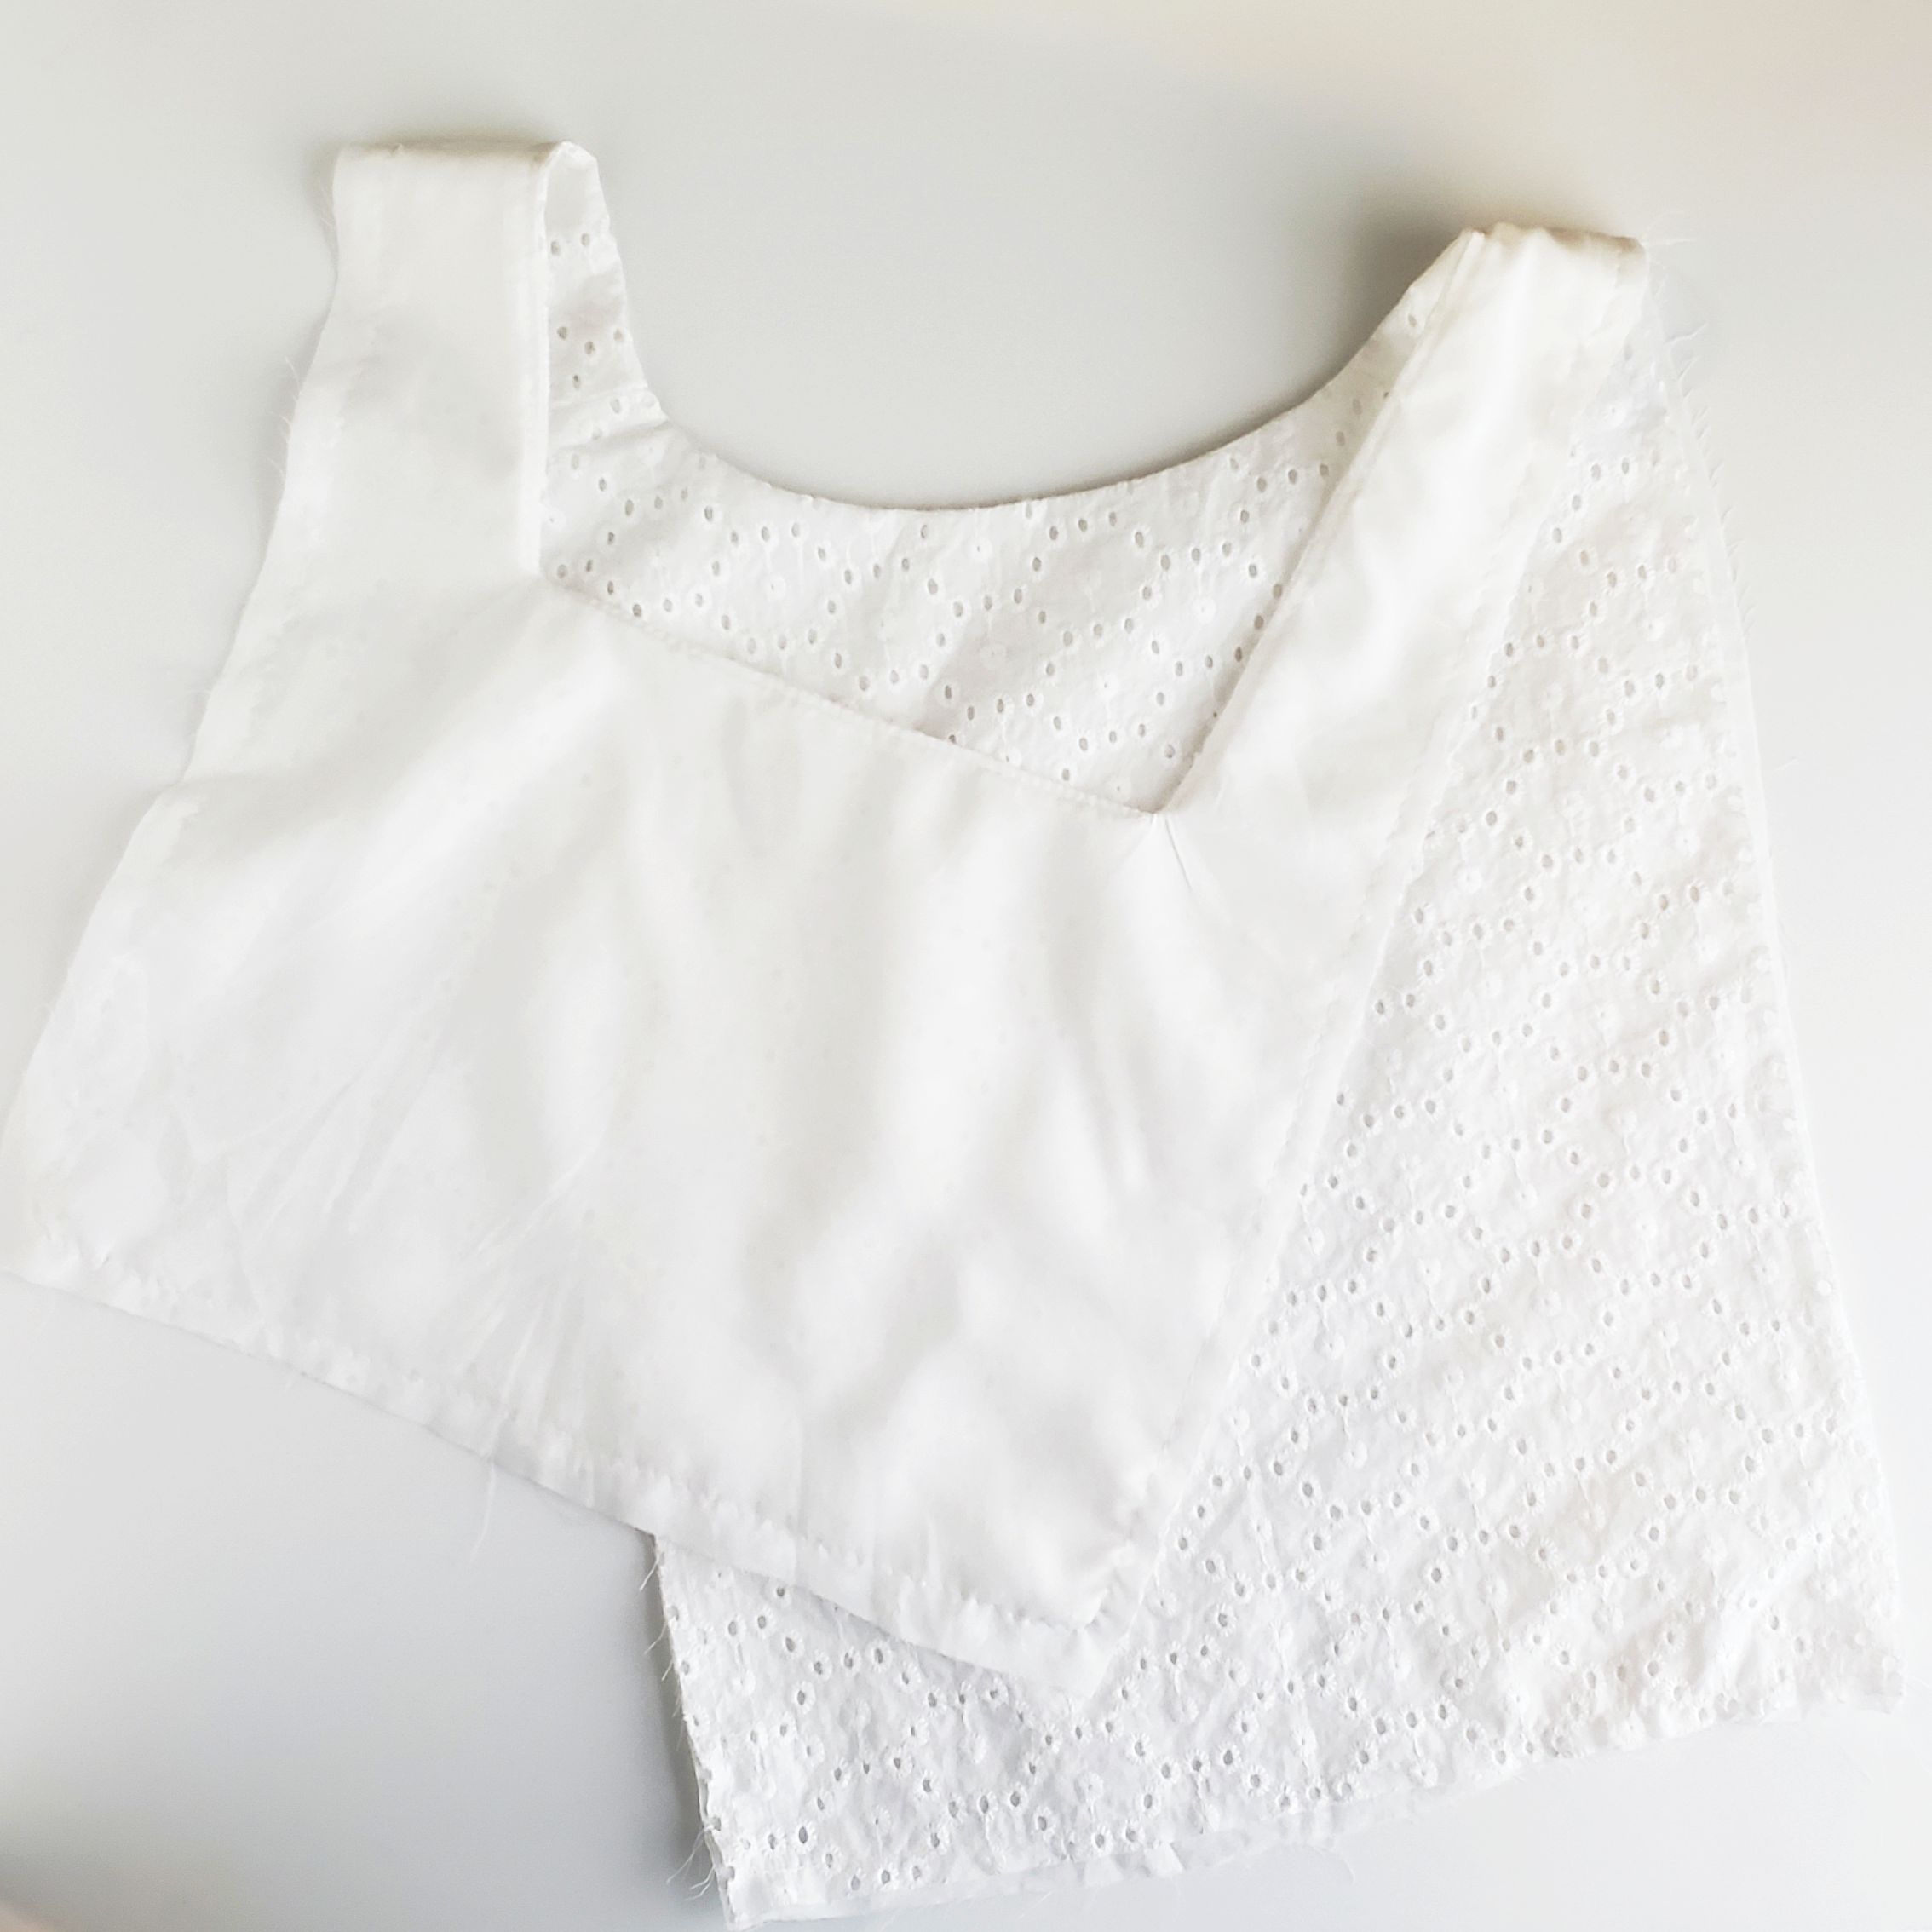
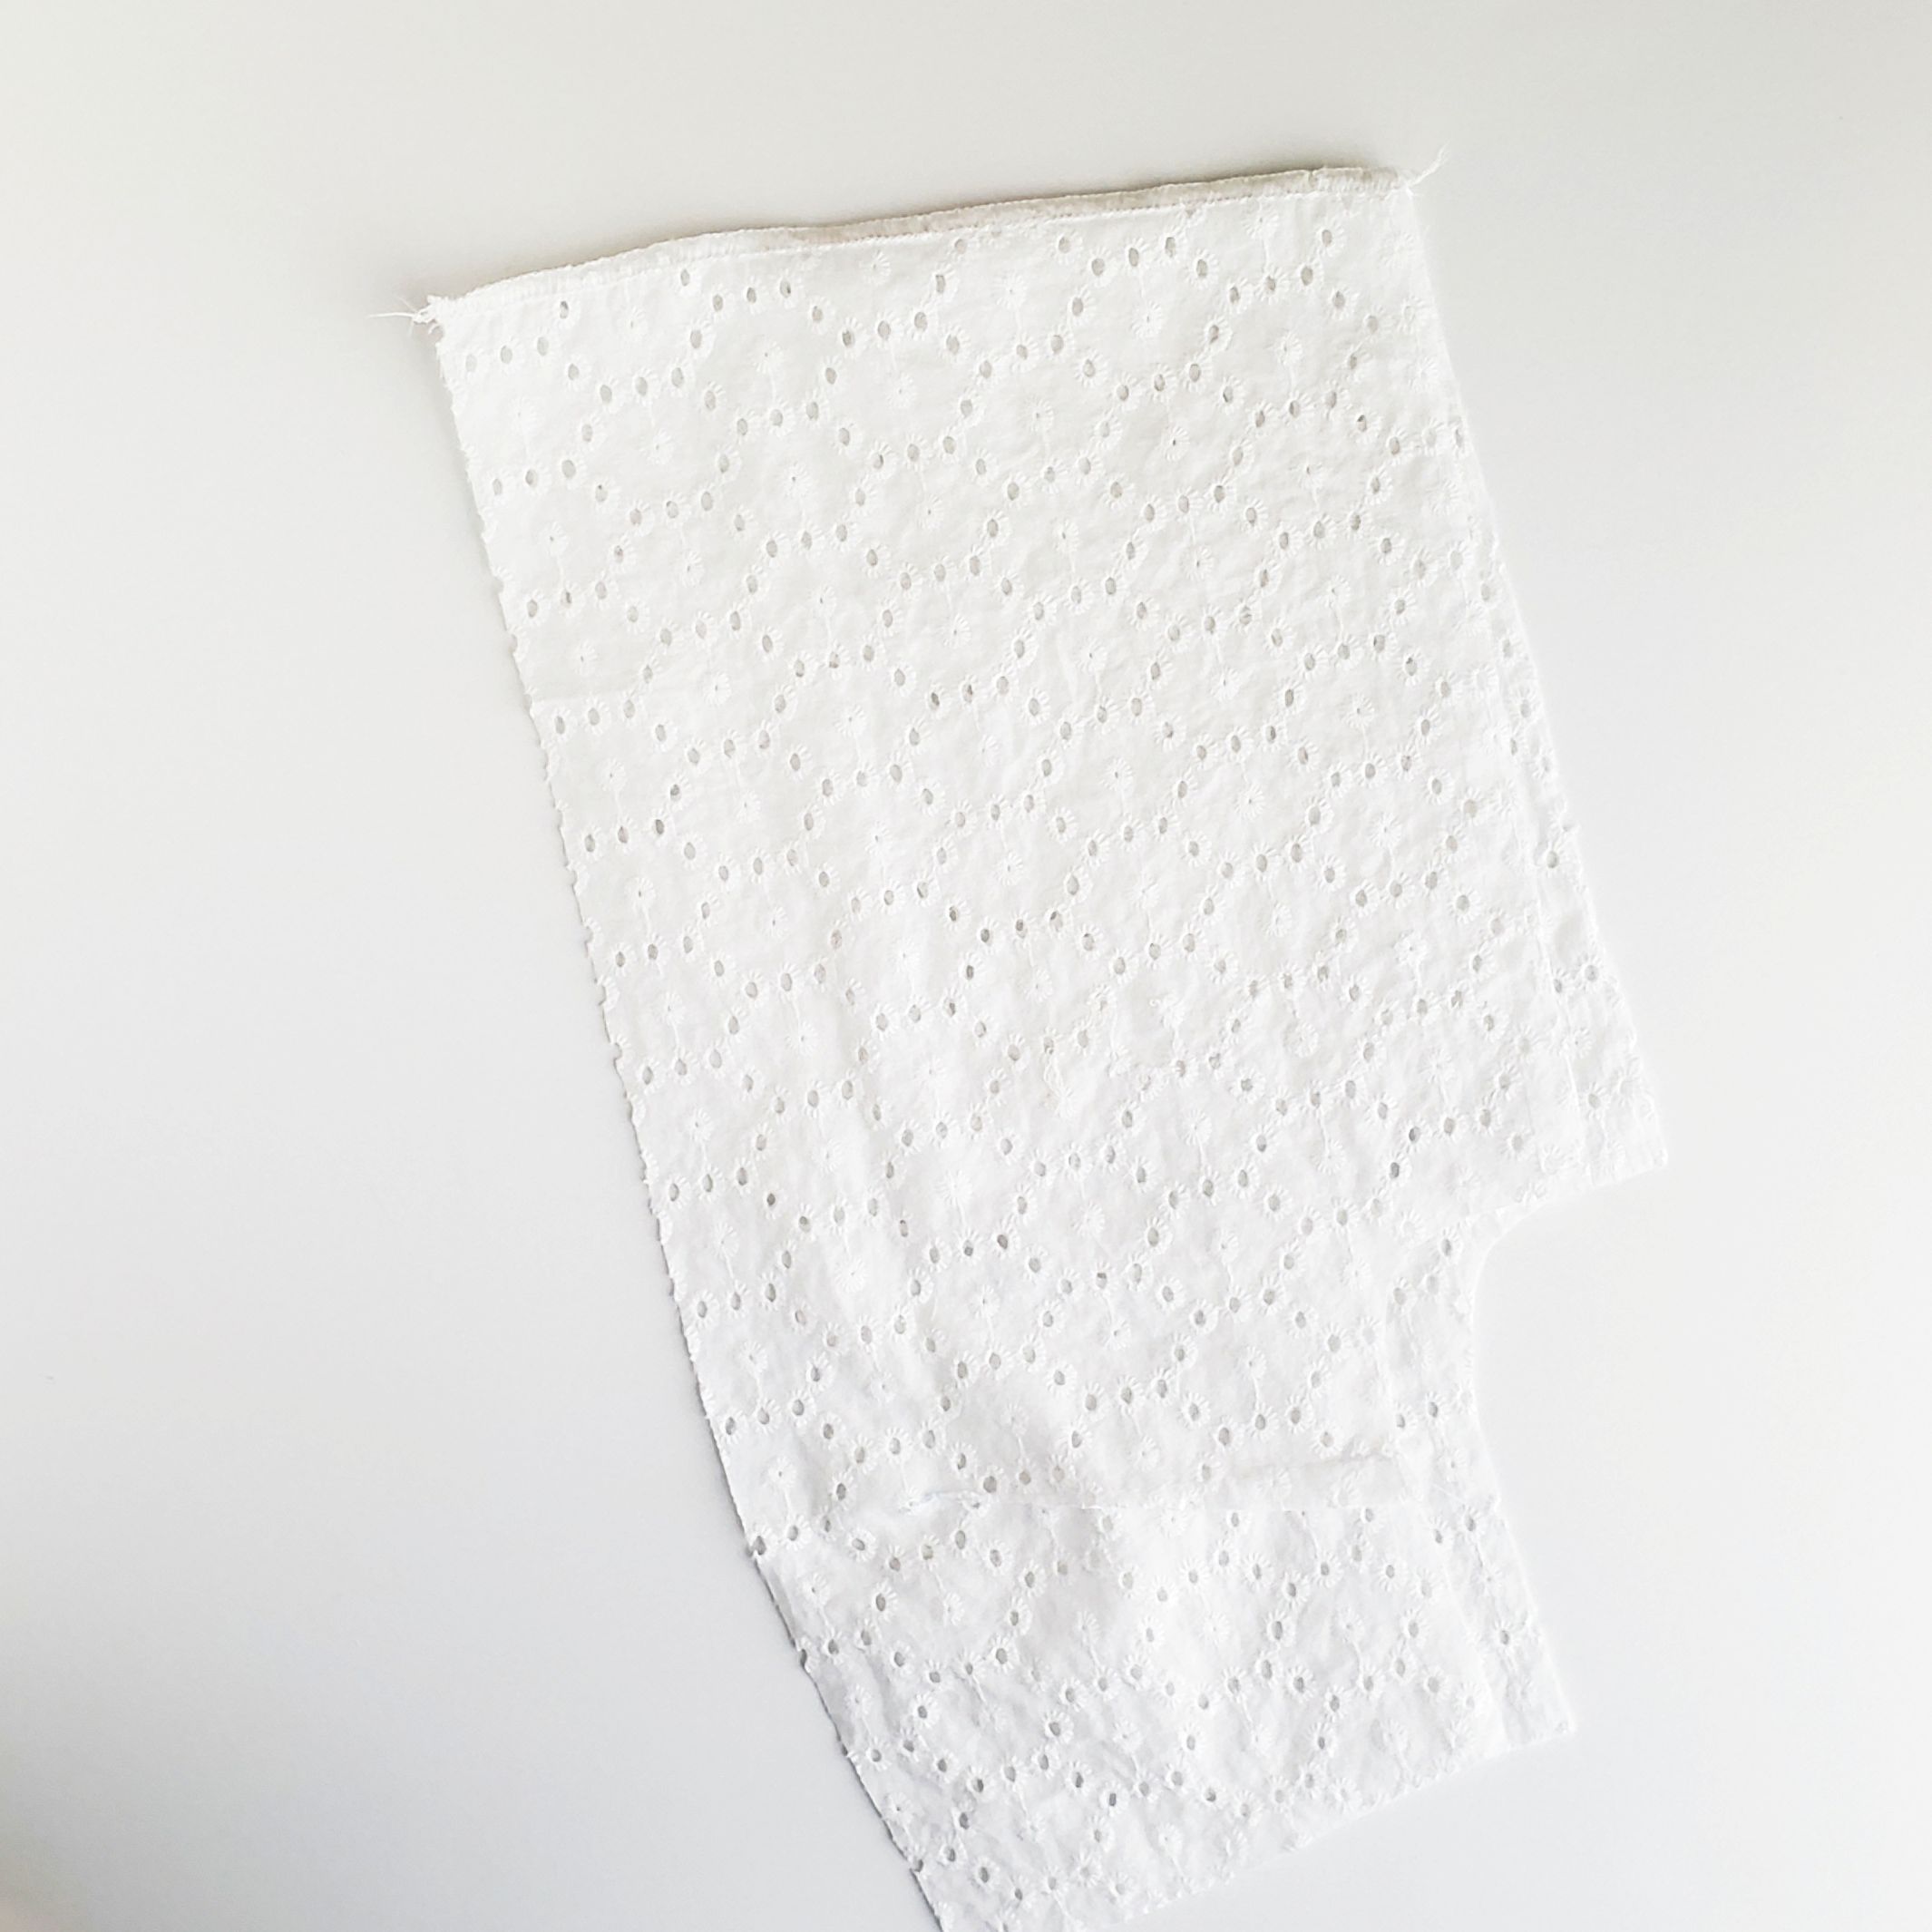
If you go this route, you’ll want to cut two each of the Center Front and Center Back (one of the main fabric, and one of the lining fabric for each piece). I used an eyelet for this Square Neck version, and a lightweight rayon lawn for the lining which worked out really nicely! Also, my apologies for photographing white fabric on a WHITE background…seemed like a good idea at the time! Idunno why!
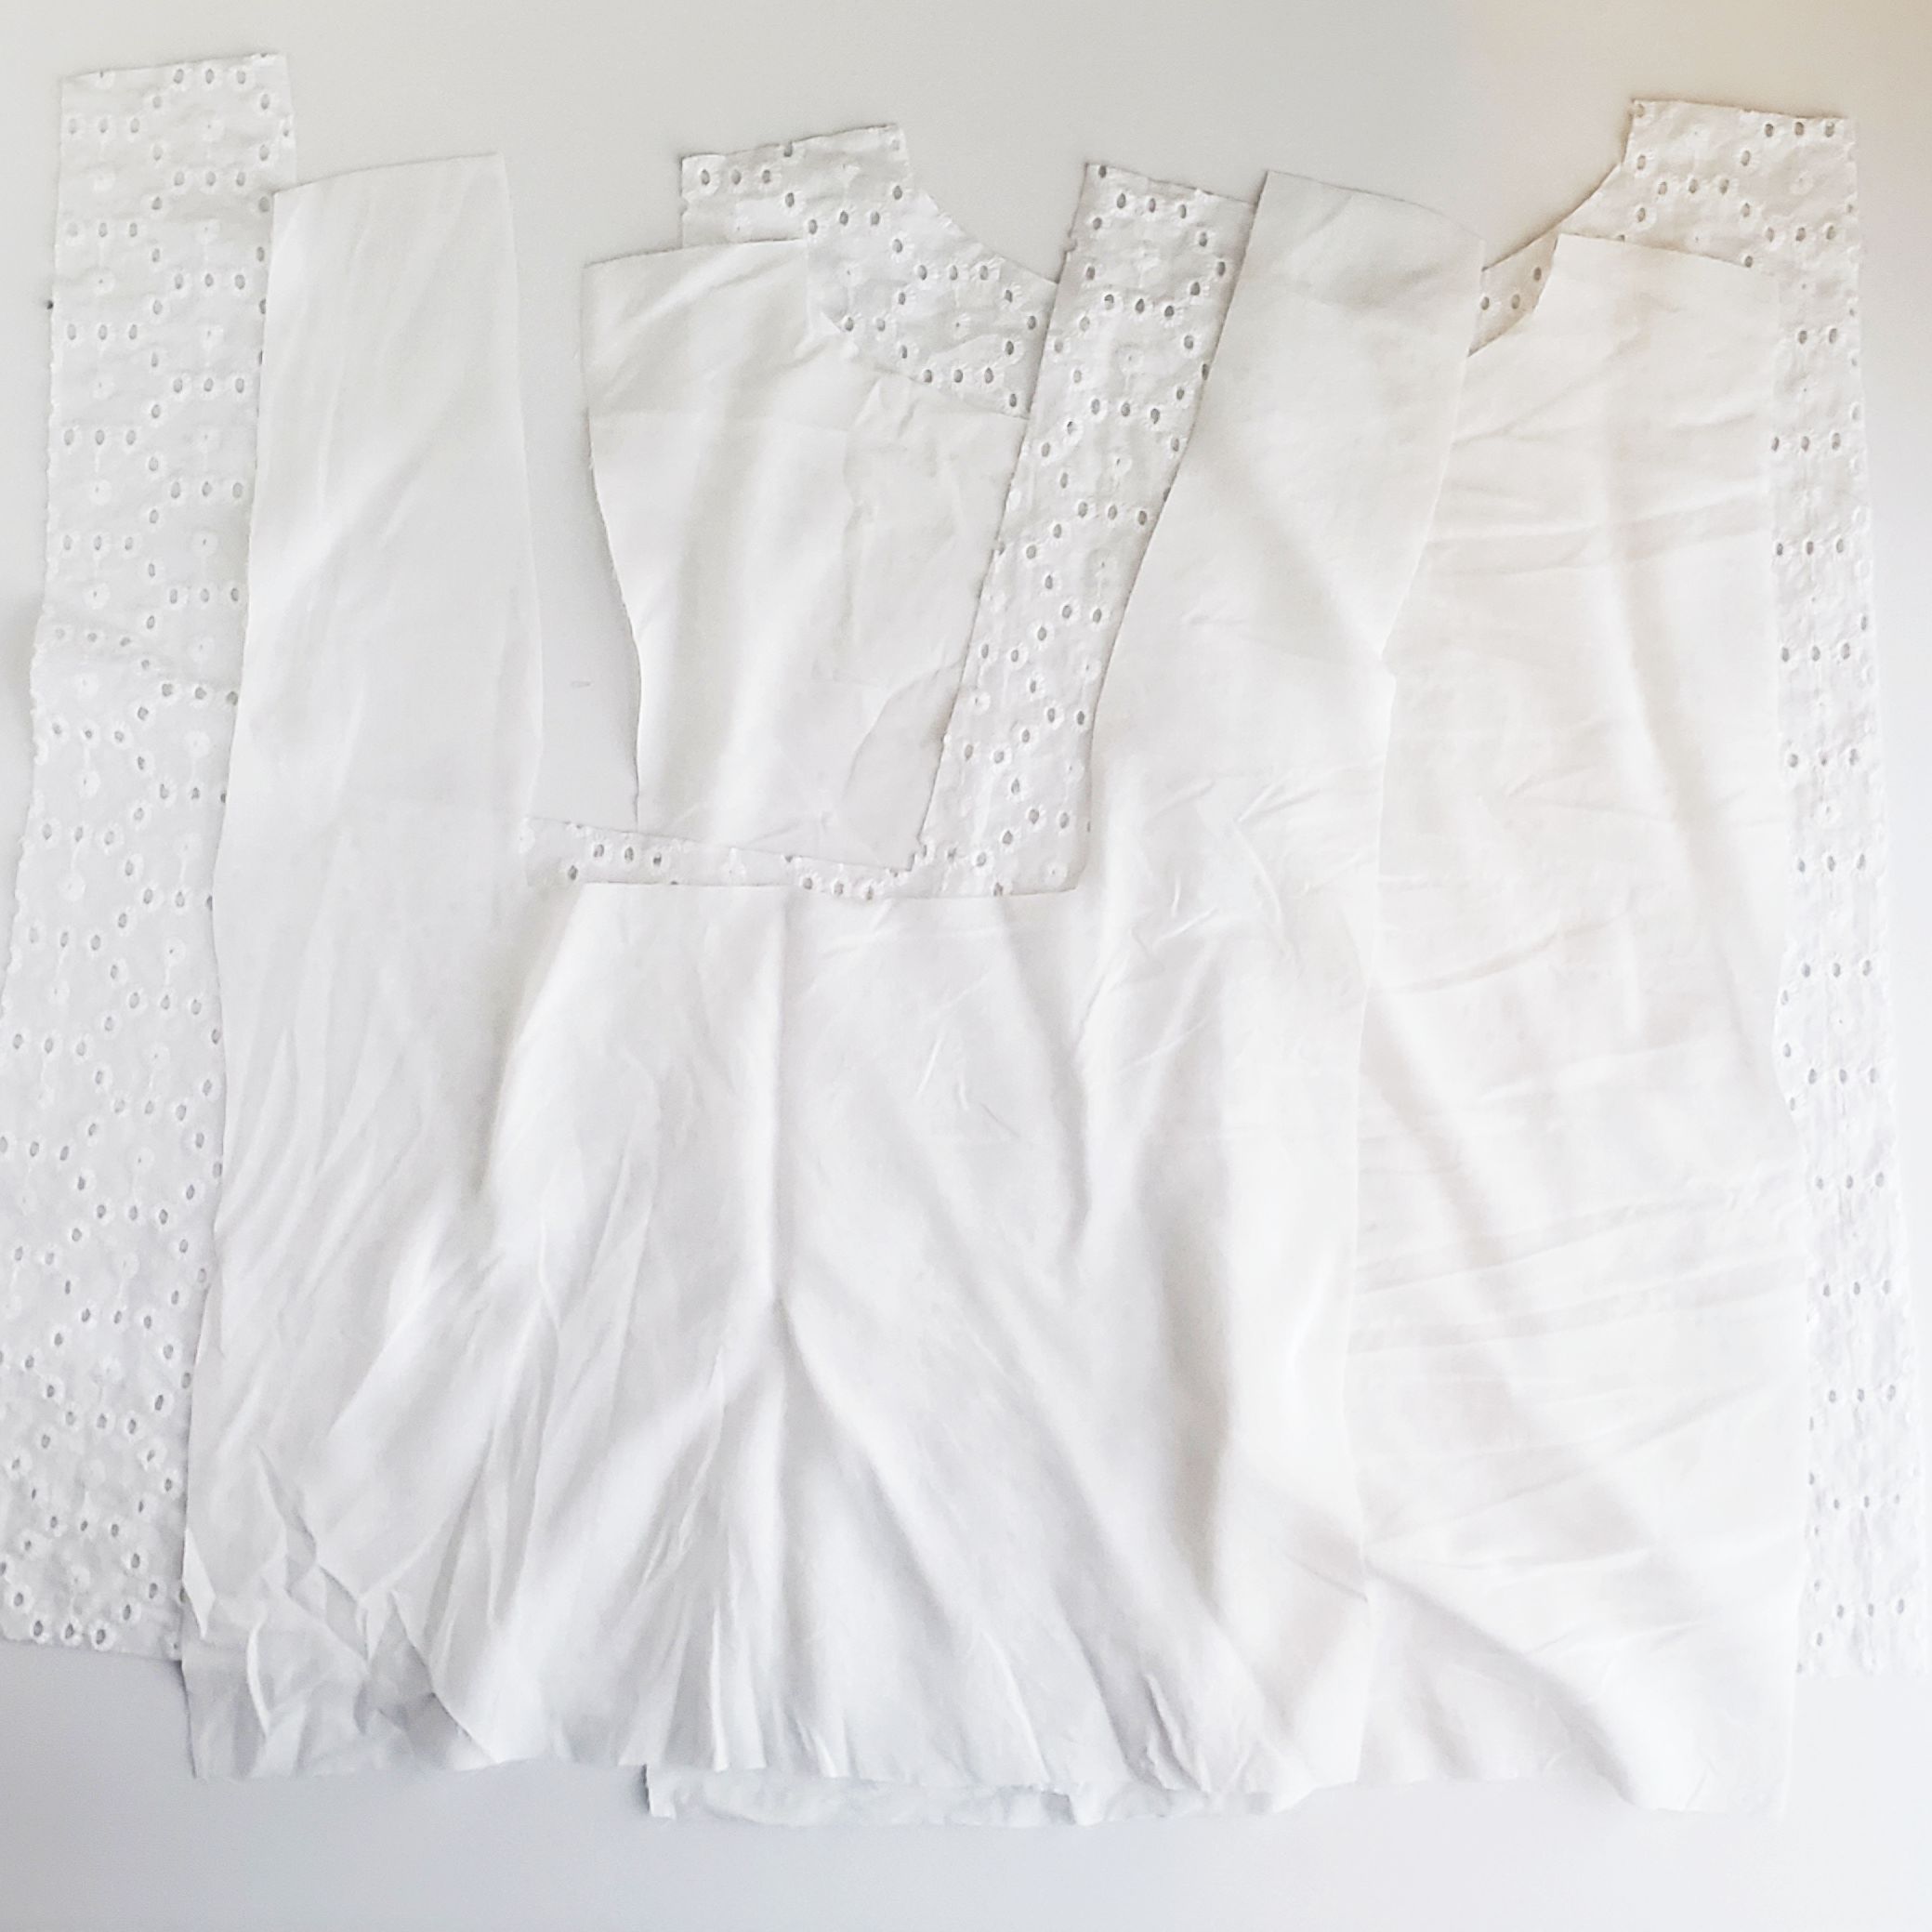
We’re going to do things a bit out of sequence from the pattern instructions so we’ll have a nice-n-clean neckline finish! Start by sewing the shoulder seams together (right sides facing) of the Center Front and Center back of the main fabric and lining, separately:
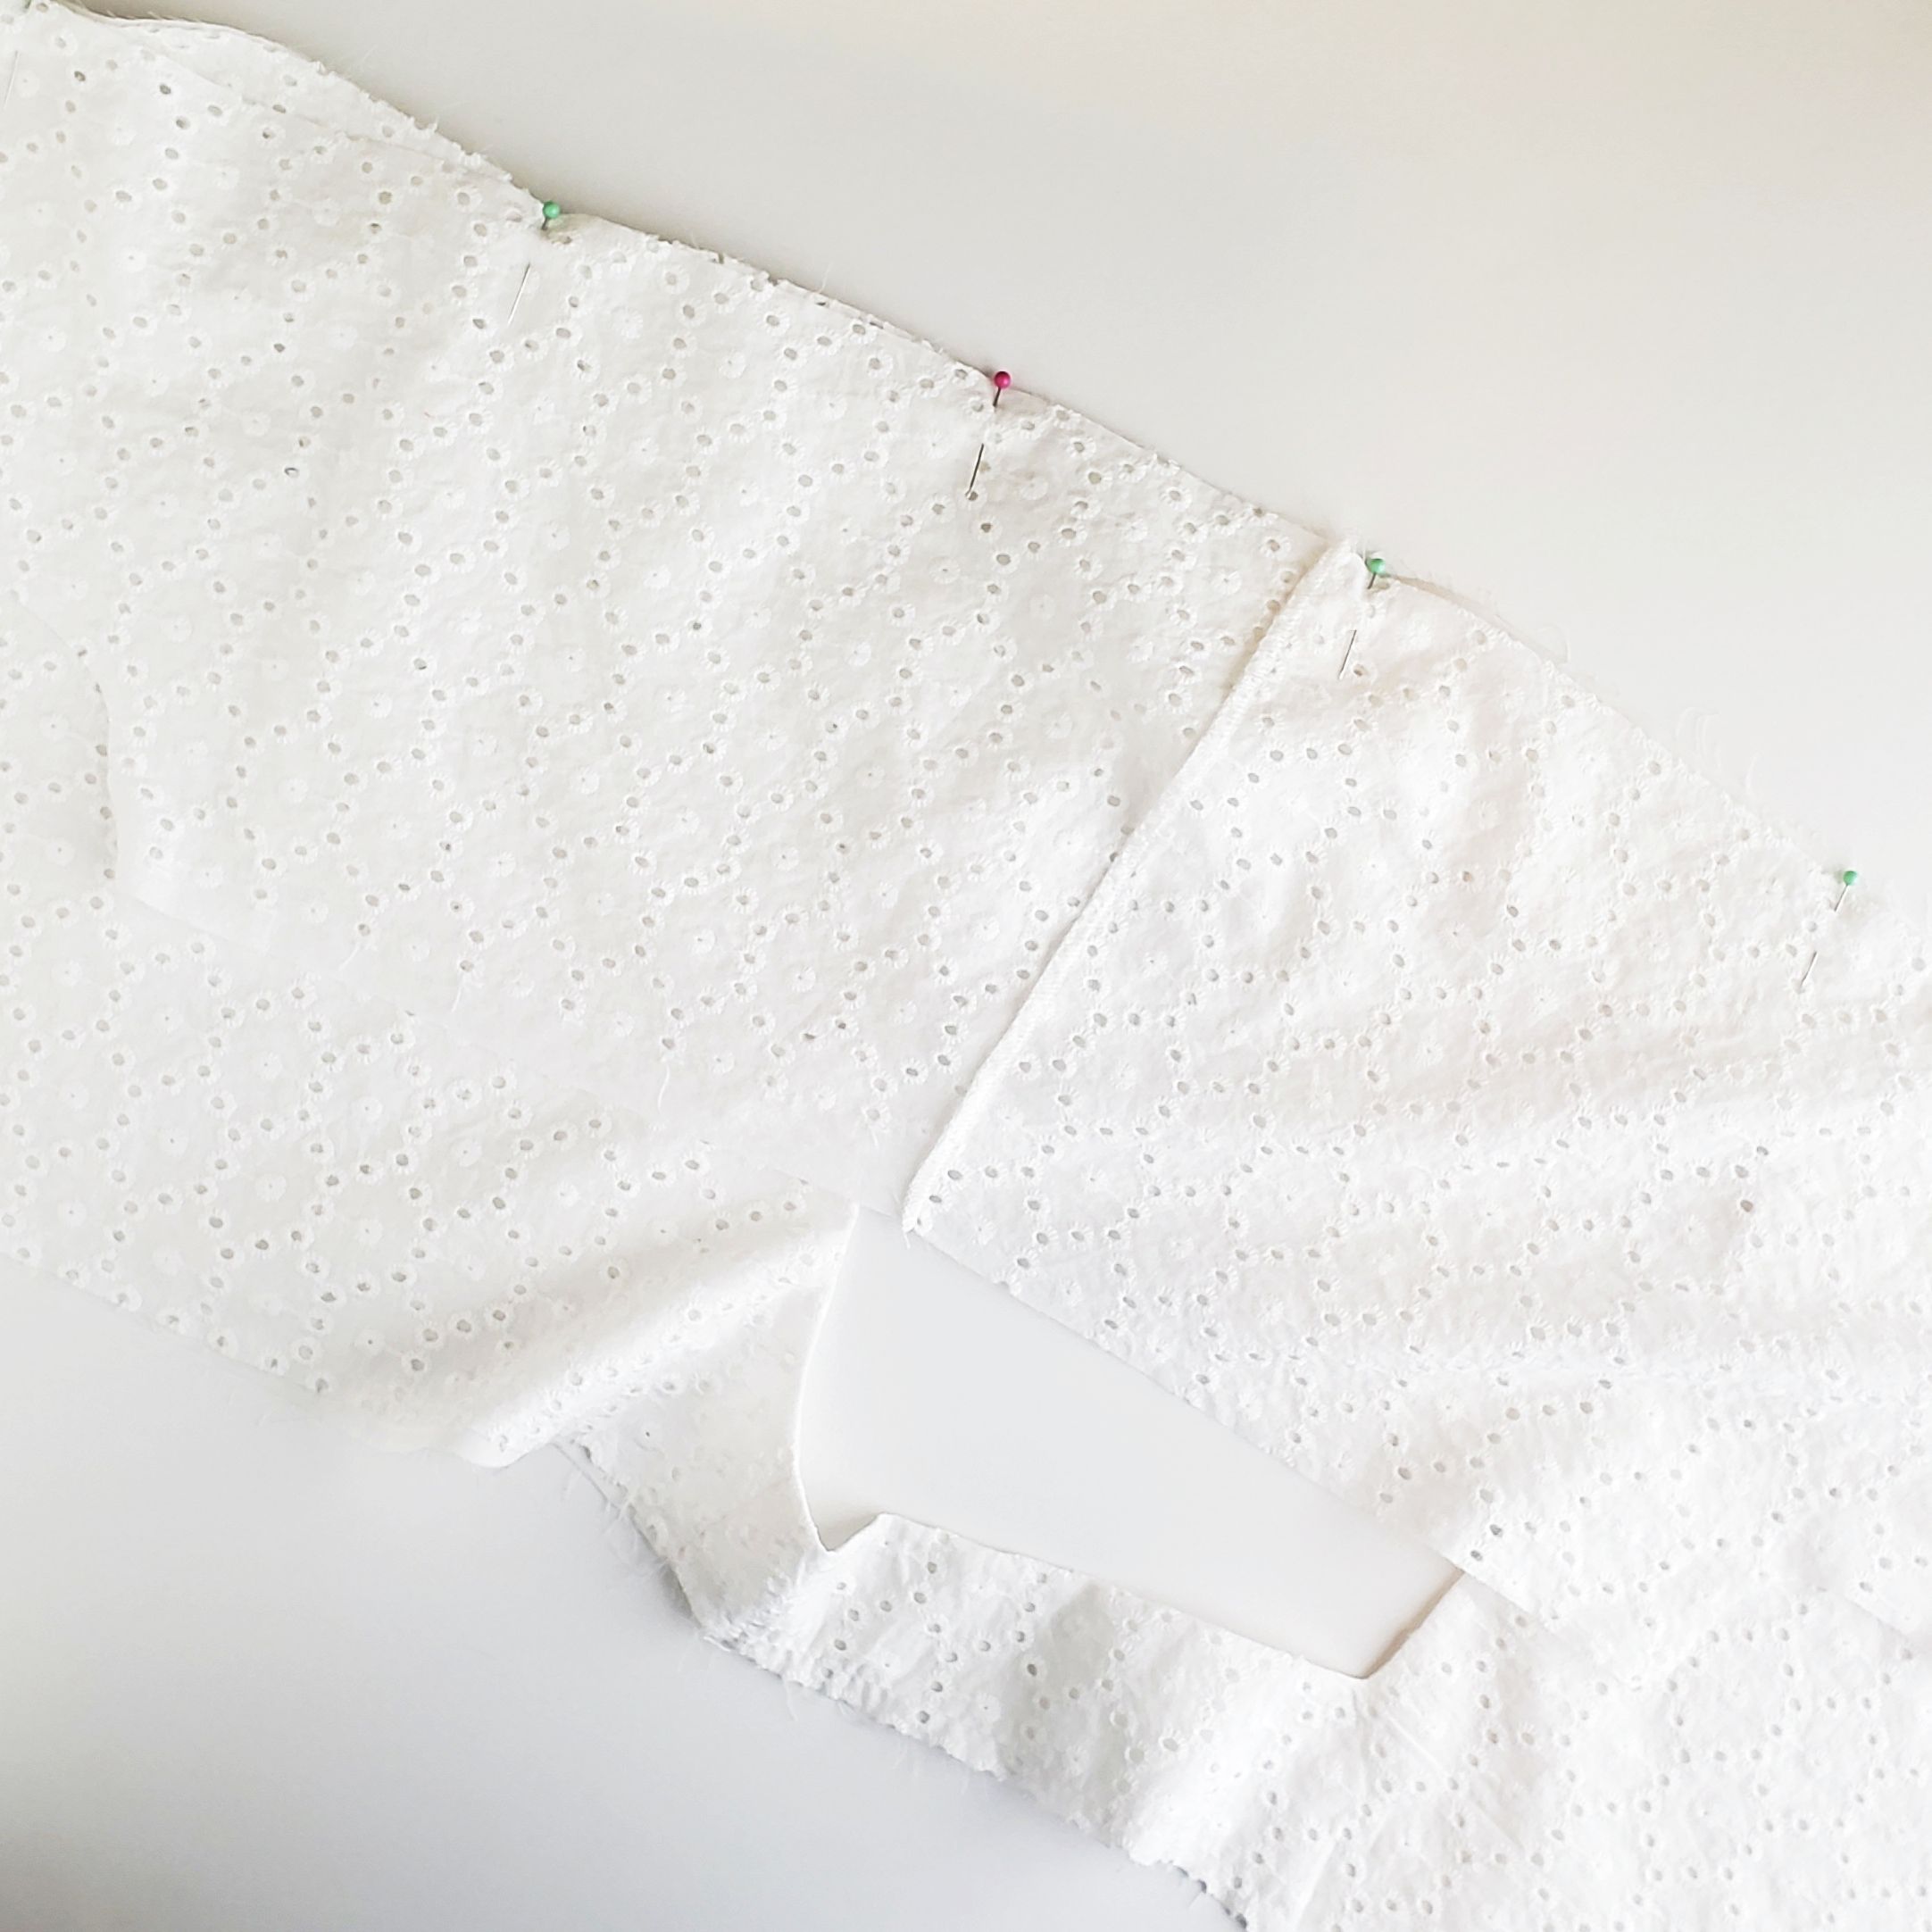
Then pin the lining to the main pieces, right sides together, lining up the shoulder seams and neckline, and sew the perimeter of the neck opening:
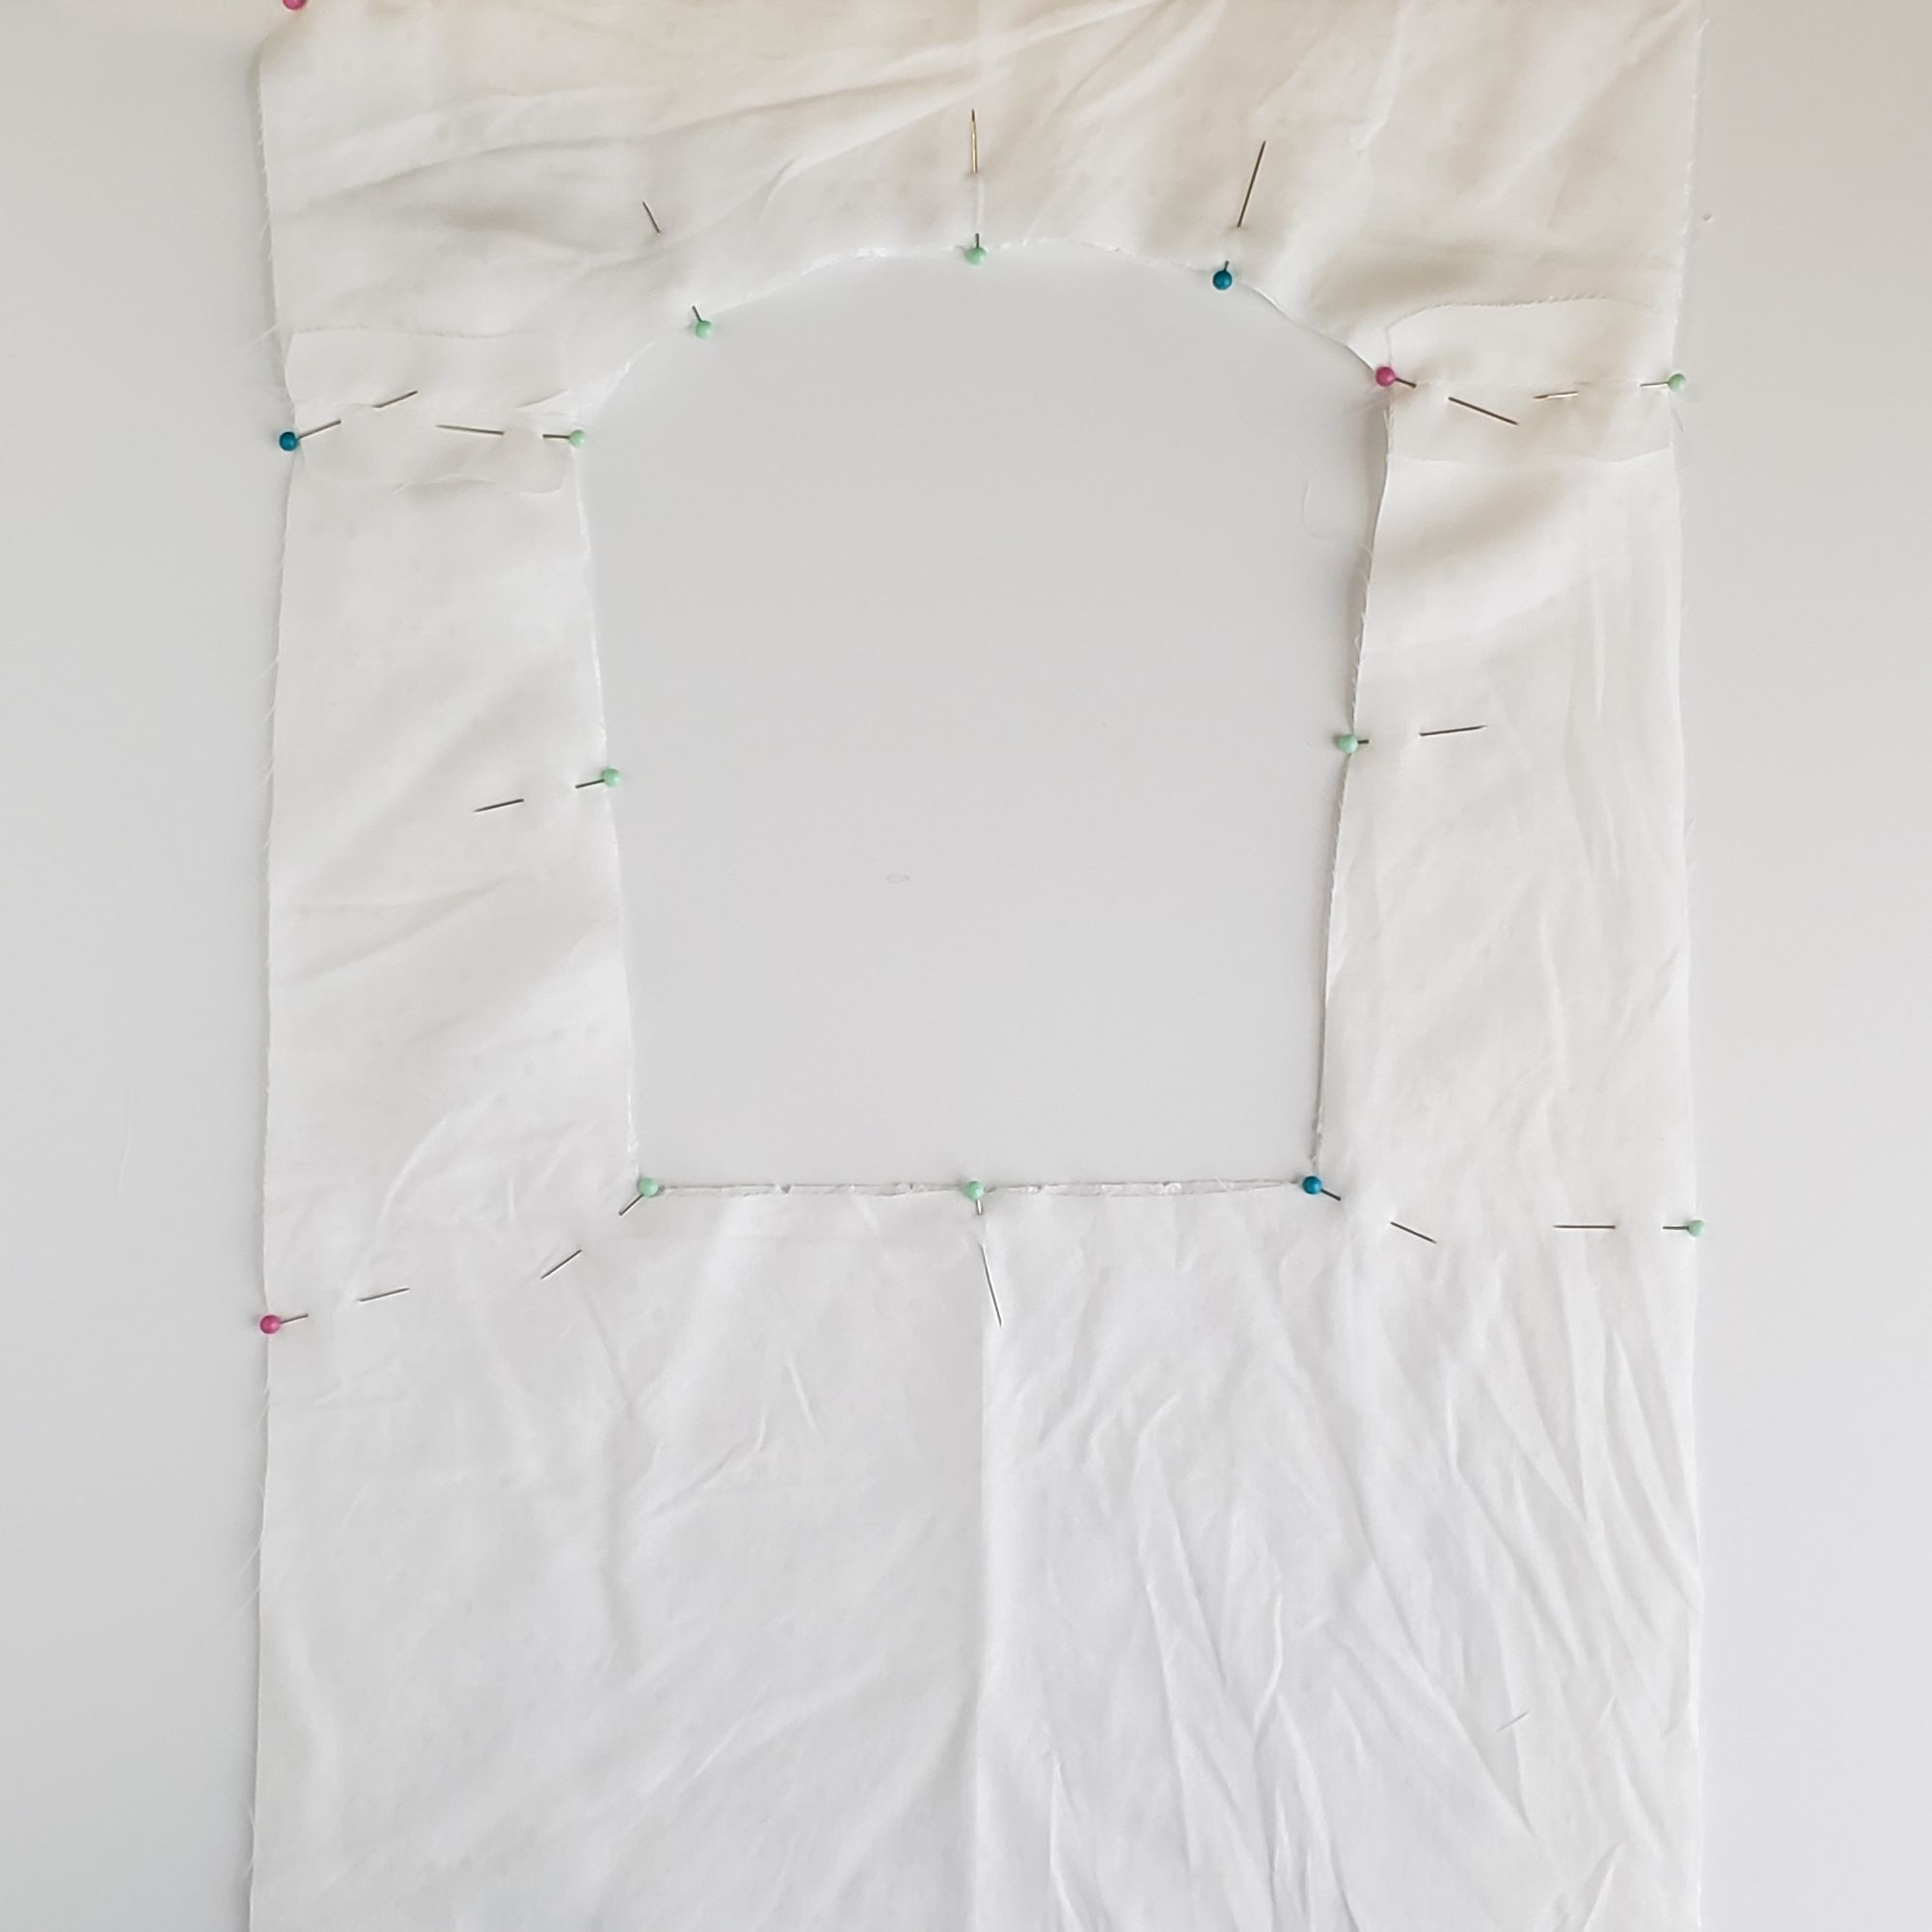
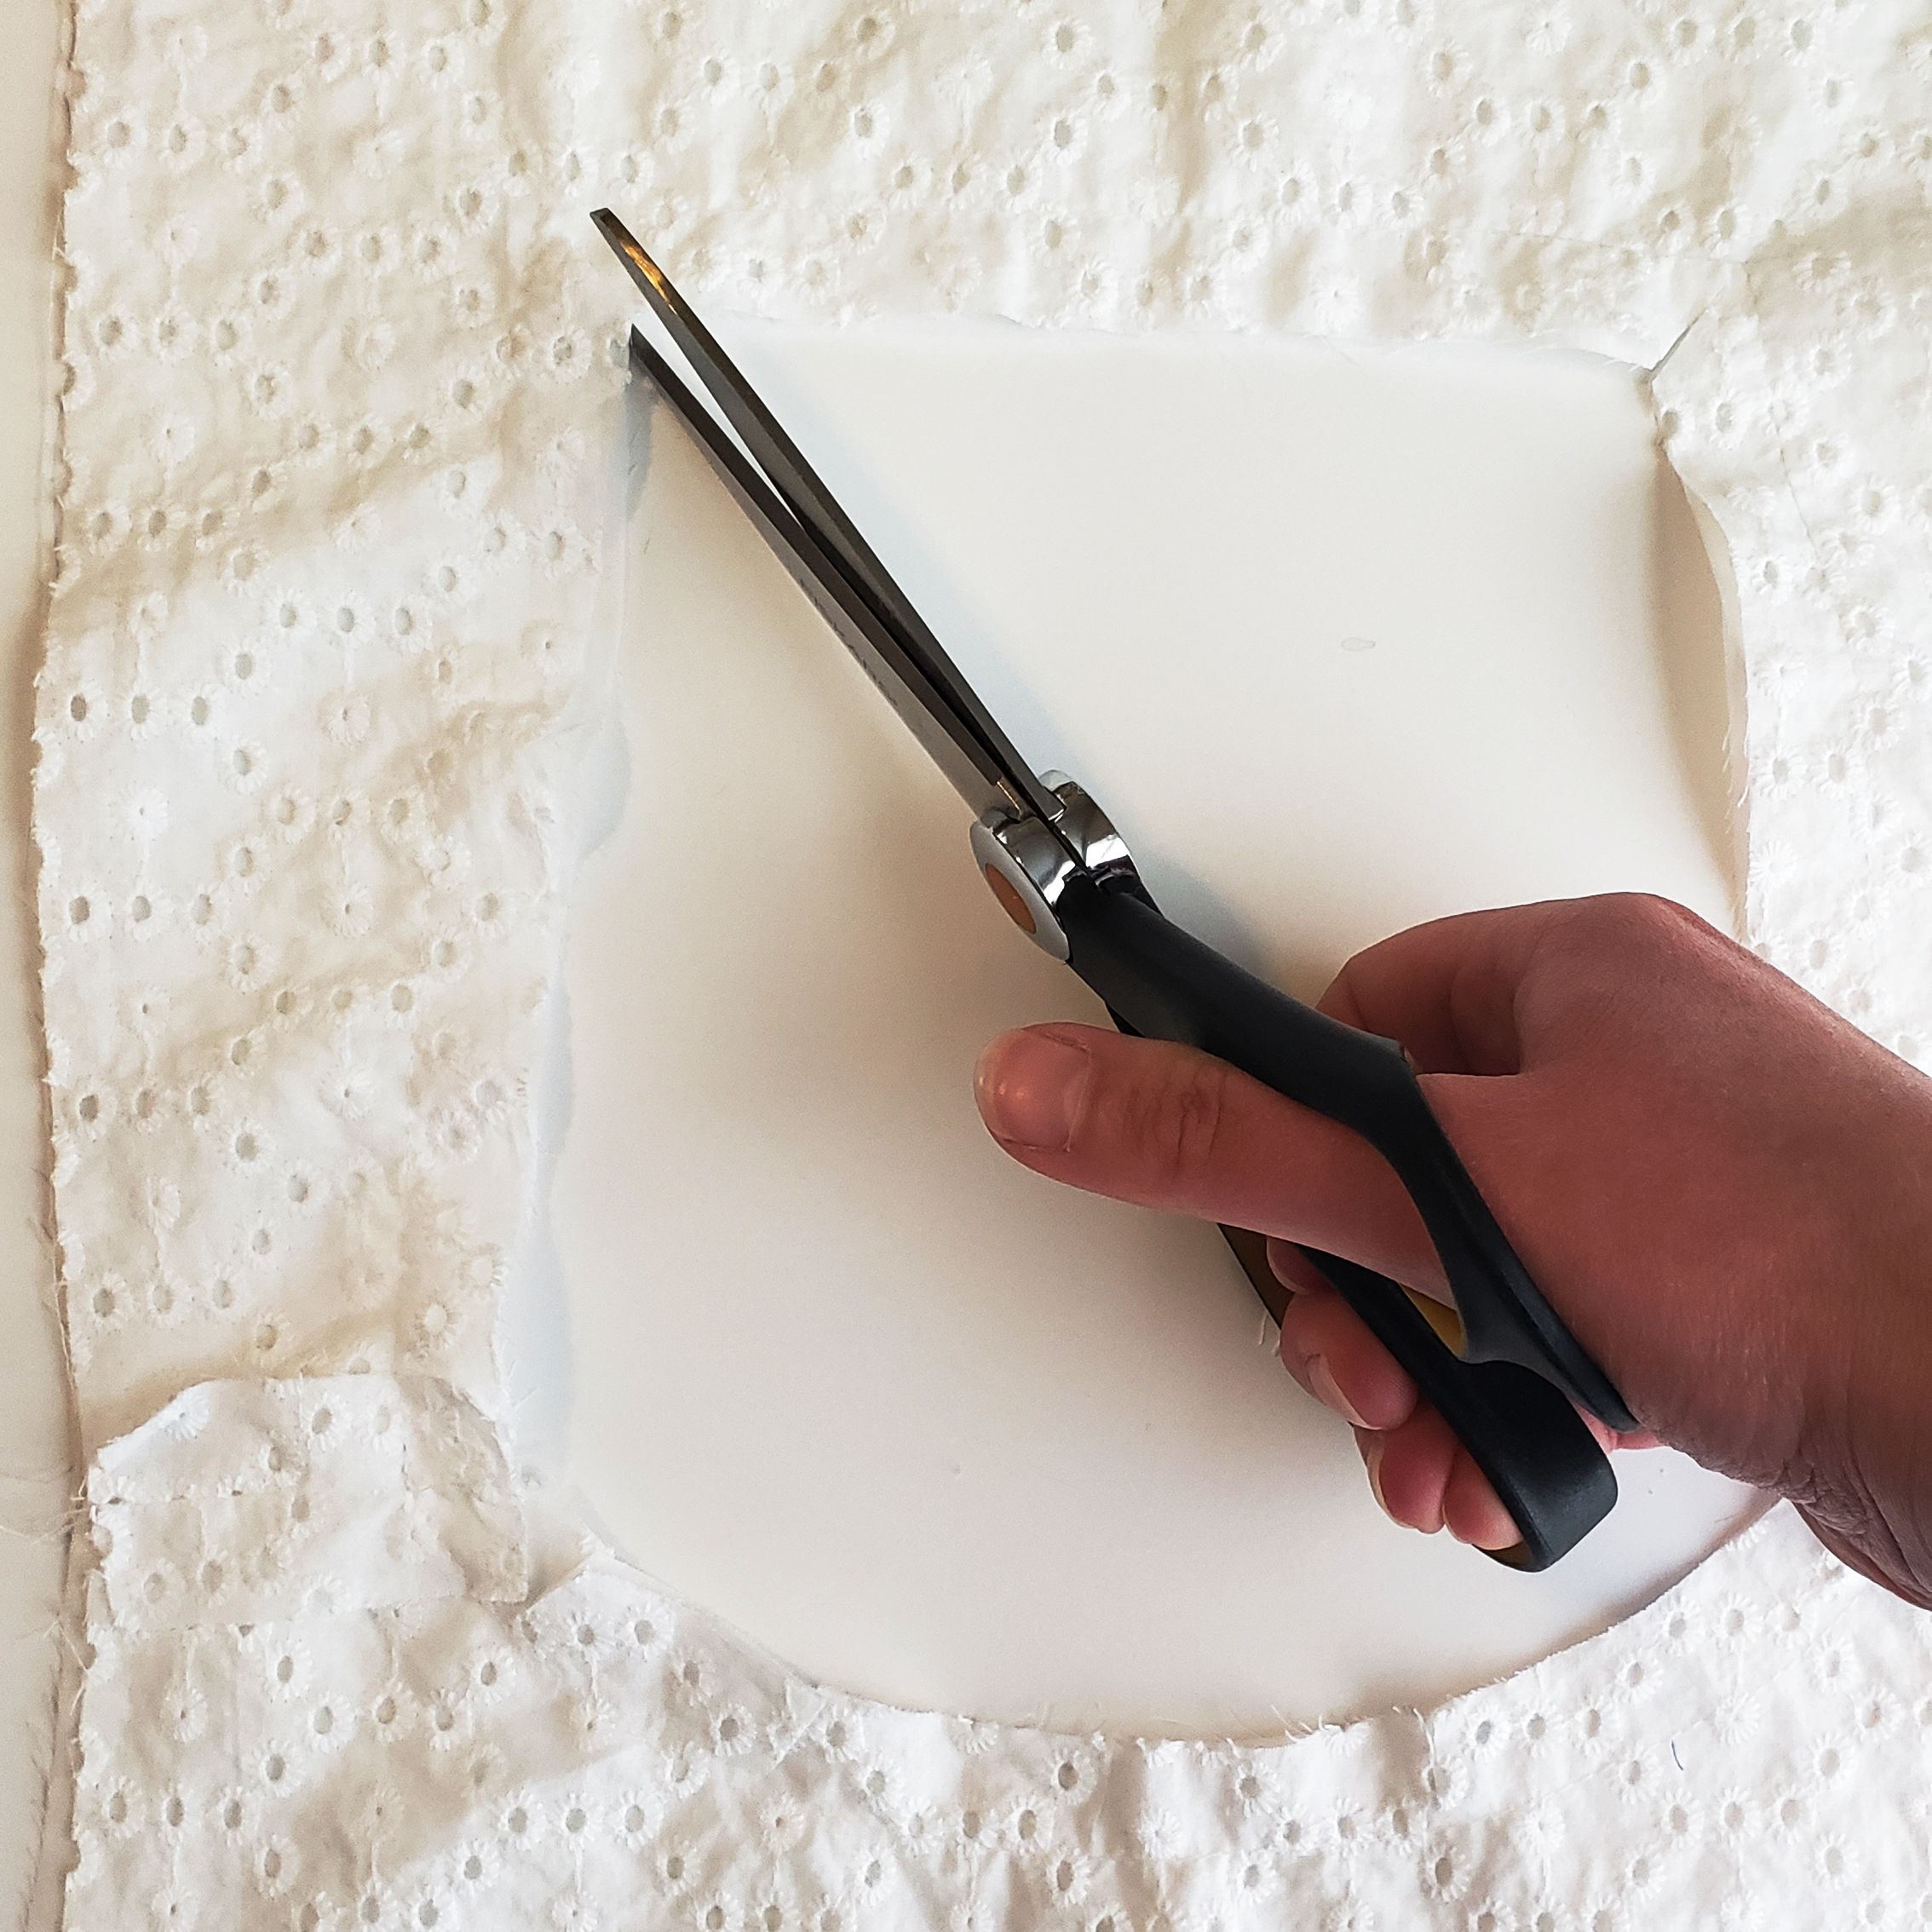
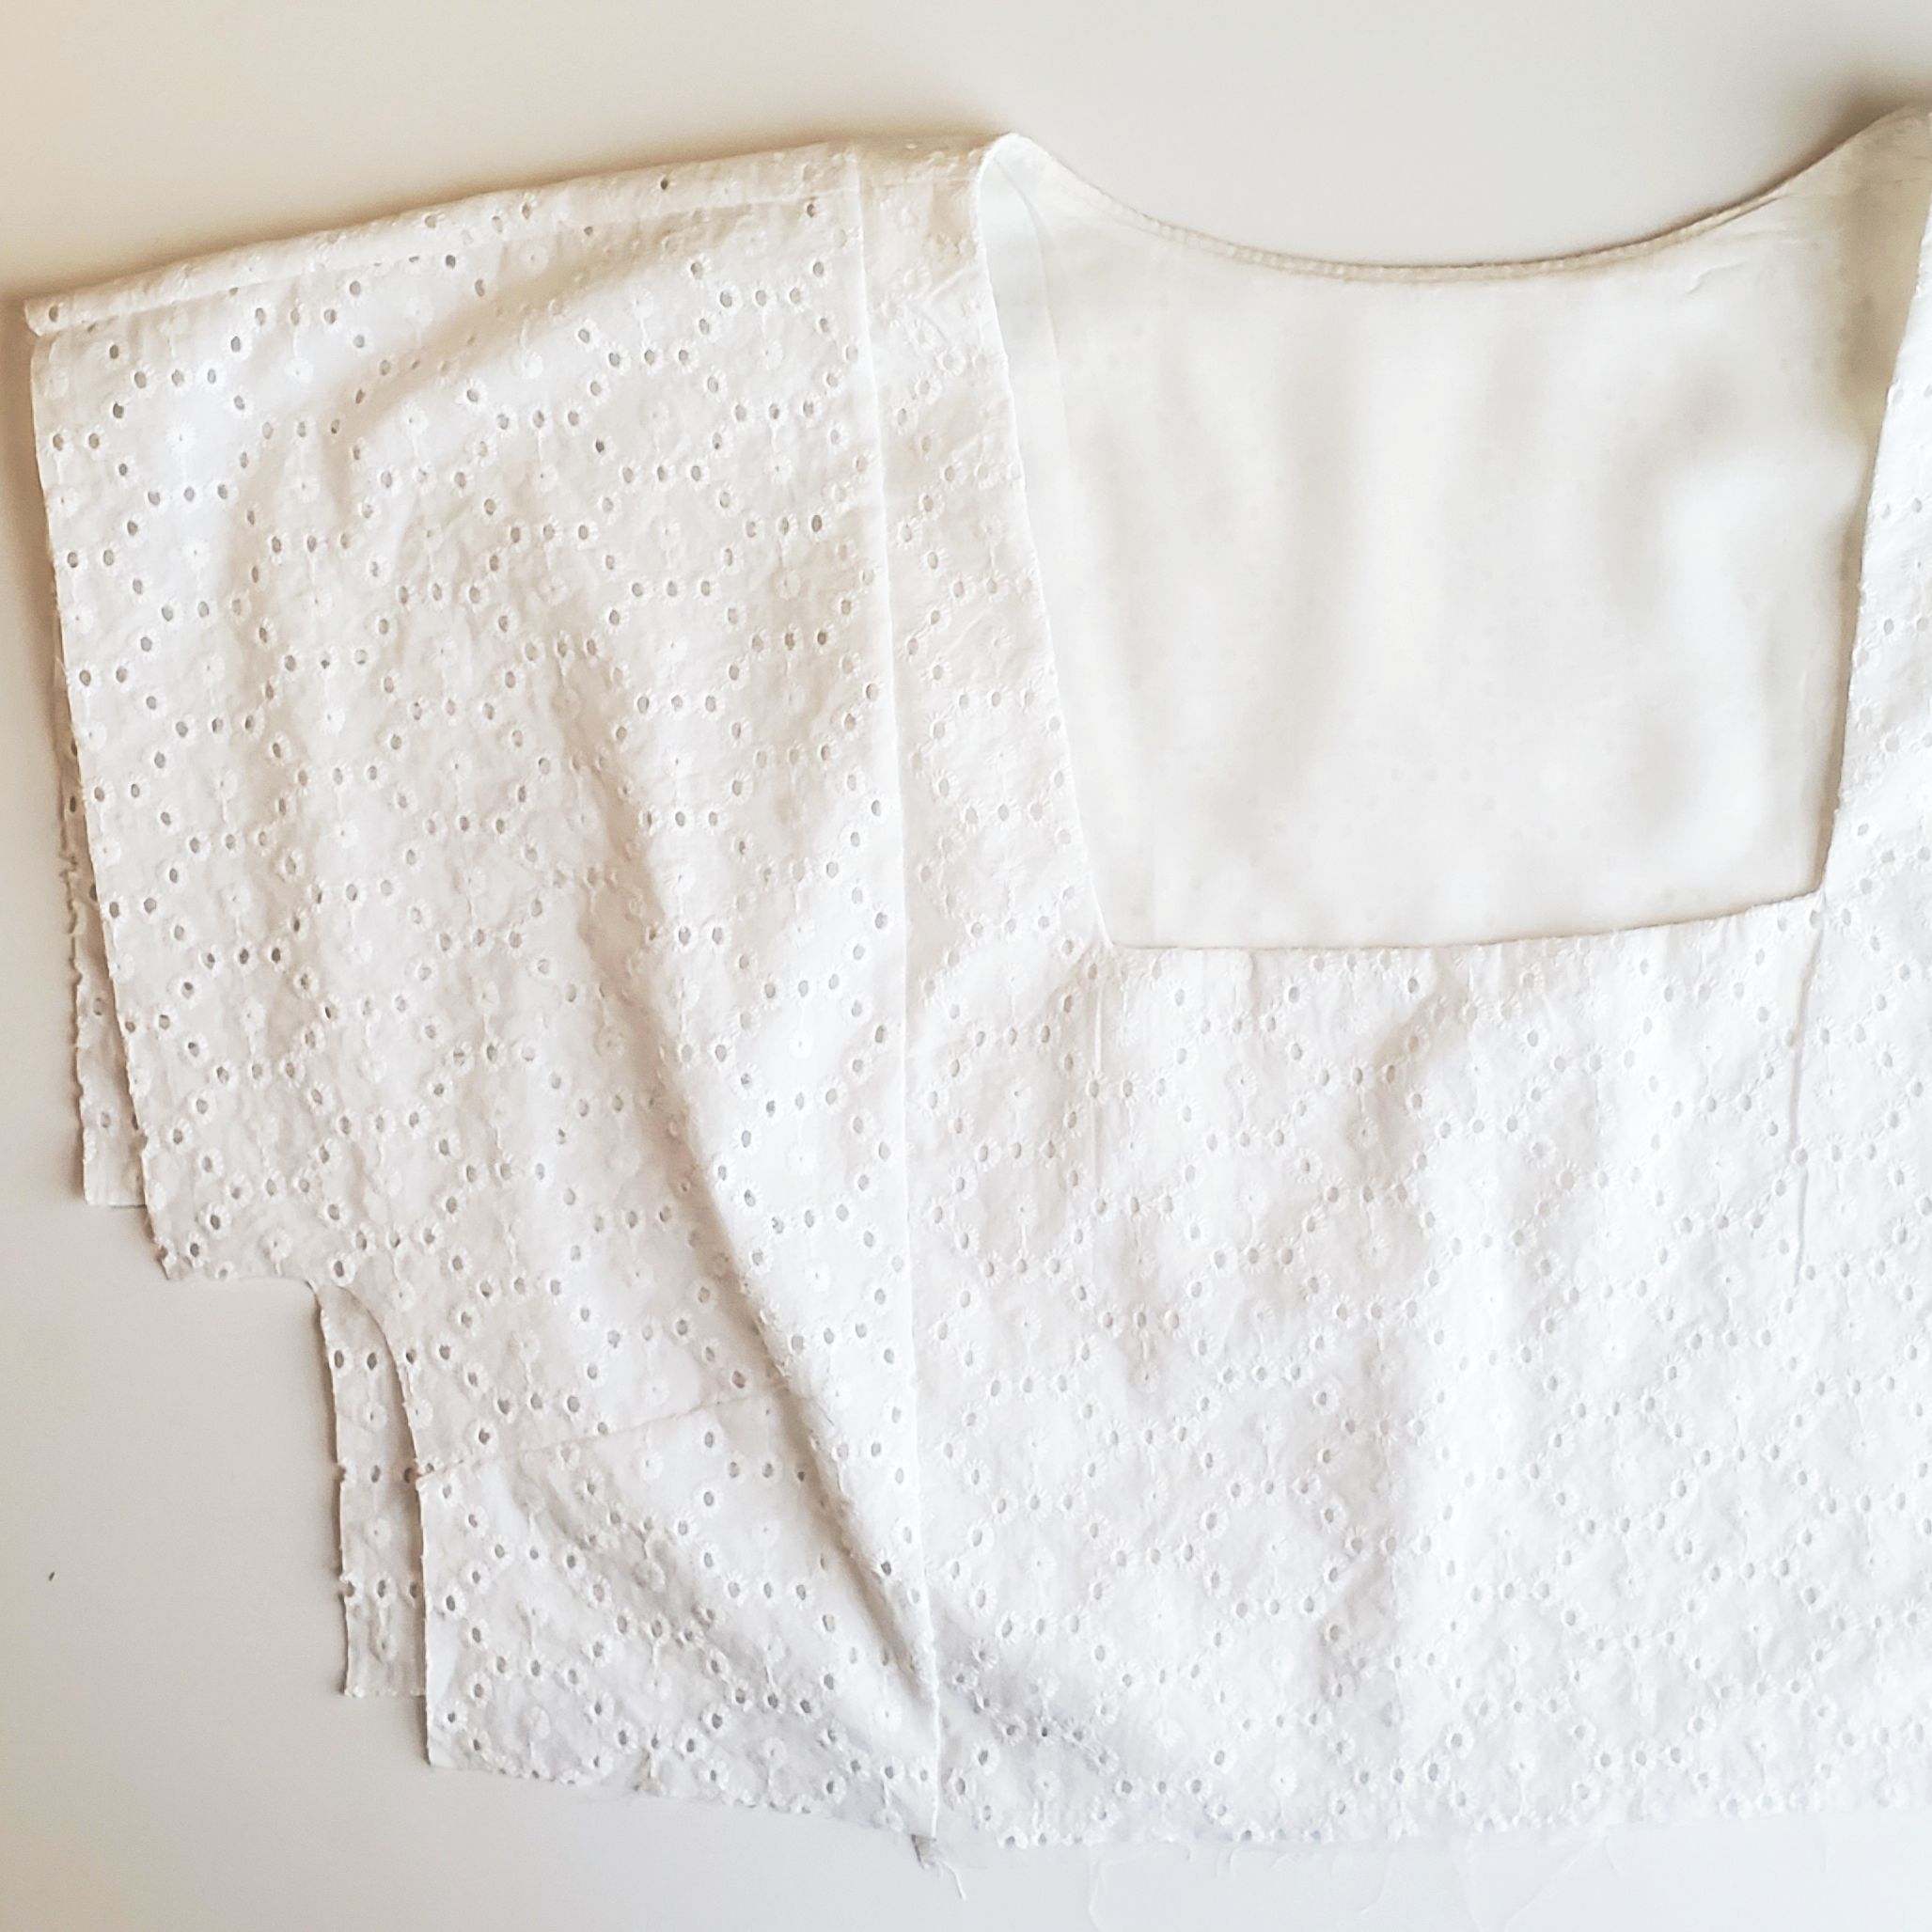
Clip into the seam allowance at the corners and the curved areas to make turning easier. You’ll also want to trim the seam allowance down to about 1/4” (not shown). Turn everything right side out and press. Then understitch the lining to the seam allowance on the interior and press again.
Baste the two layers together around the outer edges, just inside the seam allowance, to hold everything in place. Now we can add the sleeves!
Sew the shoulder seams of the sleeves (right sides together) and finish the seams to your preference. Then attach the sleeves to the Center Front/Back, right sides together, lining up the shoulder seams and edges. Finish the seams with your preferred method.
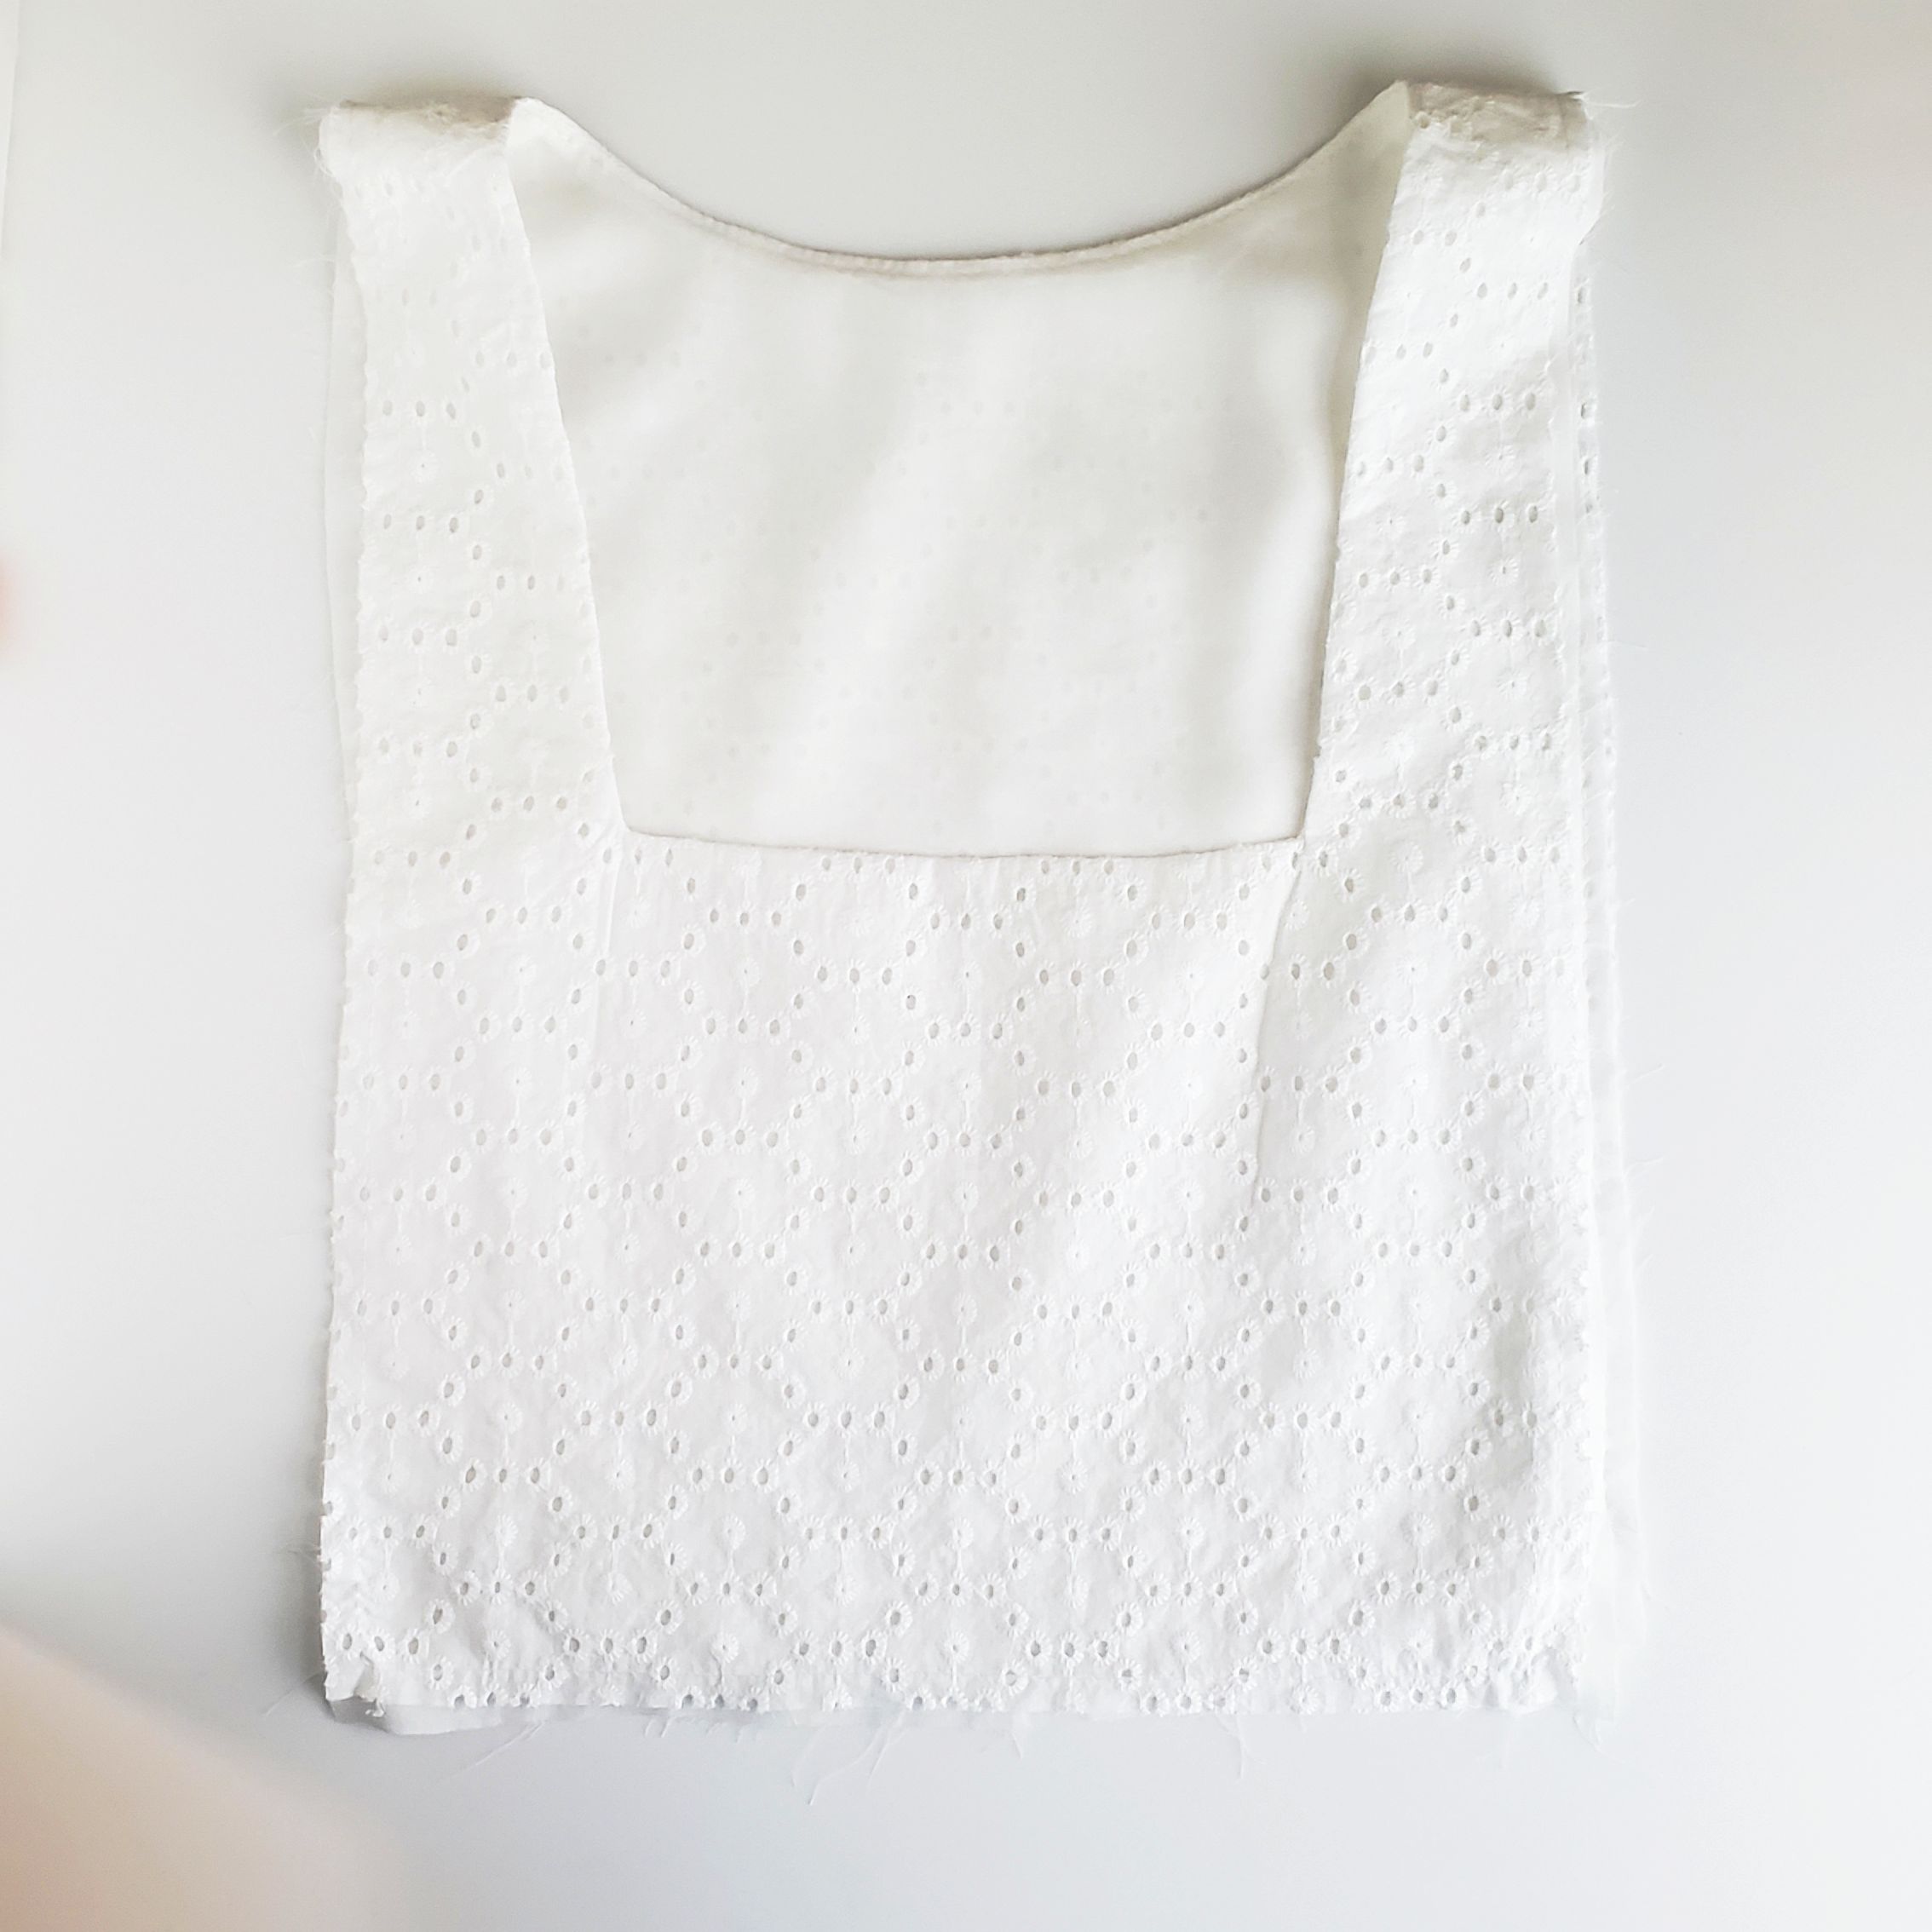
Turn the sleeves right side out and press! You can continue the blouse construction per the pattern instructions!
Finishing touches!
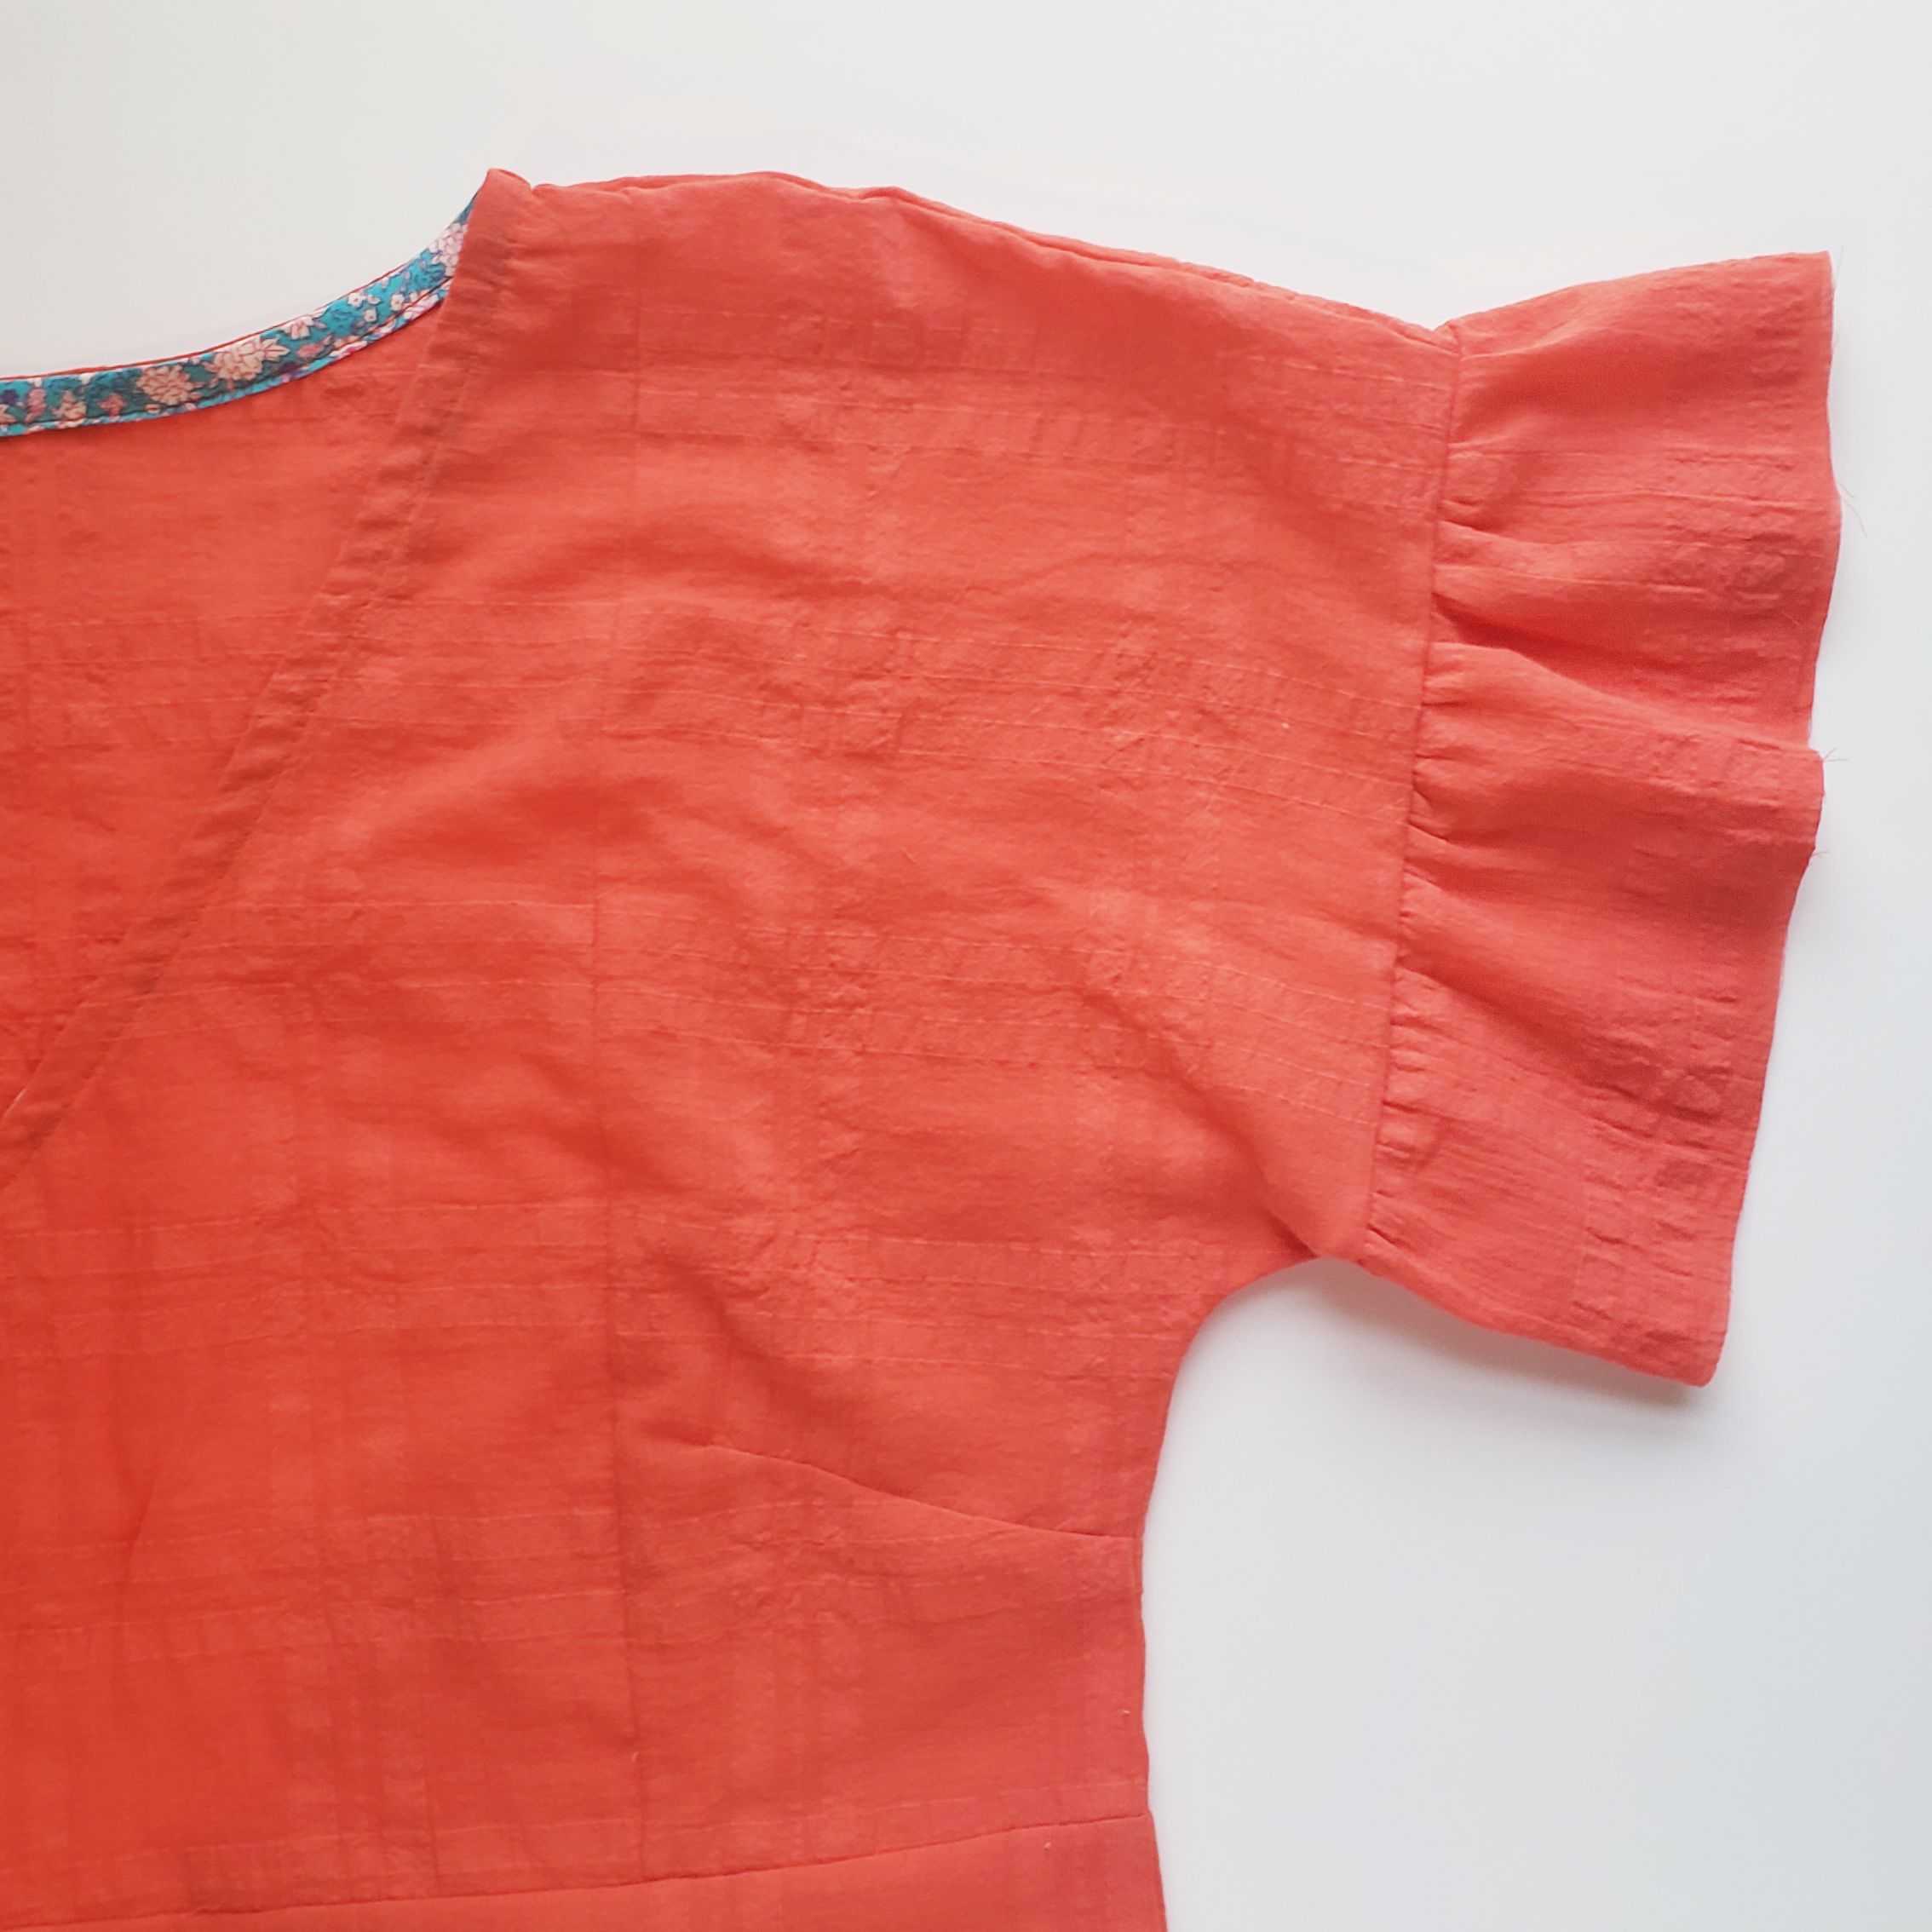
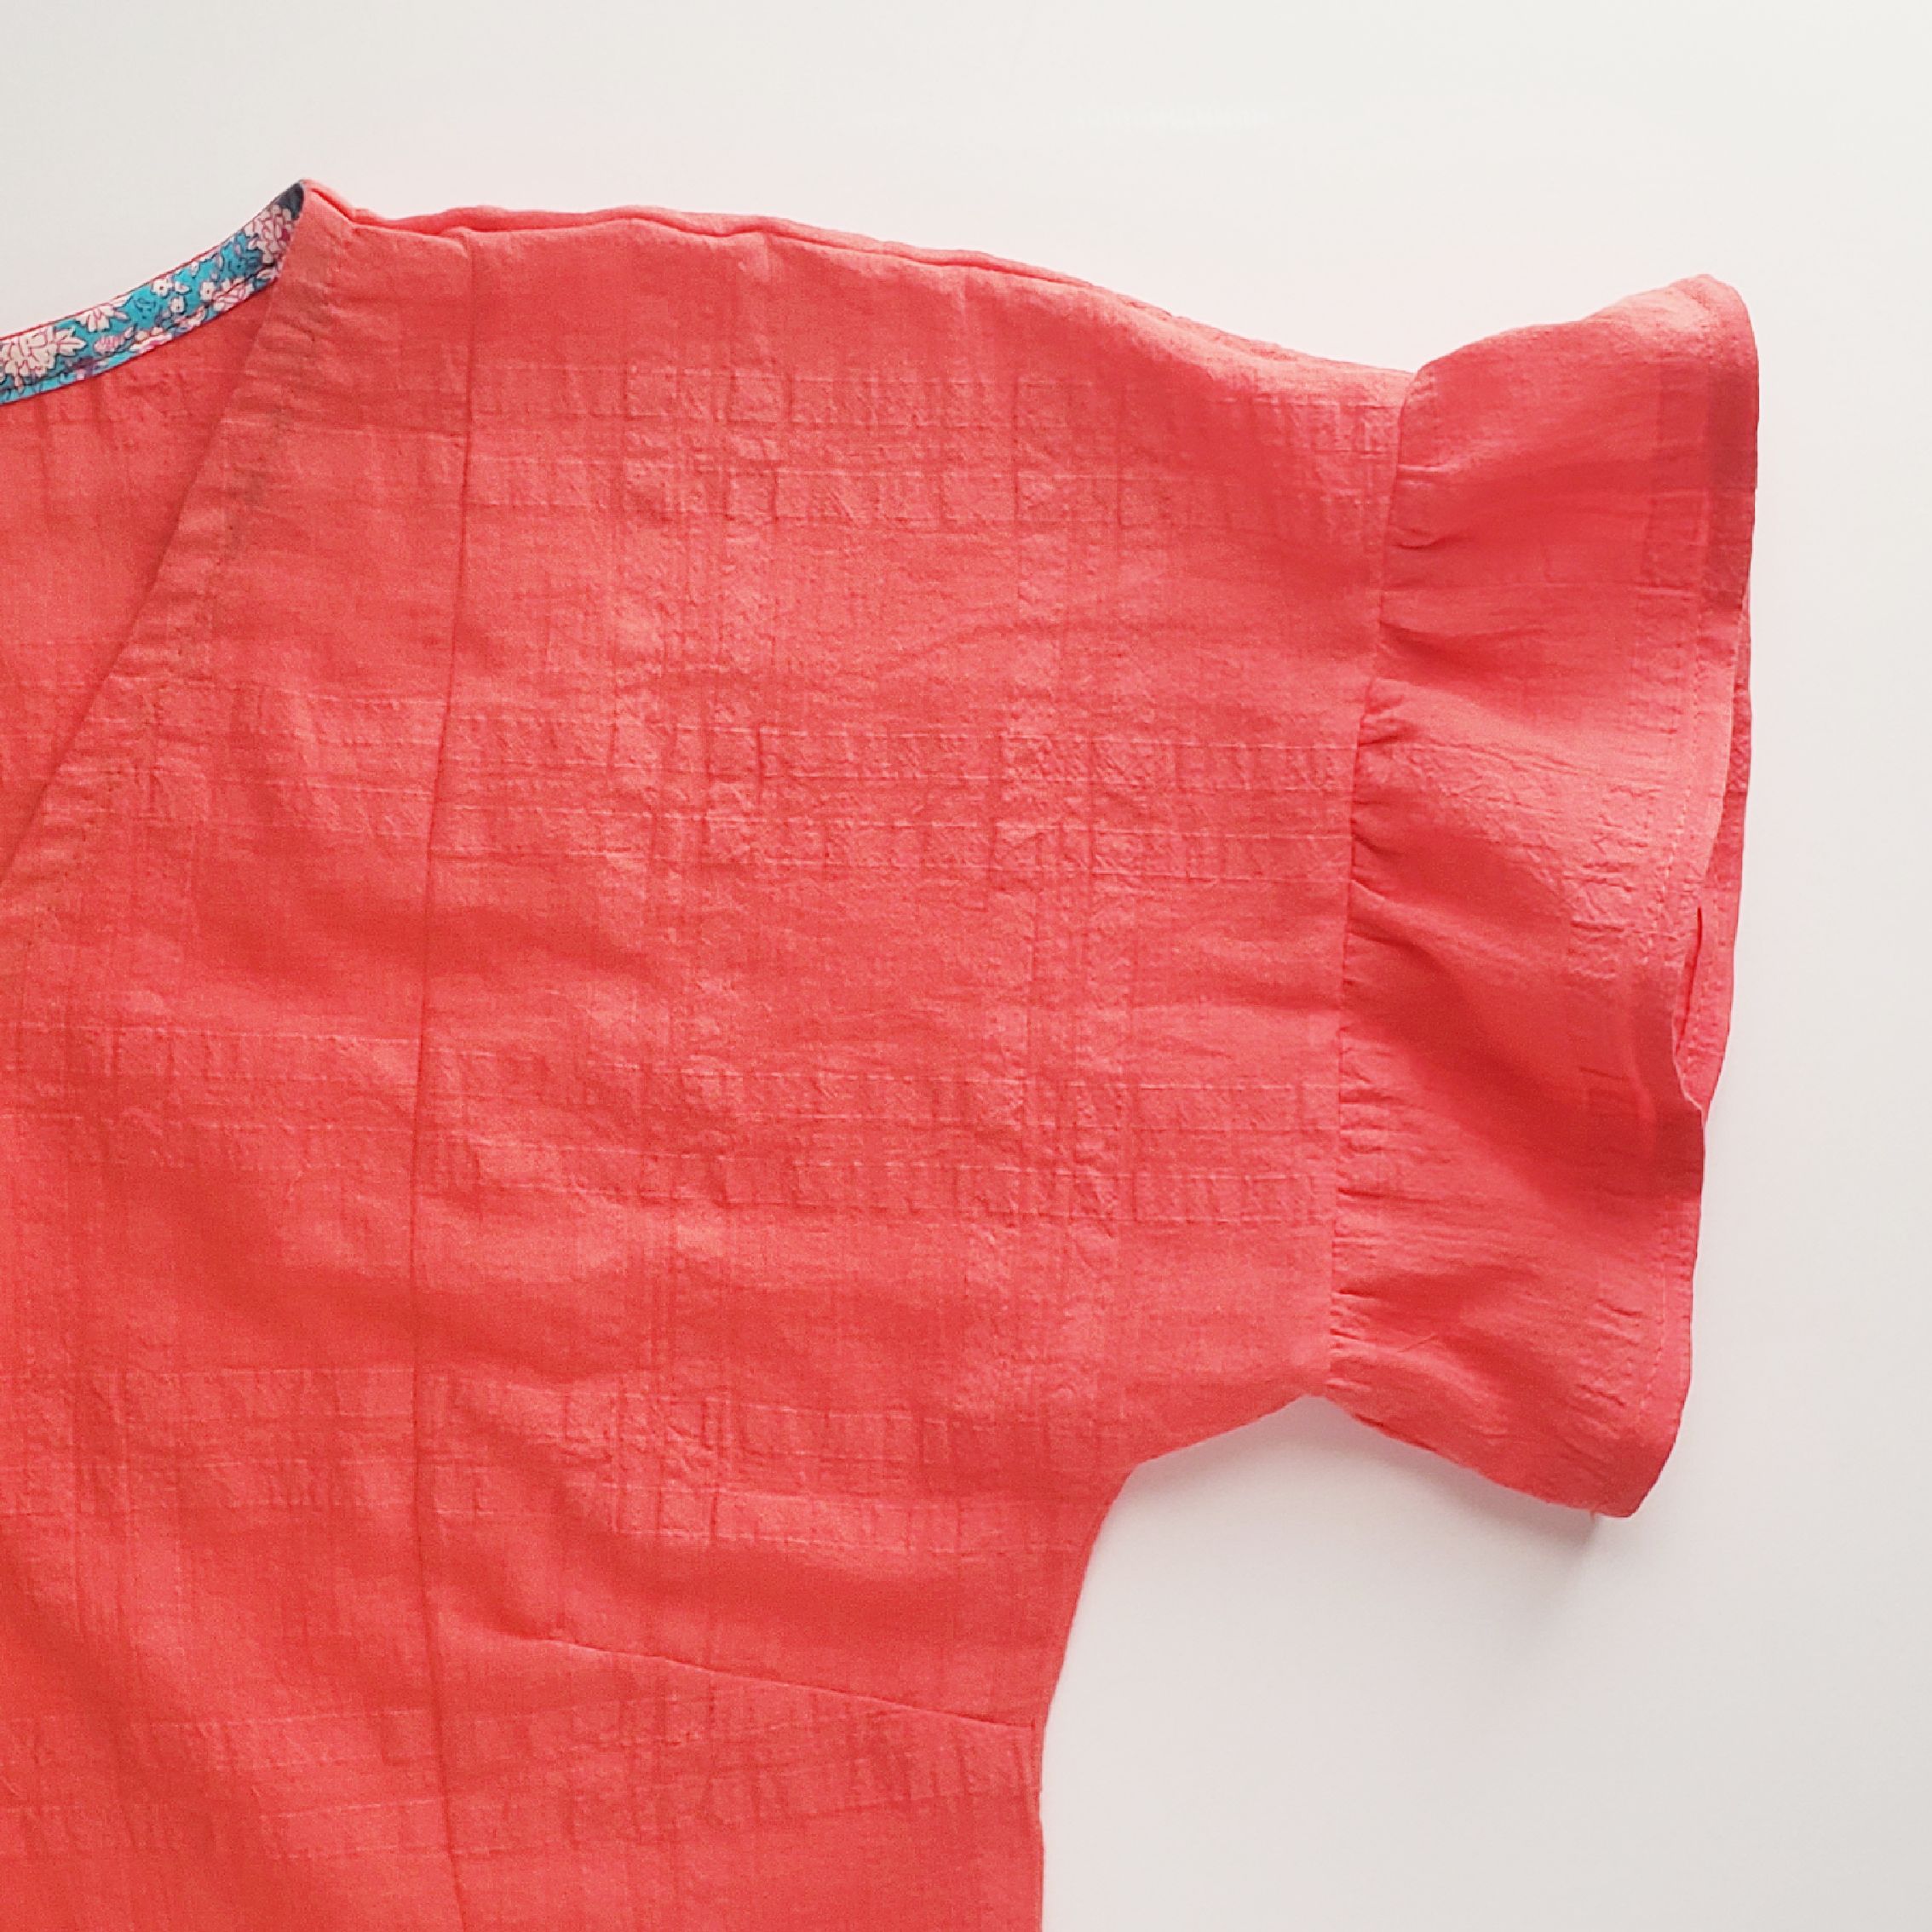
When you are finished, your blouse(s) will look something like this! I added a ruffle sleeve to the V-neck version for a little extra PIZZAZZ! See below for how I did that!
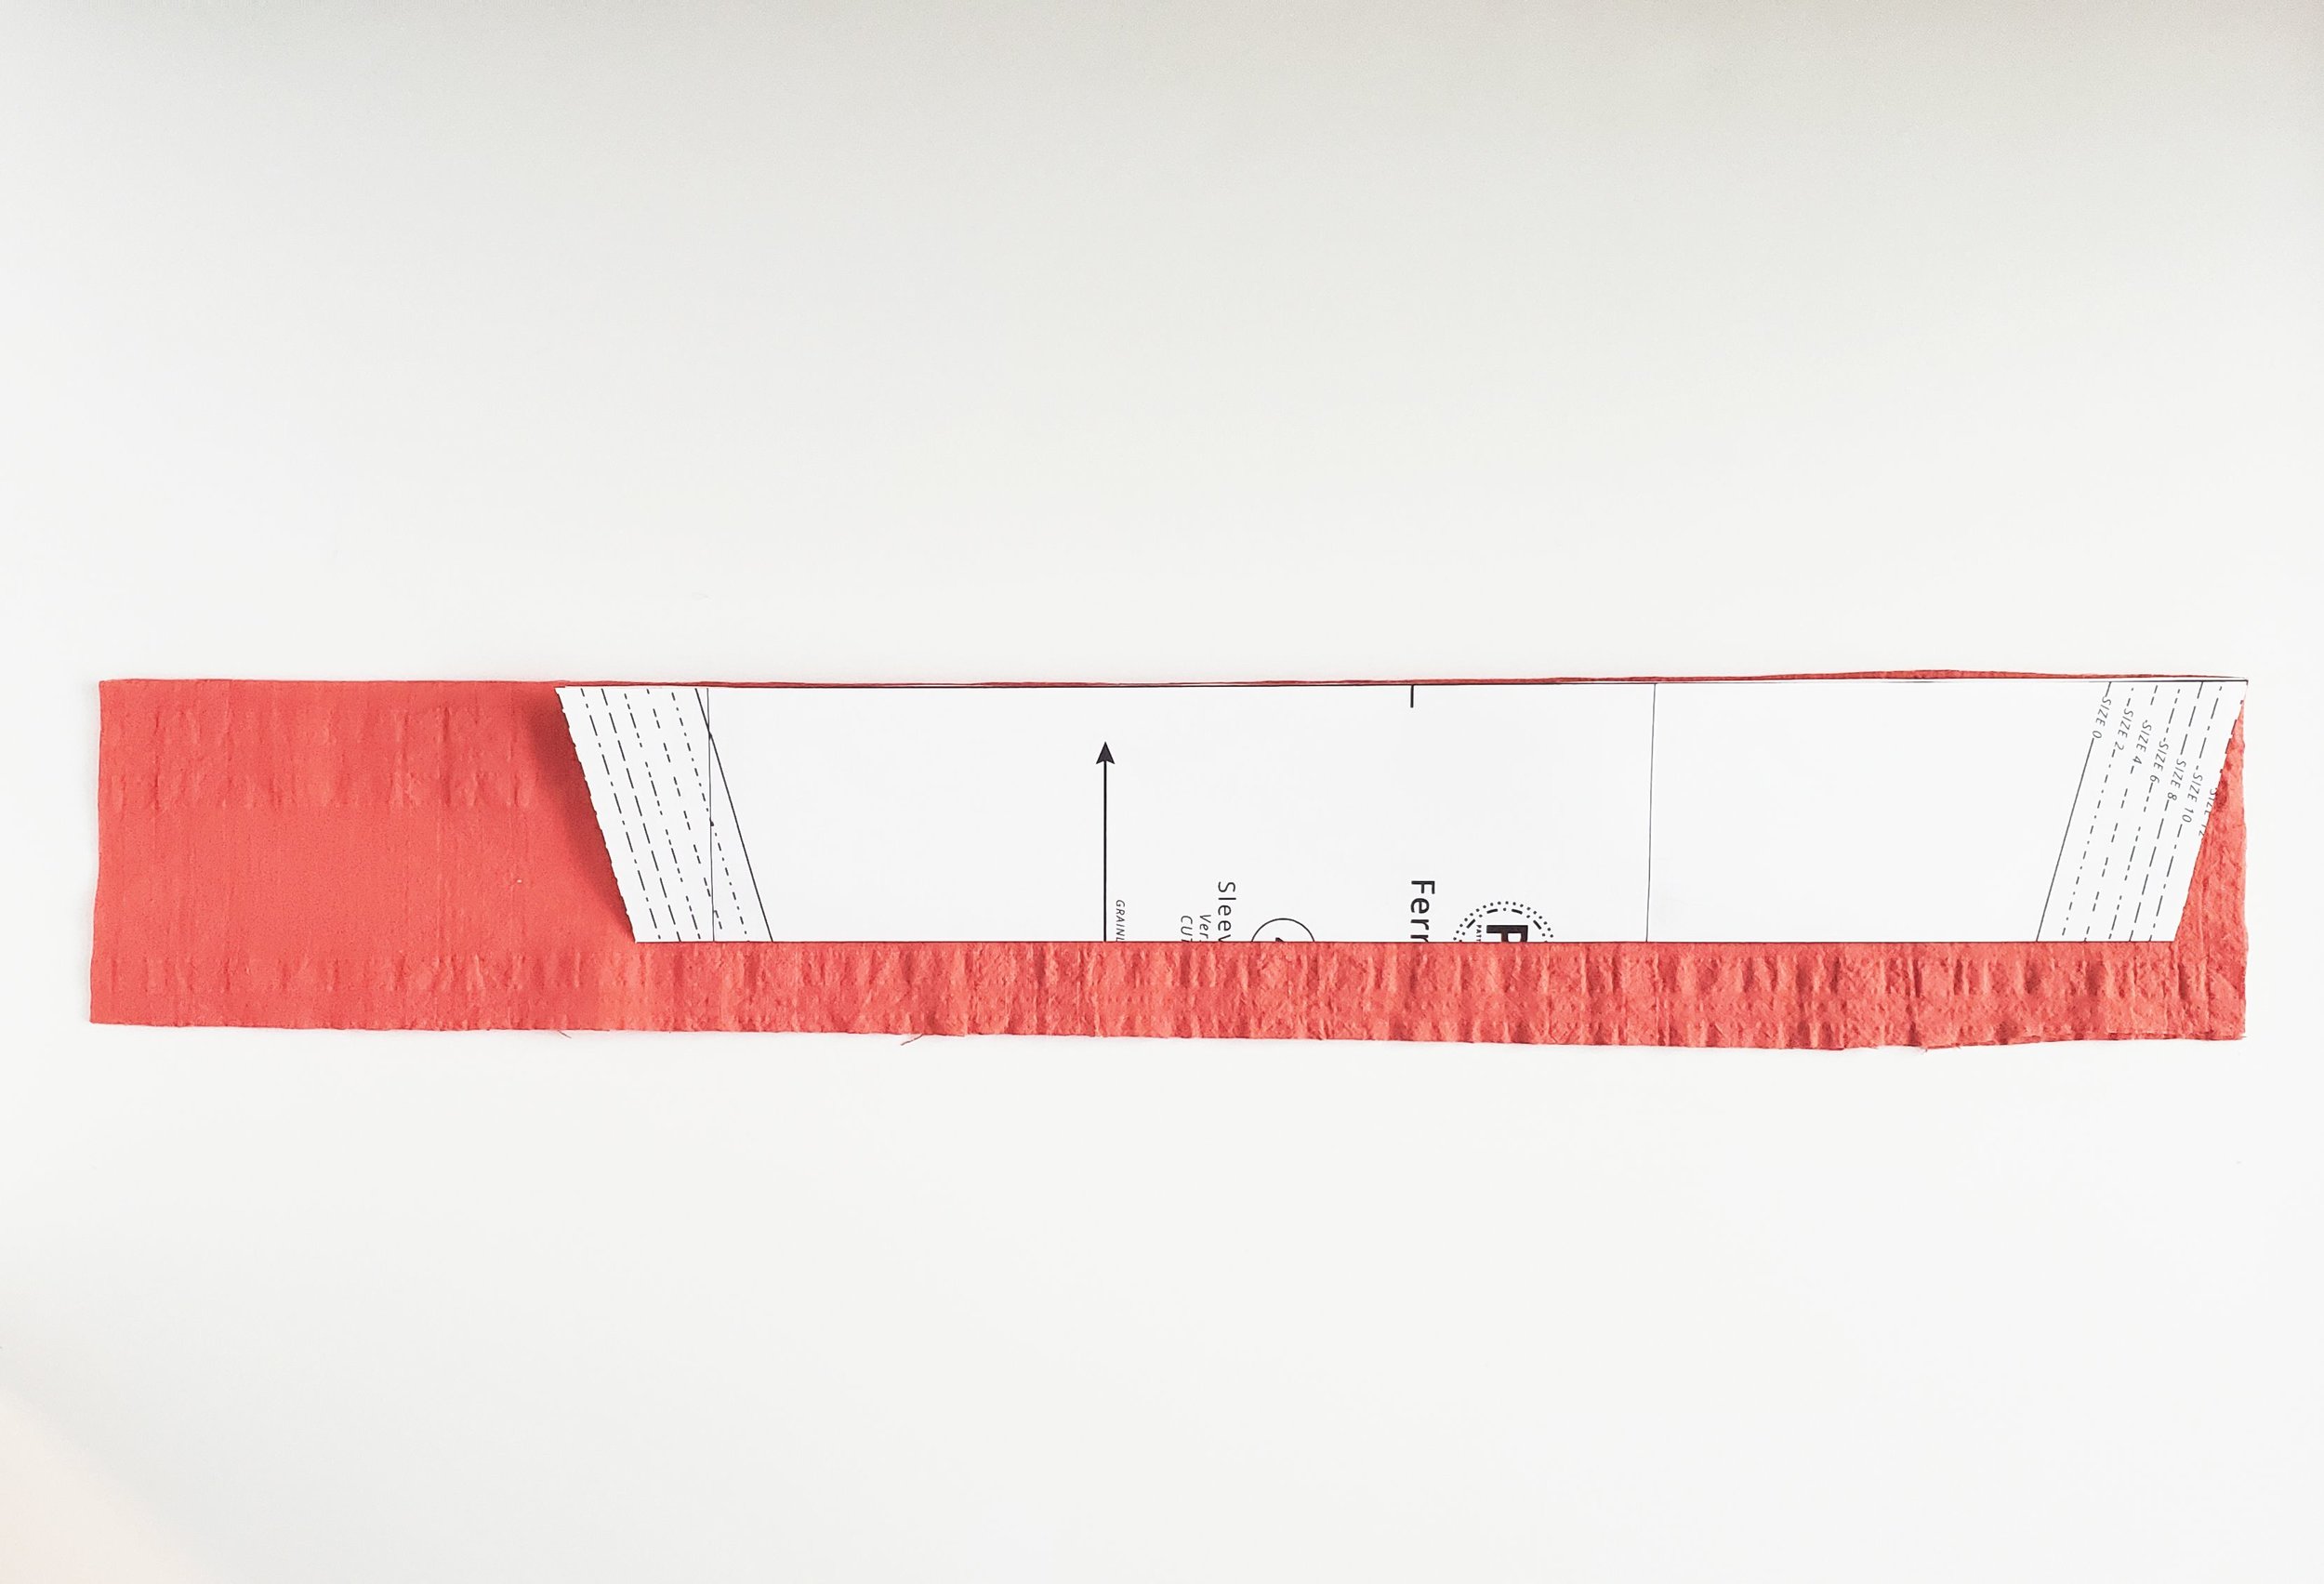
How to add a ruffle sleeve
Once you have constructed your blouse, instead of hemming or adding the sleeve cuff included in the pattern, you will cut a strip of fabric that is about 5 inches longer than the Sleeve Cuff Pattern Piece length (if you want a more dramatic ruffle, make your piece longer). I made the width roughly 3 inches wide.
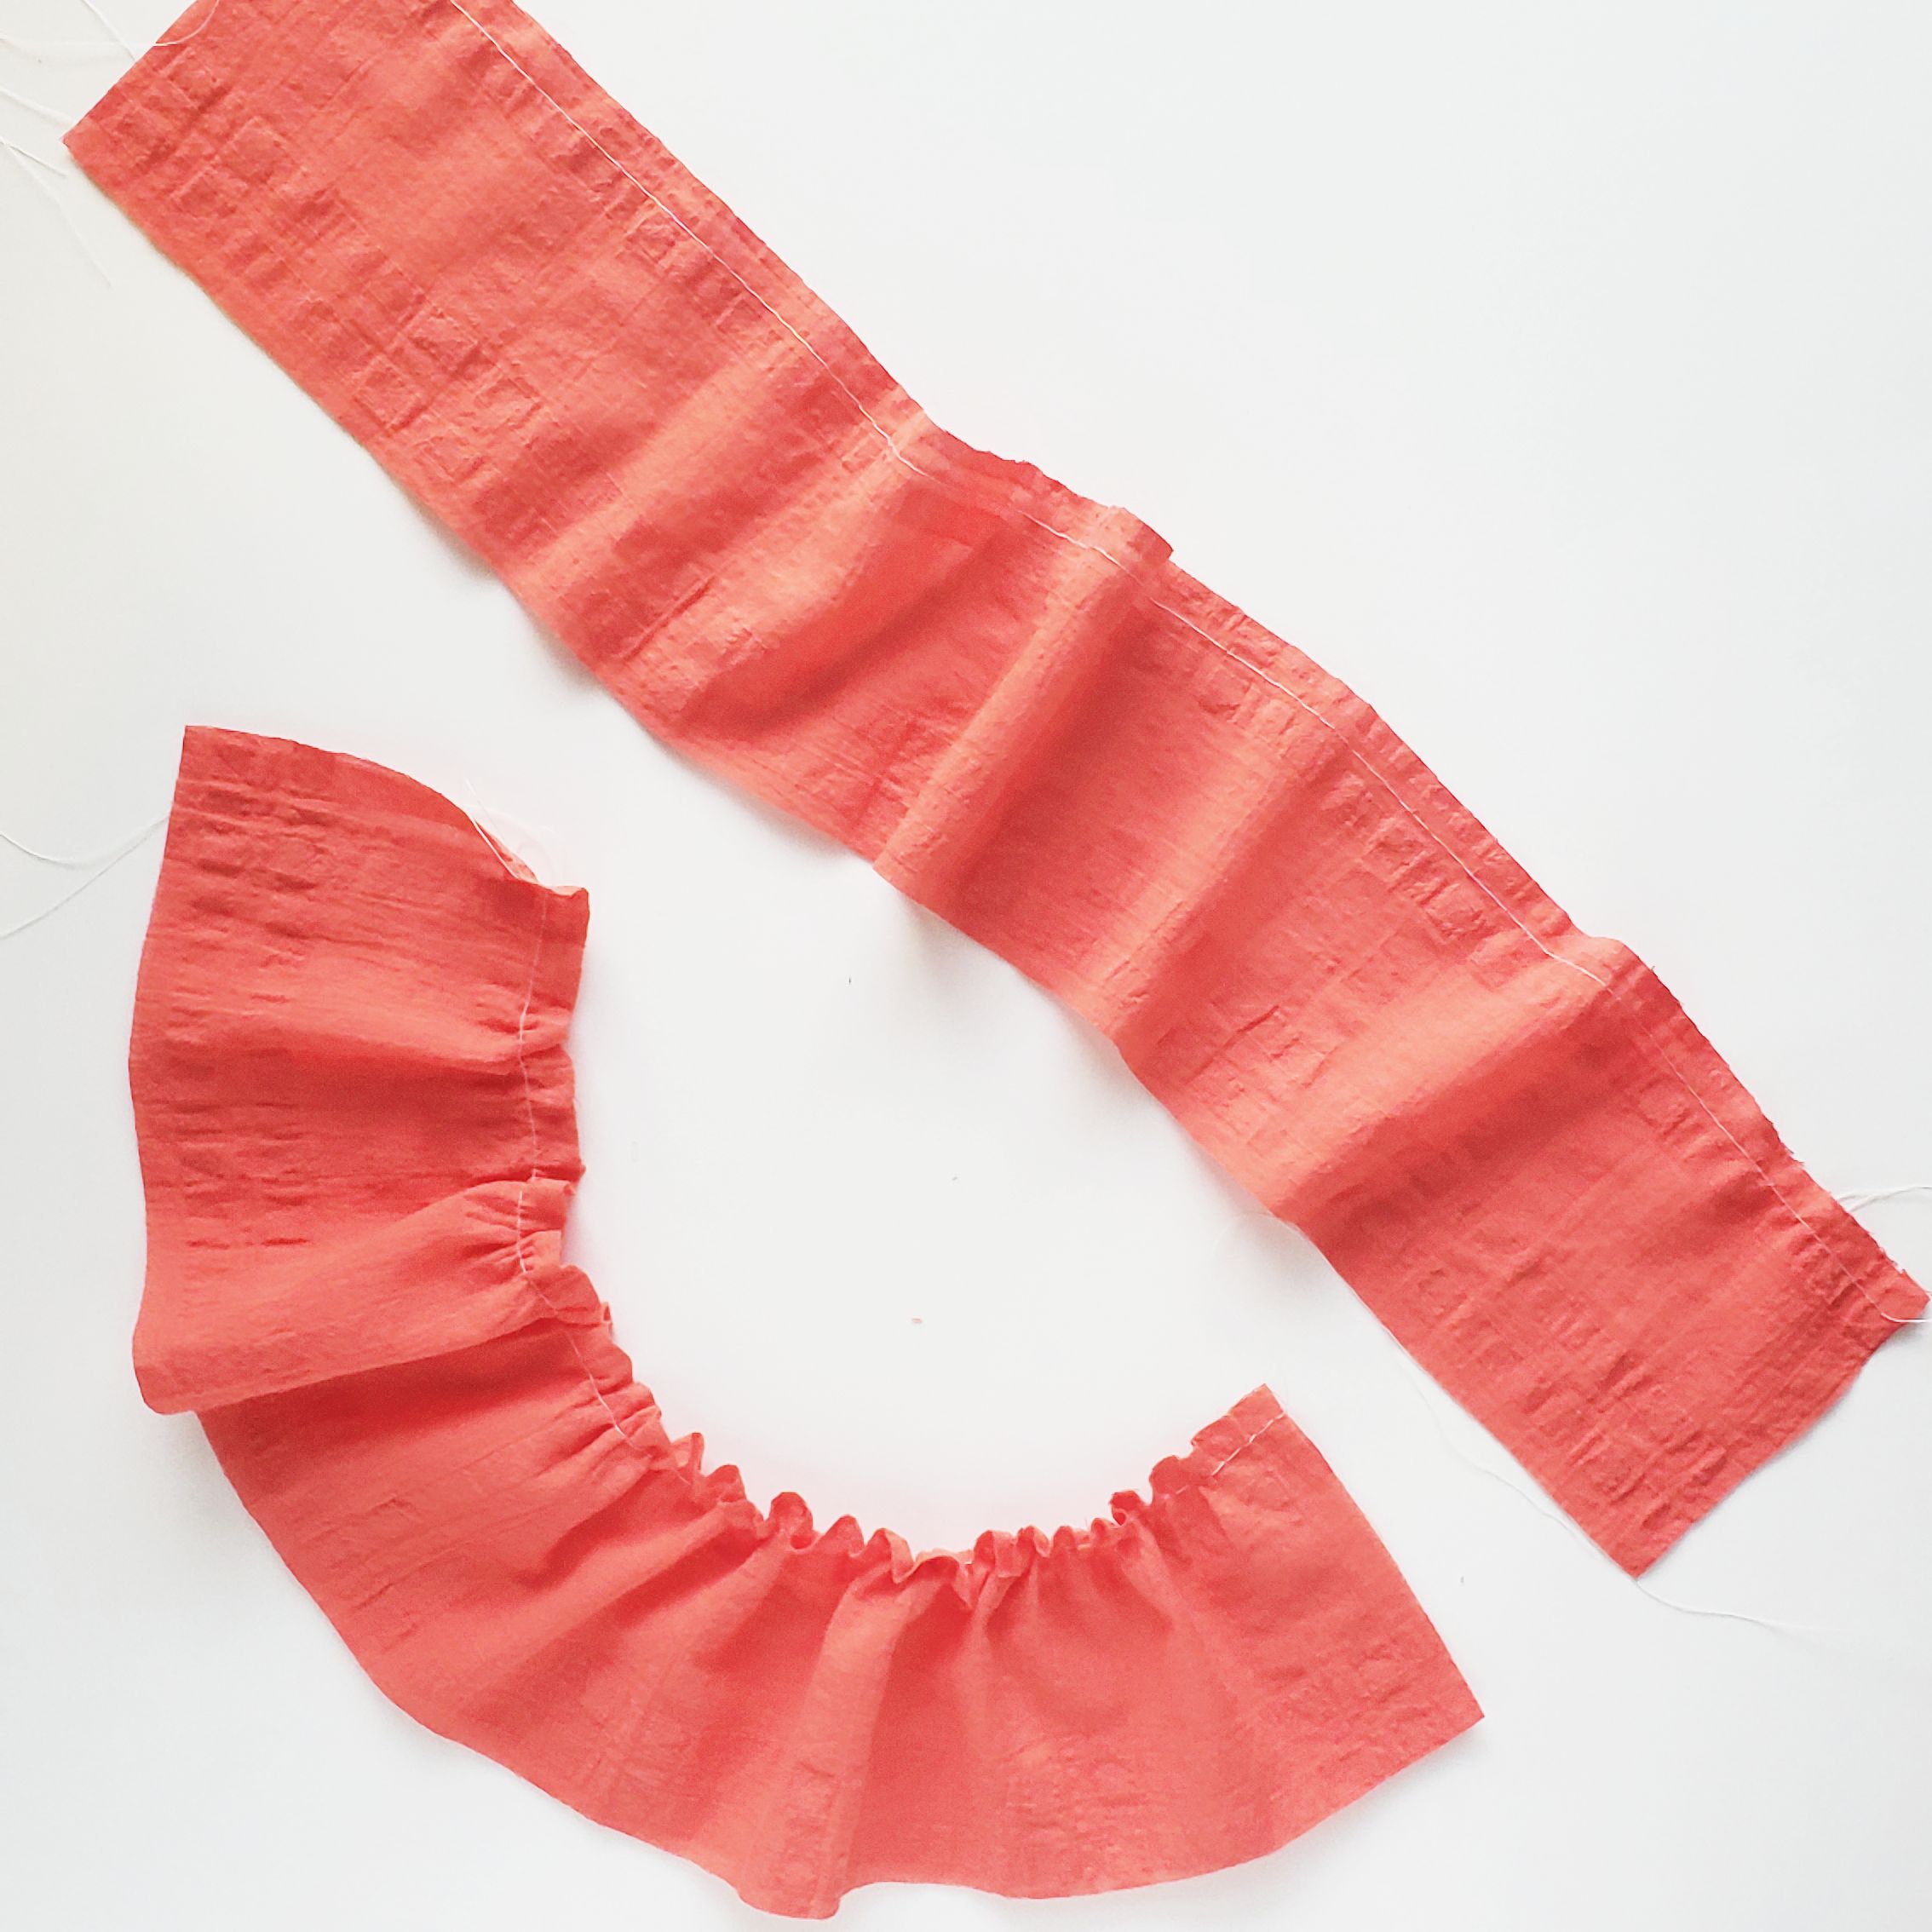
Sew a loose basting stitch along one edge and leave a thread tail that is a few inches long so it’s easy to pull. Pull the thread tail to gather the edge and create a ruffle. (also, I forgot to do this, but it is a good idea to finish the short edges of the strip before doing this step, especially if serging.)
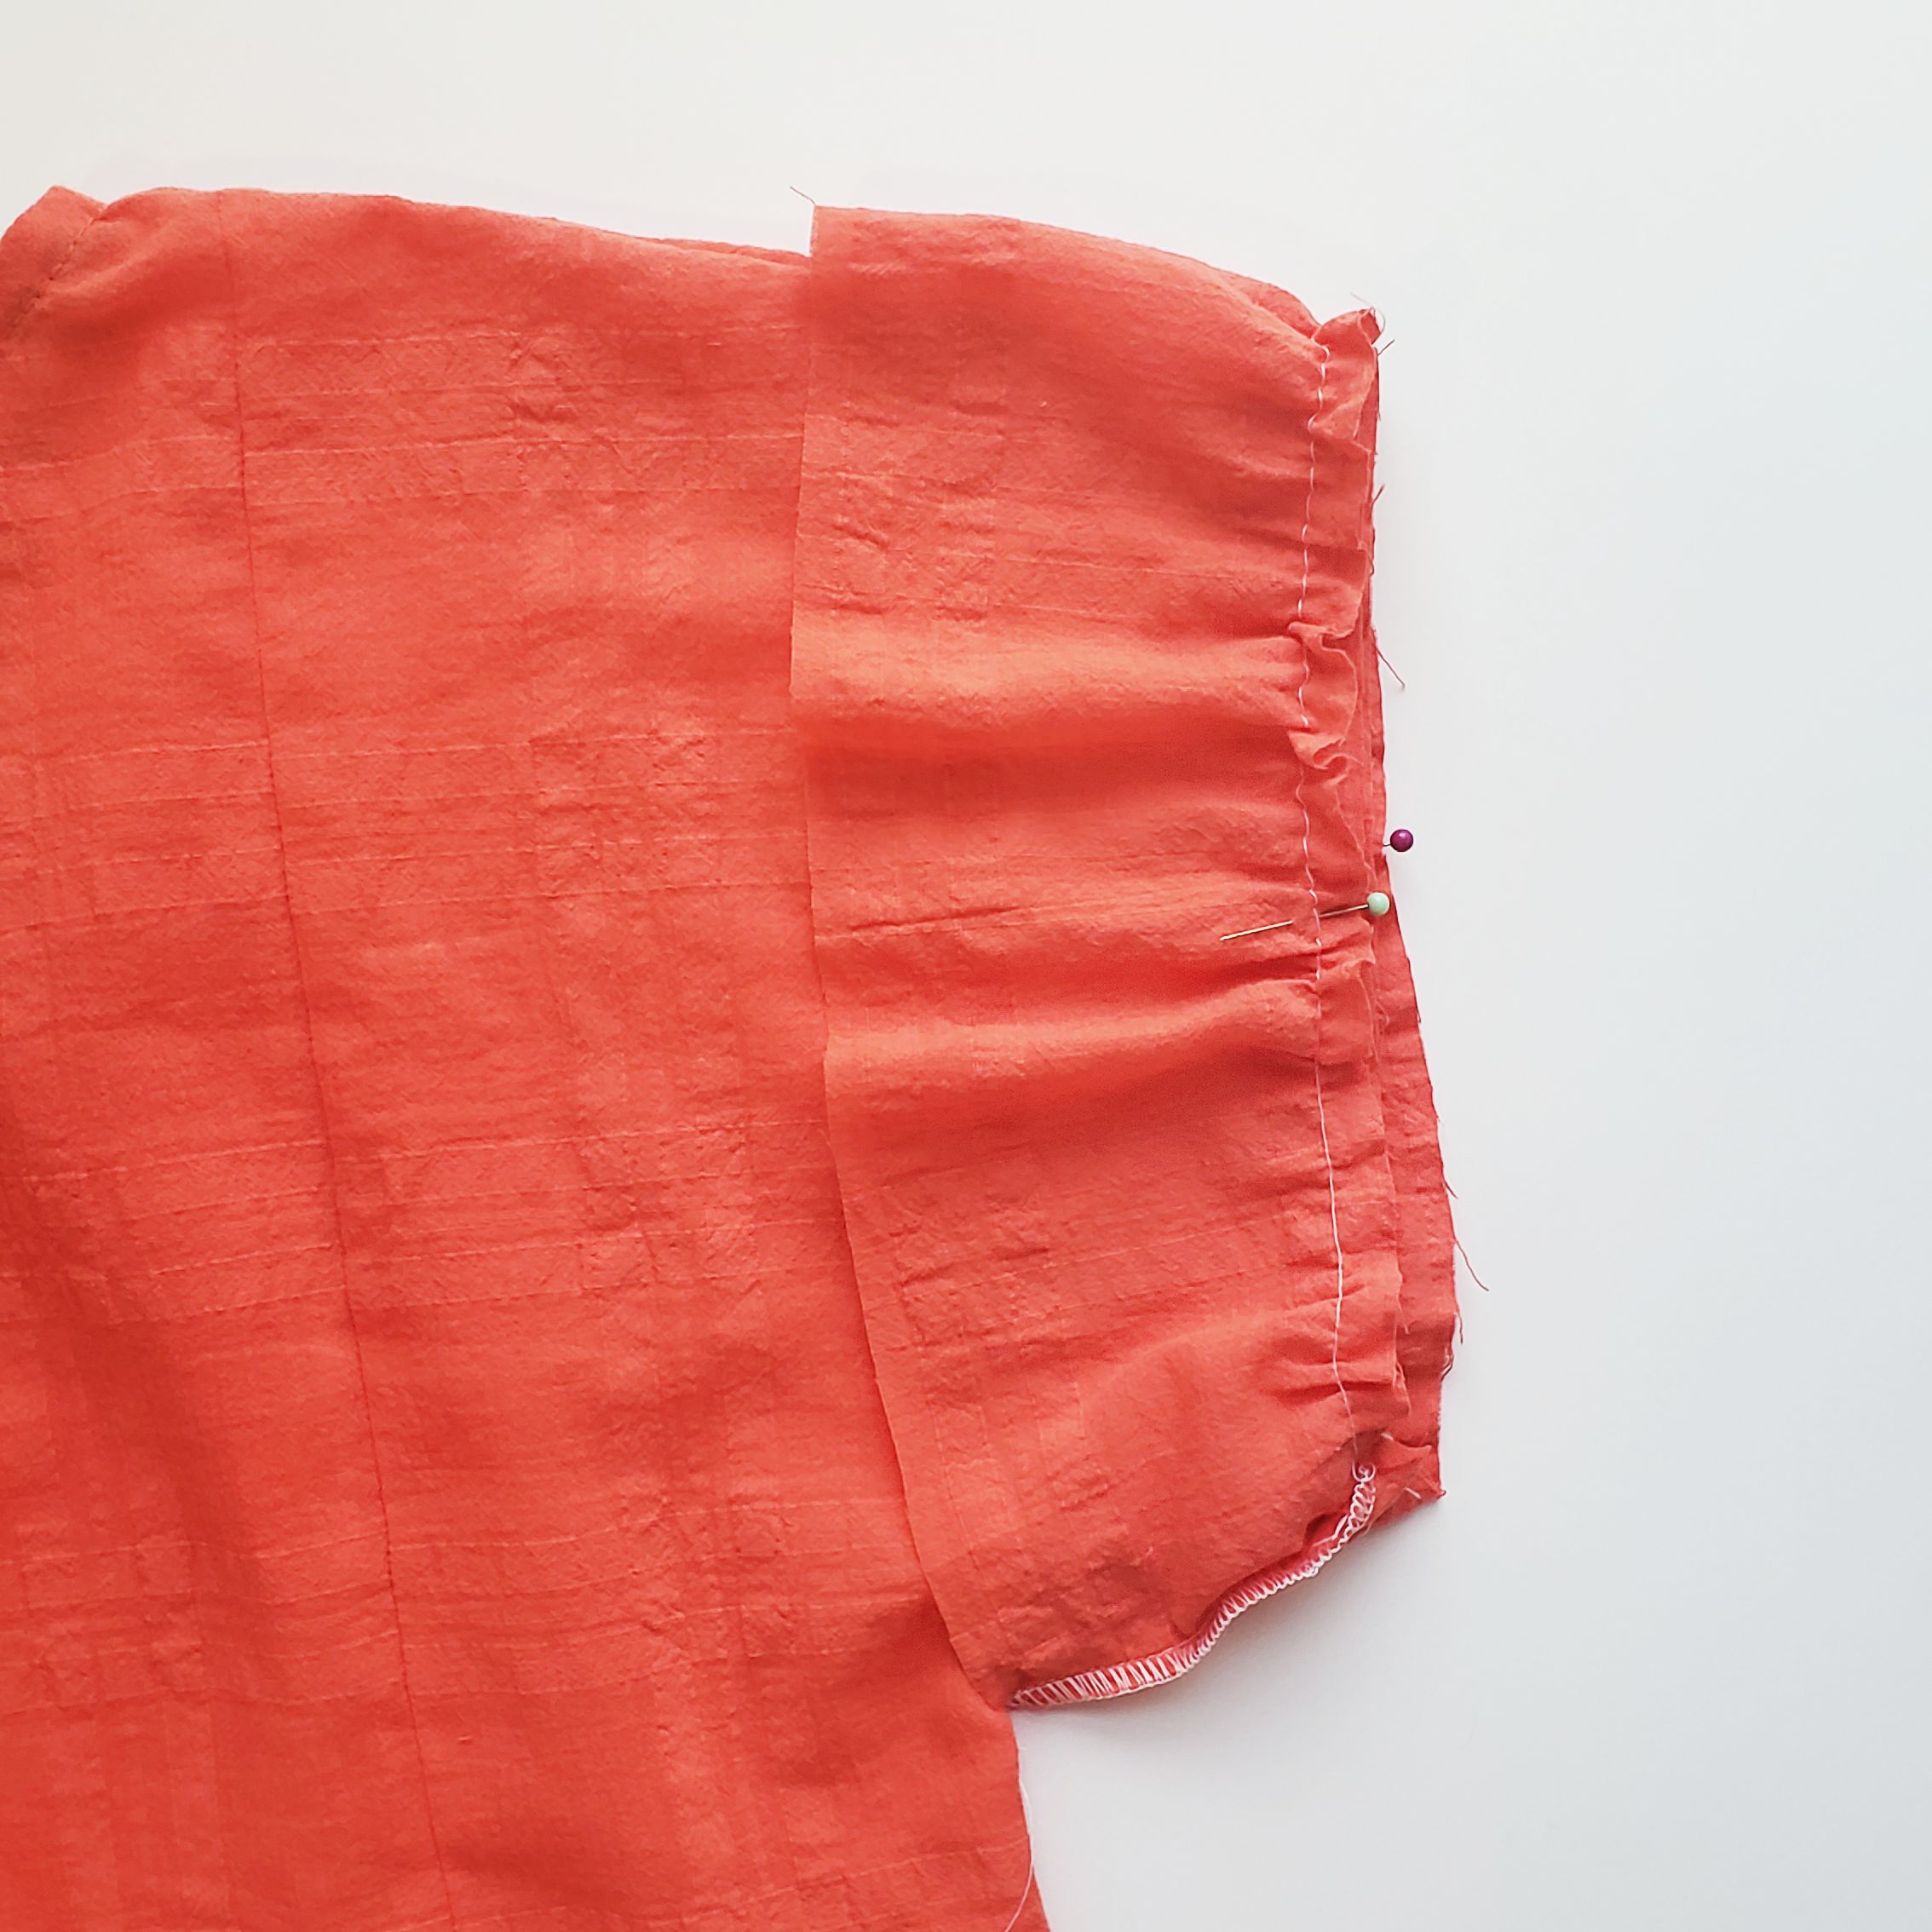
Right sides together, align the gathered edge of the strip with the raw sleeve edge and distribute the gathers to make the ruffle fit on the sleeve edge. Pin in place and baste the ruffle to the sleeve to ensure a clean join before sewing and finishing the seam to your preference. Flip the ruffle to the right side and press the seam toward the body of the blouse.
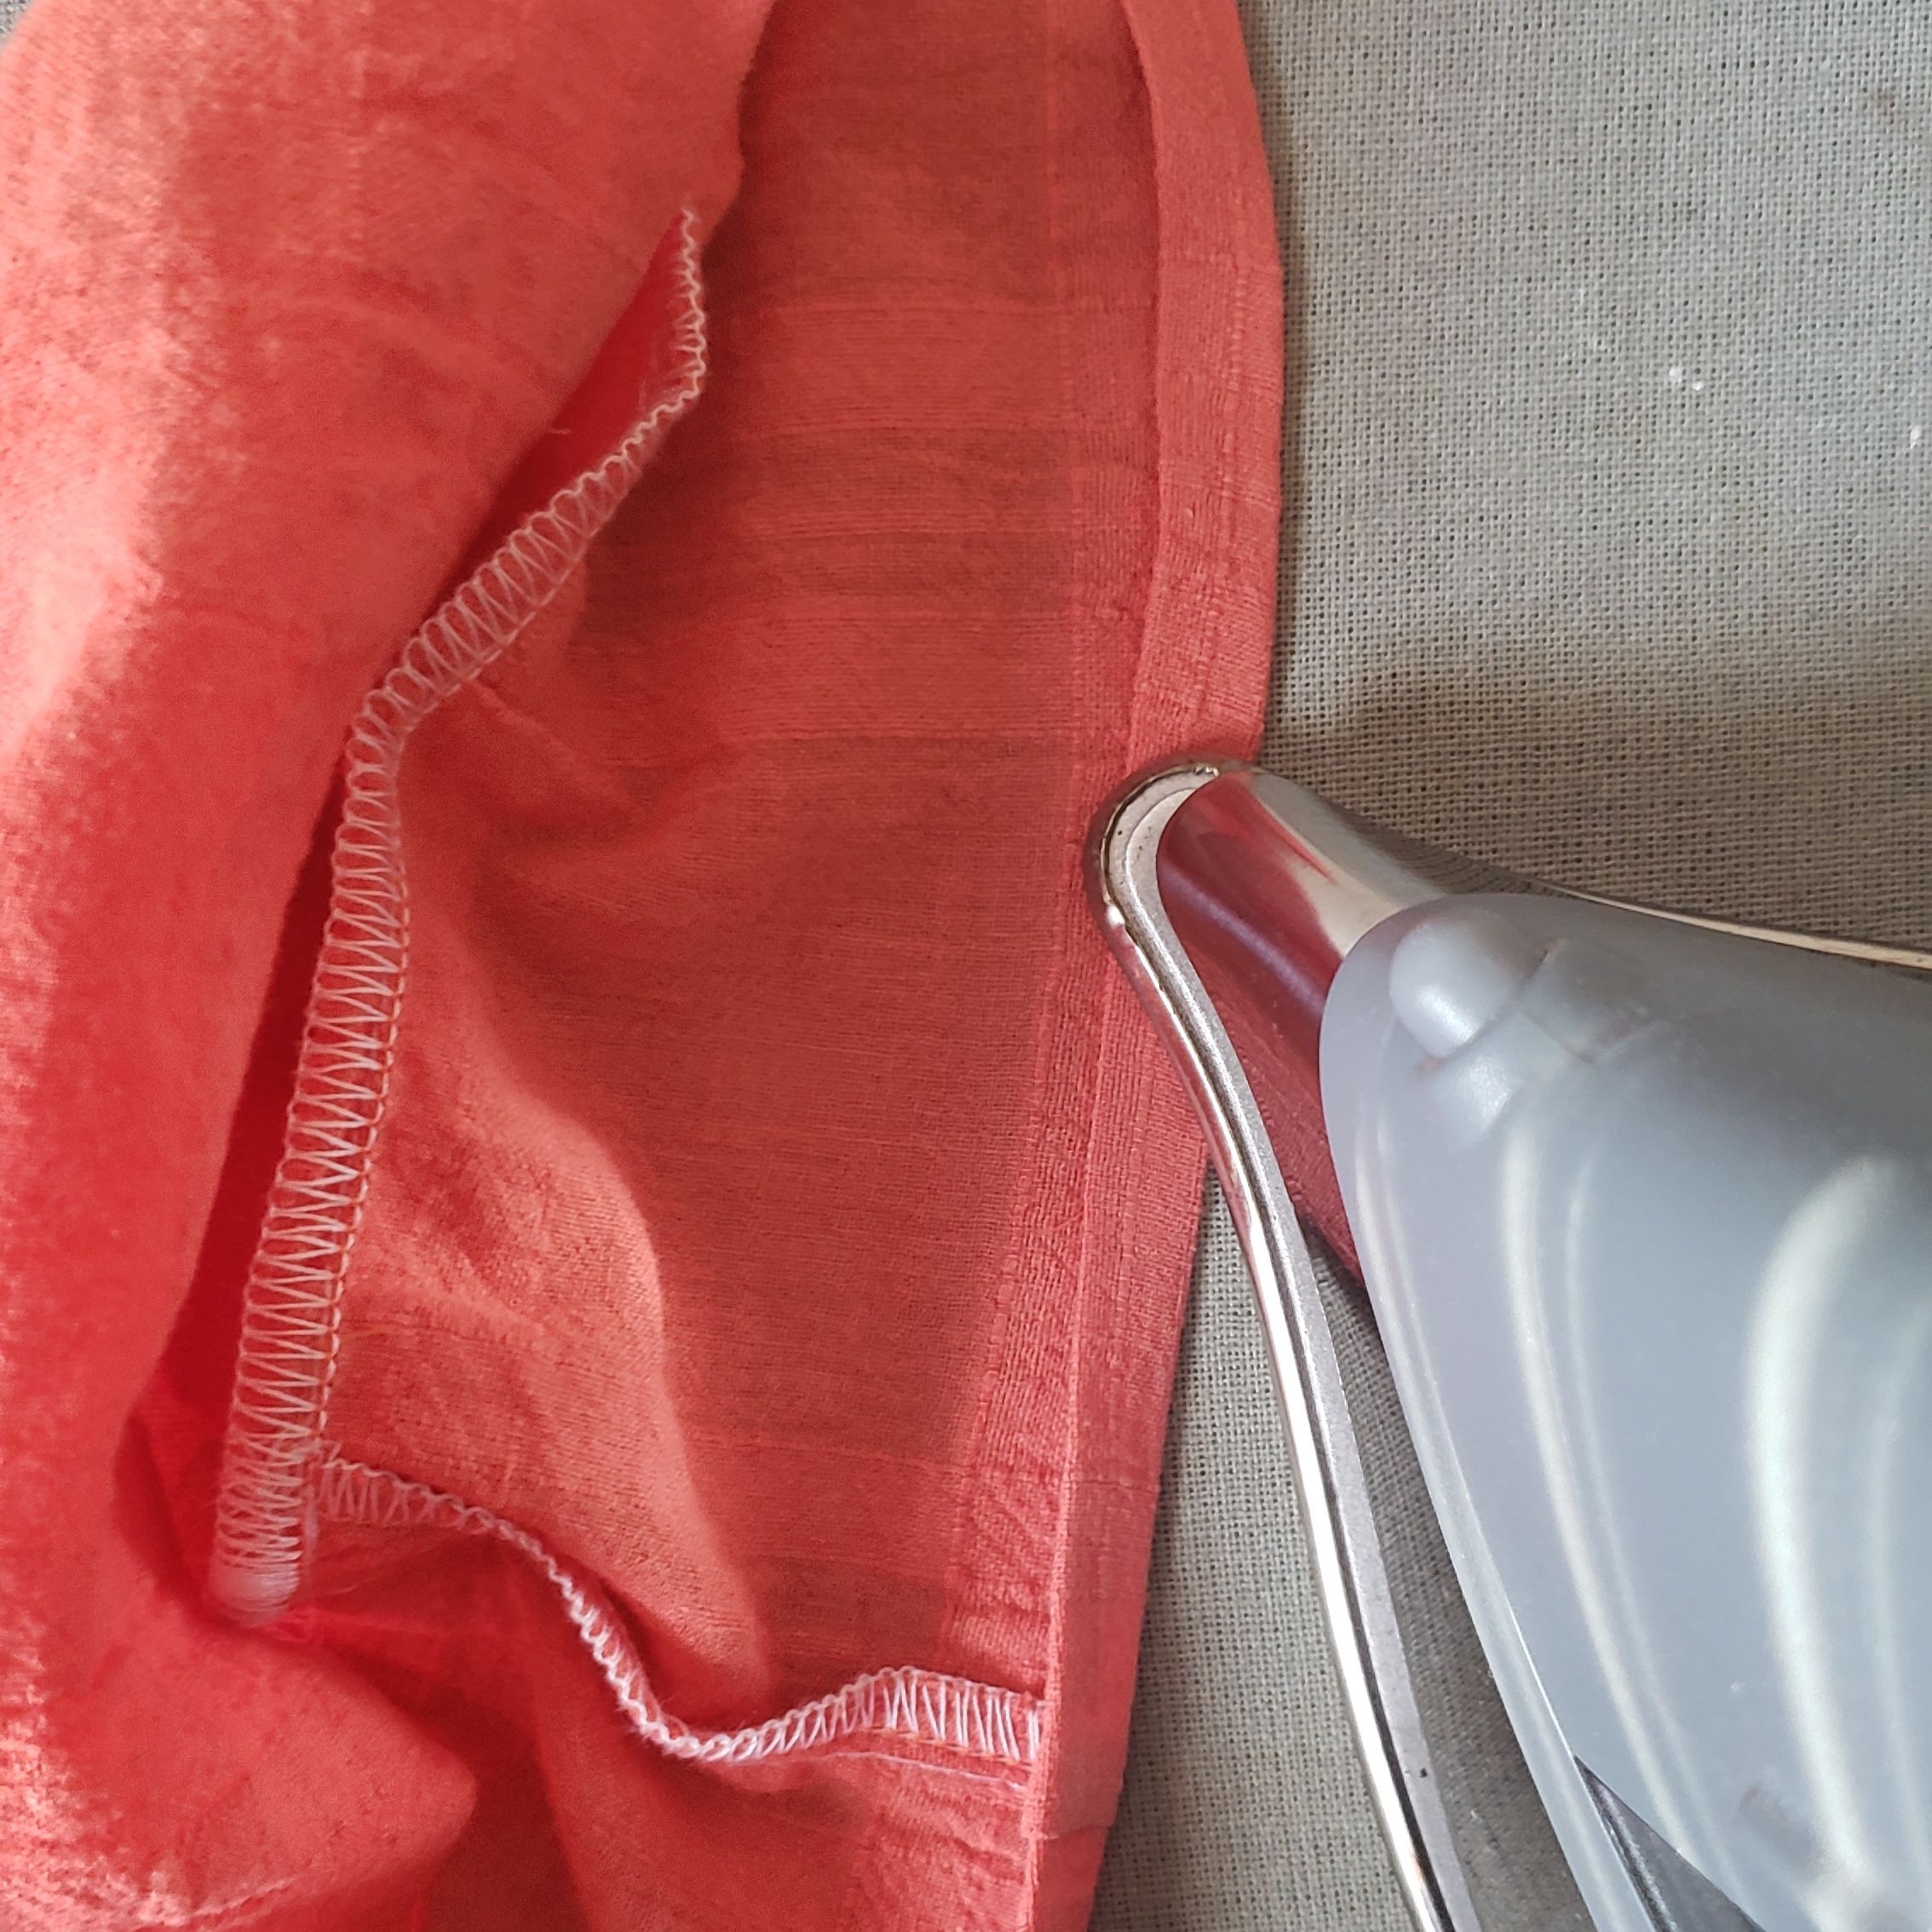
Hem the ruffle by folding the raw edge to the wrong side twice by approximately 1/4” each time. Press and topstich the hem in place.
And that’s it! Have fun flauntin’ your flounce!