Luna Crossbody Sewalong: Part 8, Finishing the Body
In this post we’ll finish up the purse body by sewing the perimeter. This step will go pretty quickly!
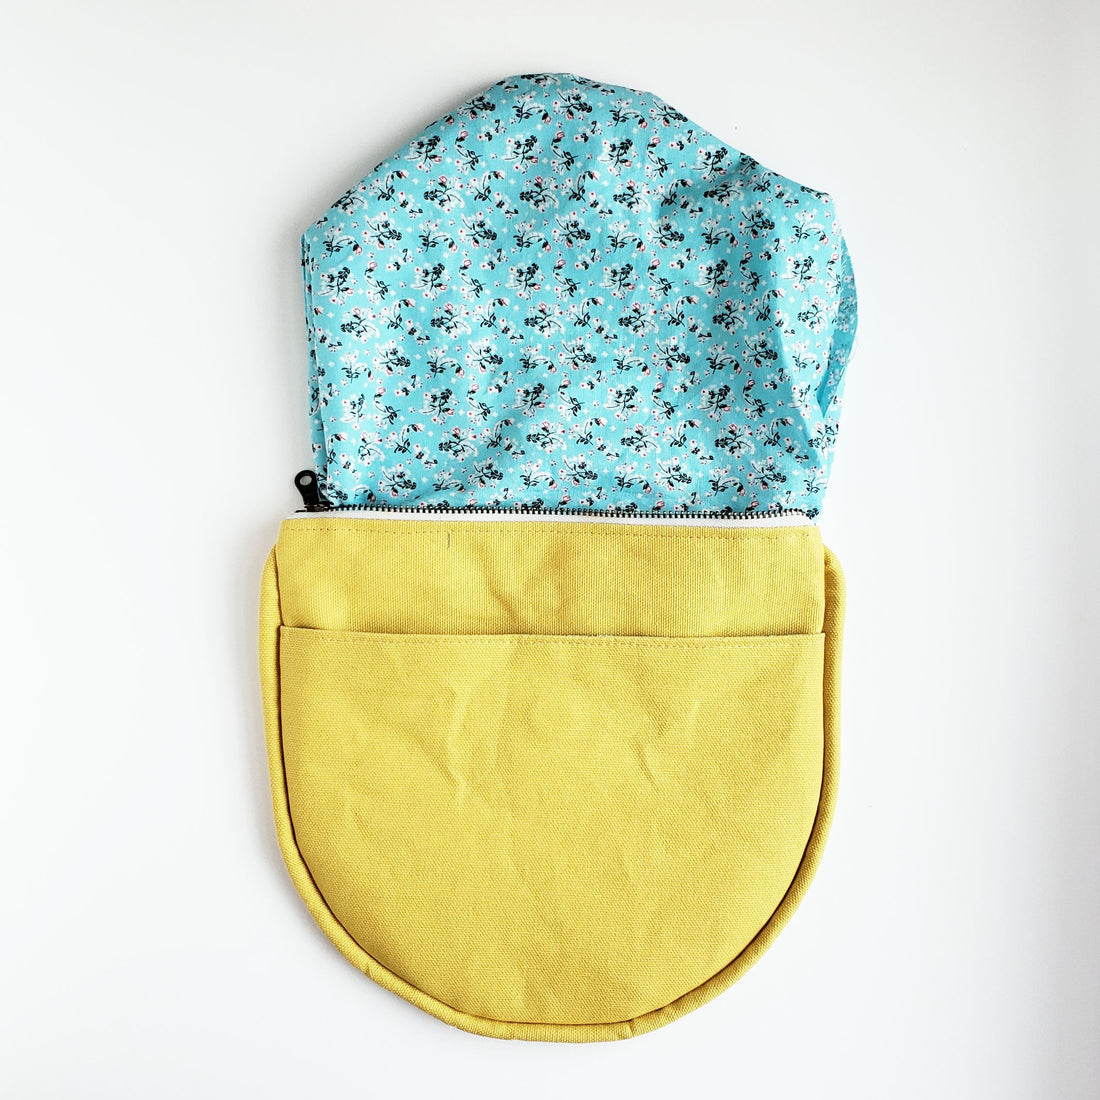
First, open the zipper all the way—don’t skip this step, or you won’t be able to turn your purse right side out later!.
Align Main Body pieces right sides together and Lining pieces right sides together with the zipper pull and teeth facing into the lining, and taking care to make sure that the Main Body Exterior pieces are perfectly flat against one another at the top seam. This will make turning zipper corners easier later. Also, You want your piping to curve out right at, or just below, the top finished seam at the zipper (my photo below shows the very end of the piping slightly above that seam, but at the seam allowance it is in the right location).


Pin around the edges (use those pins liberally). This step will require a little extra tugging of the Main Body pieces to get them to align over the piping. You want the edges of the Main Body and Piping flange to be perfectly aligned (I know perfect is a lot to ask, but you know what I mean!). :)


Once you have everything secured in place with pins, it’s time to sew the perimeter of the bag. Switch to your zipper foot for this step in order to have your seam right up against the cord in your piping assembly.
Start sewing on the lining side, about an inch from the zipper seam, backstitching at the start of the seam. Then sew straight across the zipper seam (I usually backstitch over the zipper seam a couple of times, as this area gets a little extra stress over time), and continue sewing the perimeter of the bag. Sew as close as you can to the piping, maintaining the 1/2” seam allowance. Move slowly around the curve of the bag, removing pins as you go. It is ok if you catch some of the interfacing in the seam, just focus on maintaining a smooth, consistent, curved seam.


Once again, backstitch over the zipper seam on the opposite side as you cross over to the lining. When you sew the lining, increase your seam allowance to about 5/8” (this will help the lining sit inside the bag more comfortably after turning). Sew almost all the way around the lining, leaving an approximately 4” opening in the side of the lining for turning. Backstitch at the end of the seam, too.
Trim/grade the seams of the Main Body down to about 1/4” (7mm) to reduce bulk.


Clip into the curve at 1/2” (1.25cm) increments to make turning easier. Be sure not to clip the stitch line (I trimmed mine a teeensy bit too close in the photo! You want to get it close, but not so close that a little fraying will cause the bag to pull apart later down the road).

Turn purse body right side out, leaving the interior lining pulled out of the body. Use your fingers or a turning tool to poke out all the edges and the ends of the zipper, pulling and shaping the curved edge for a clean finish. Don’t be afraid to get aggressive with your zipper...turning those corners takes a bit of muscle and forceful poking at times! I think I have super-strength fingers from doing this so much over time. I know, impressive, right? Your zipper end should look like the photo below.


Close the opening in the lining by hand stitching with a ladder stitch or sewing the opening closed on your sewing machine.


Return lining to interior of purse and press exterior if necessary, taking care to not apply too much heat to your sewn-in magnet (be careful not to melt the plastic).

Pat yourself on the back! You have a clutch! In the next post in the series, we’ll sew the strap so you can officially wear your bag in the wild.