Luna Crossbody Sewalong: Part 7, Making + Installing Piping
We are so close to the finish line! Woohoo!
In today’s post, we’ll cover piping. I think the piping is the design feature that gives this bag a little extra “oomph!” of style. Take your time with this step—and don’t be afraid to use a lot of pins—for a smooth curved edge.
First, we need to make the piping. If you purchased pre-made piping, you can skip ahead to installation below. The piping specifications for this pattern require 3/16” cord, but you can definitely go smaller (or bigger) if you prefer. Also, a lot of pre-made piping that you might find in the bias binding section of the craft store will be smaller. Just something to keep in mind, although it will not affect the integrity of your bag design.
The Piping Wrap fabric should be cut on the bias. If you are short on fabric, you can cut the fabric straight on the grain, but bias-cut wrap will make piping installation much easier and cleaner around the curve of the bag perimeter (something the testers taught me—I, too, am learning every day!). In my photos, you’ll notice that I did not cut on the bias and I had to wrestle a lot with the piping to get it to form around that curve!
With the Piping Wrap fabric piece wrong side up, lay the cord in the center and fold the wrap in half lengthwise to encase the cord. Pin in place and stitch the entire length of the piping (you may need to stitch across the piping assembly at the start to secure the cord and keep it from sliding out of the casing). You want to stitch close to the cord, approximately 1/8” (3mm) away from it, but not right up against the cord just yet. This stitch will eventually be hidden in the seam allowance.


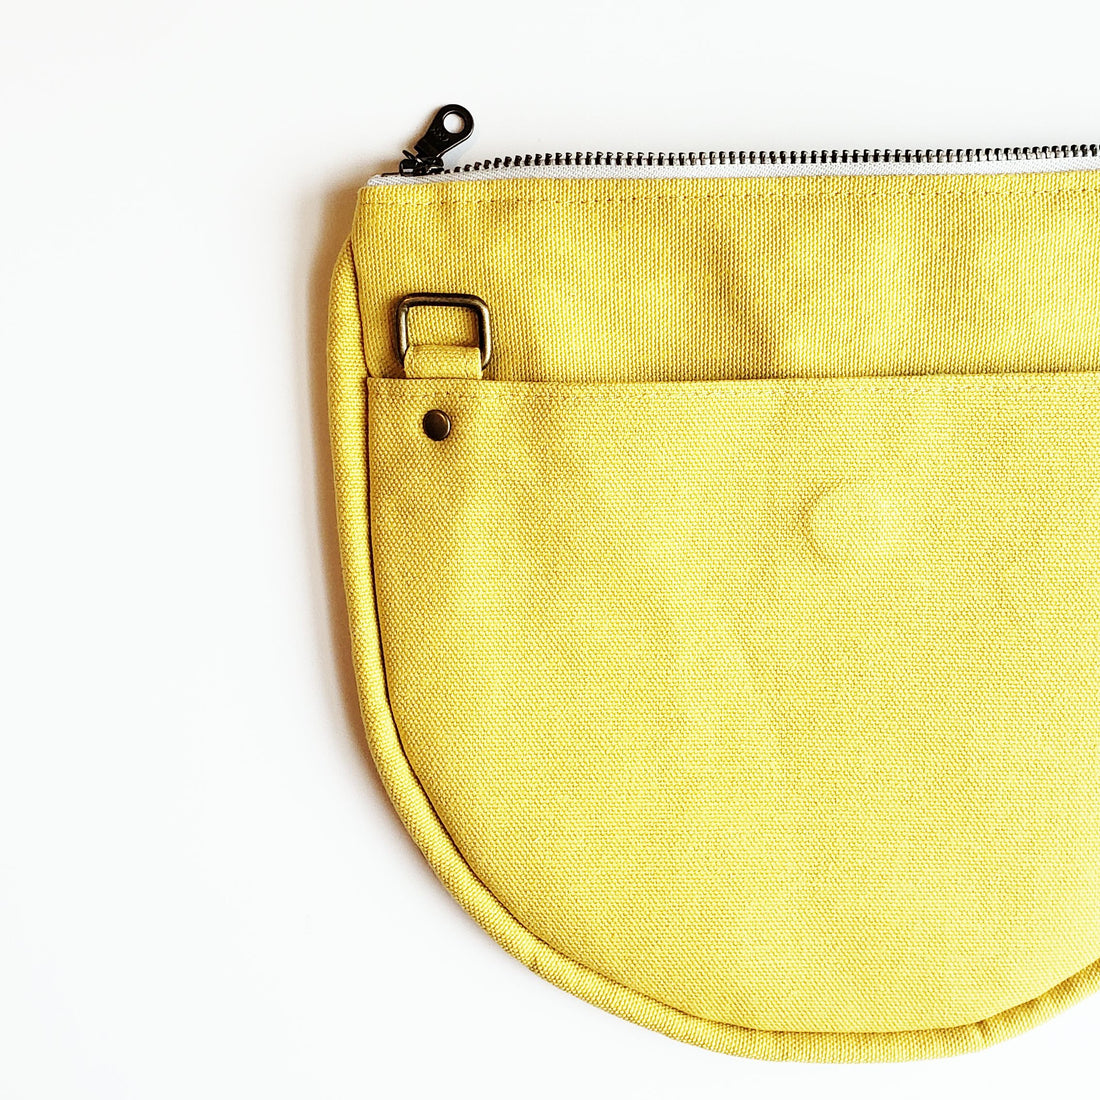
Next, with the purse body exterior (and zipper) face up, pin the piping around the perimeter of the side of the bag with the exterior pocket as shown in the photo.
NOTE: Make sure that you are only attaching the piping to the exterior and NOT to the lining beneath (fold the lining pieces out of the way for this step).
Curve the ends of the piping into the seam allowance. Make sure the edge of your piping flange is aligned with the edge of the Main Body. Use lots of pins, especially around the bottom curve—you’ll thank me later!

Baste the piping in place with an approximately 3/8” (or less) seam allowance. Again, you don’t want to stitch right up against the cord just yet, so that the stitch is concealed in the seam allowance in a later step.
Start the stitch at the top seam of the Main Body/zipper. I like to curve the piping just under this seam, so it is completely clear of the zipper seam. At the start and end of the stitch, sew straight across the curved piping at the 3/8” seam allowance. This part feels a little weird, but if you keep this stitch straight, you’re gold!

Remove pins as you go. You’ll notice that the piping will level out a bit as you go, too. Work slowly and make sure that the flange/edge of the piping maintains alignment with the edge of the Main Body.

Again, sew straight across the curved piping at the top:

Once your piping is basted in place, you should have enough room for a 1/2” (1.25cm) seam allowance between the edge of the body piece and the piping.
Trim excess piping. Voila!

In the next post, we’ll finish sewing the body!