Luna Crossbody Sewalong: Part 4, Preparing Your Pieces
The first step in constructing the Luna Crossbody is to get all of your pieces cut, interfaced (where applicable), and mark locations of pockets and closures.

I also recommend using a rotary cutter and a straight edge for cutting all of your pieces. The rotary cutter makes cutting work a breeze and handles curves like a pro. It can also cut through multiple layers at a time (if, let’s say, you’re making Luna Crossbodies as gifts! Or batch sewing for your business). You’ll also need a cutting mat for this. I have a small 18”x24” cutting mat that I taped to a table with carpet tape to hold it in place. I use a large quilter’s ruler with a little lip on the end to grip the edge of the cutting mat and assist with straight cutting.
As you can see, my cutting mat is well-loved!
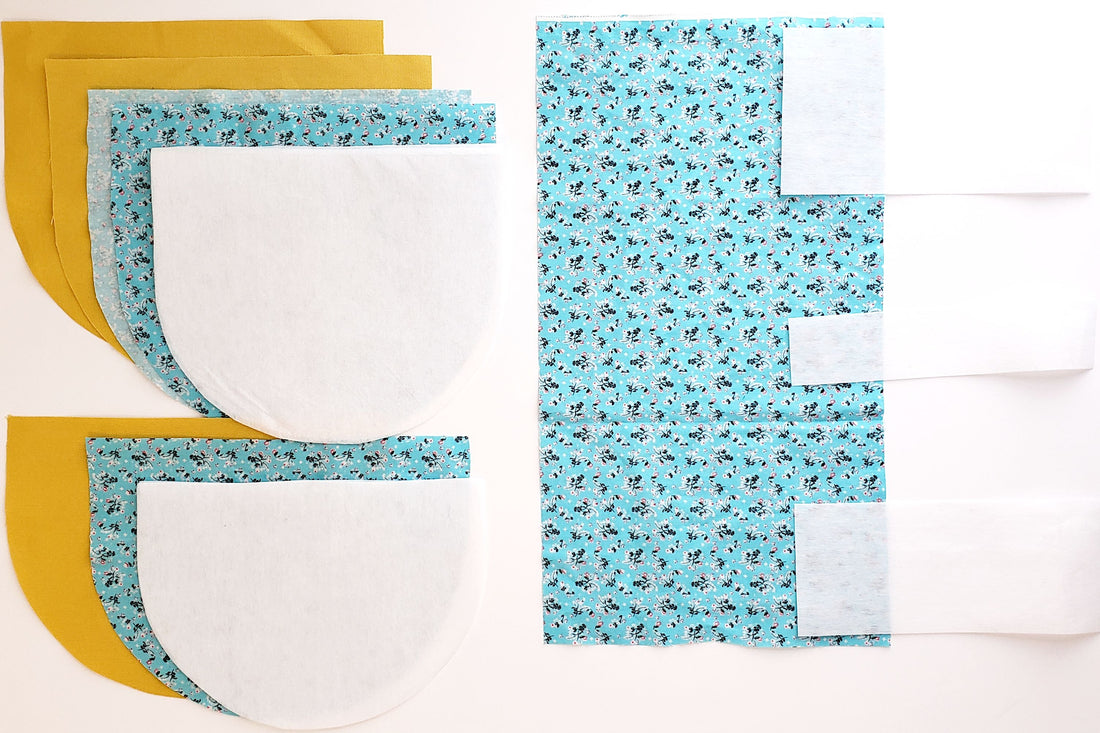
I like to get all the pieces cut and neatly stacked—so I have a visual inventory—before moving on to interfacing. Your pattern PDF includes a handy check list of each piece with dimensions, as well as templates for the interior pocket and main body pieces (I am not showing the Strap or Piping Wrap pieces just yet…we’ll get to those in a later step. But you may want to go ahead and cut those according to the diagrams int he pattern).

We are using Pellon 809, a fusible, medium weight interfacing. To apply it, simply center the interfacing pieces on the wrong sides of their respective fabric pieces and press with an iron (if you are block fusing with a lighter weight interfacing, you’ll apply the interfacing before cutting your pieces). Use a high heat setting and iron each area for about 10 to 15 seconds, ensuring that your interfacing is fully adhered to the fabric. Let your pieces cool before moving them to the side to prevent the interfacing from peeling away from the fabric before it cools.
Next, mark the locations of the magnetic closures on the wrong side of the Outer Pocket Lining and one side of the Main Body, also on the wrong side (both markings will be on top of your interfacing). Then, mark the location of the interior pocket on the right side of one of the main body Lining pieces.
You’ll also want to either mark or clip the edges of the interior pocket to indicate the fold lines.


Then you can use the marks or clips to measure and draw lines for lining up the interfacing with the interior pocket fold lines (I like to use this chalk pen for marking):

Now that you have all your Main Body, Lining ,and Interior Pocket pieces prepped, you’re ready for the next step!