
Lulu Cardigan Sewalong, Part 3: Assembling the bodice
Today we will cover sewing the bodice pieces of your Lulu Cardigan. The bodice is made up of four pattern pieces: Center Front Bodice, Center Back Bodice, Side Panel, and Shoulder patch.
The side panel is attached to the Center Front and Center Back along the princess seams, eliminating a traditional side seam. Then the Shoulder Patches are attached to complete the bodice. Here’s how to do it!
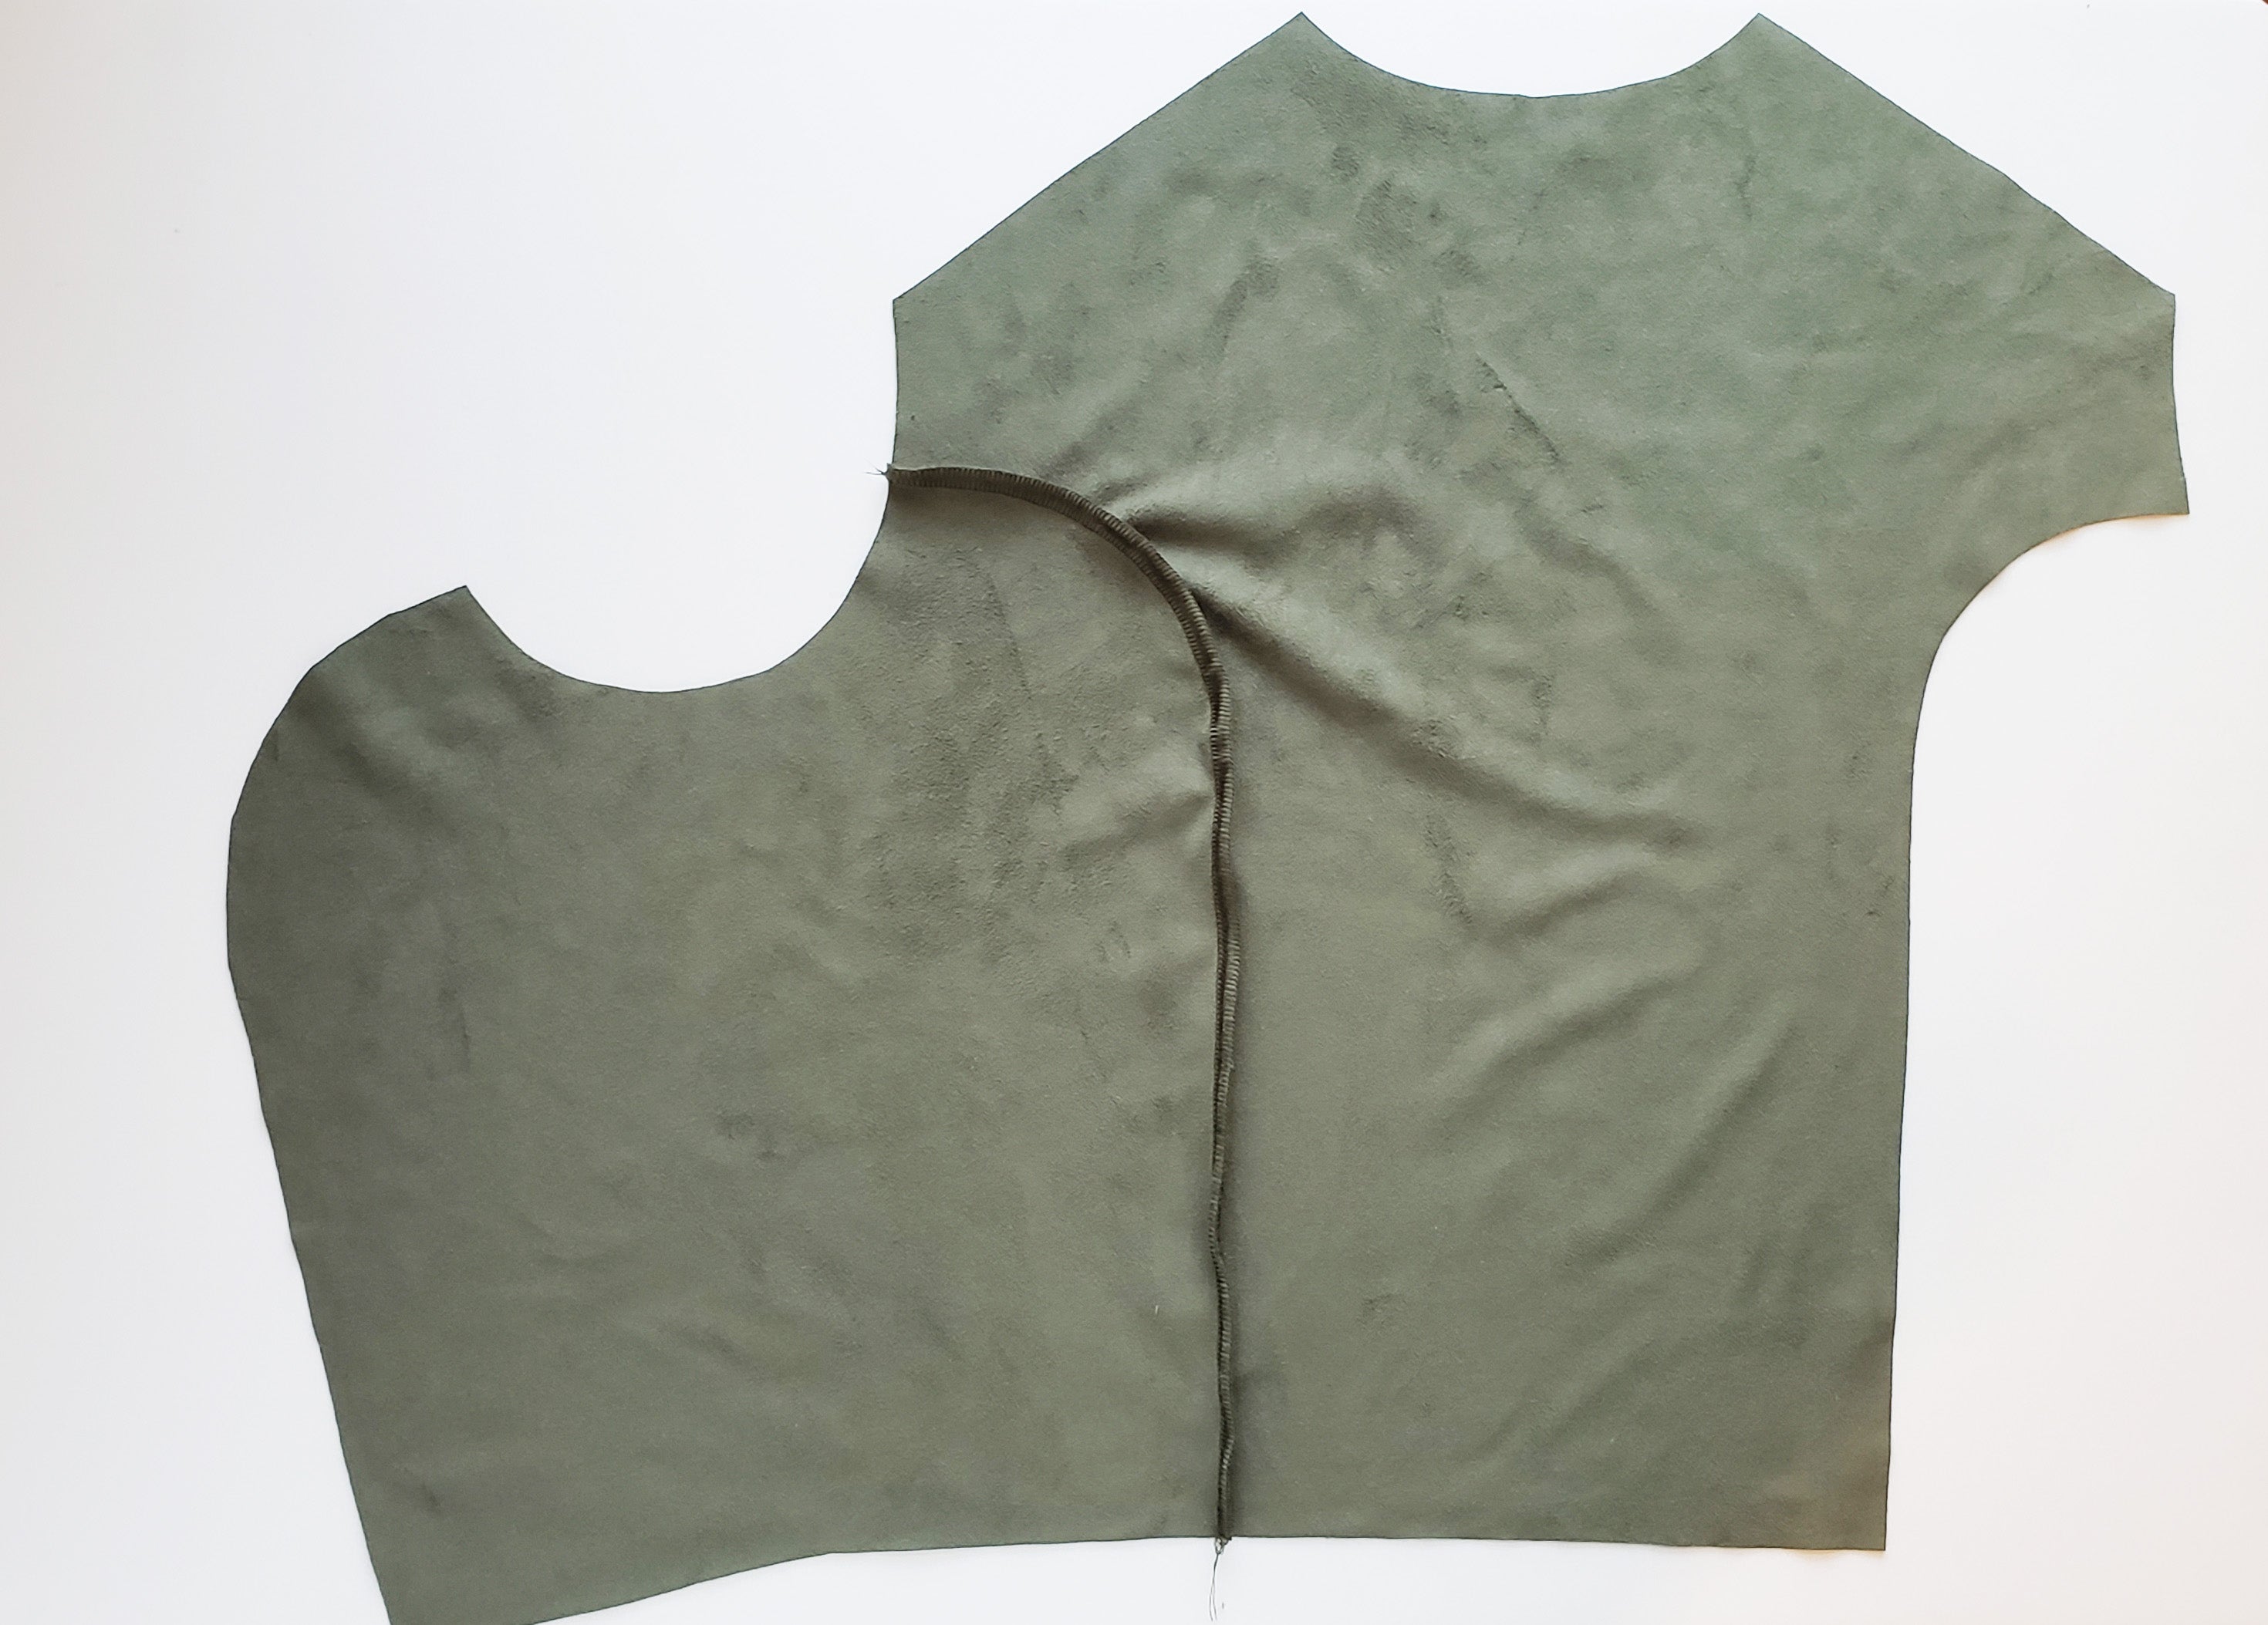
First, attach one of the Side Panels to the to the Center Back Bodice by aligning the pieces right sides together along the princess seam. Align the straight edge of the seam first, up to the notches. Then align the curved edges, matching the seam at the armscye and easing the curves to fit. Use several pins on the curved part of the seam to keep everything nicely aligned.


I find that it is easier to sew this seam if the Center Back Bodice piece is on top since the Side Panel can more easily lay flat on the underside while sewing.
Once you have the seam sewn, press it toward the Center Back Bodice. Topstitch the pressed seam with a 1/16” to 1/8” seam allowance. Topstitching the seams is optional throughout this project, BUT it gives the finished cardigan a much more professional look. Definitely worth the extra time! You can skip the topstitching if you are sewing a muslin.
When topstitching, since we are sewing a knit fabric, give the fabric a very gentle stretch as you sew with a straight stitch (you want to give the stitches a little wiggle room but not so much to make the fabric “waffle”).

Repeat these steps for the opposite side of the Center Back Bodice and other Side Panel.
Using the same techniques we just used on the Center Back Bodice, attach the Center Front Bodice pieces to the Side Panels, making sure to press the seams toward the Center Front Bodice and topstitch as you go. Your princess seams may need a little extra easing at the curve, since the bust curve is a little more pronounce on the front princess seams. When you are finished, you’ll have something that looks like this:

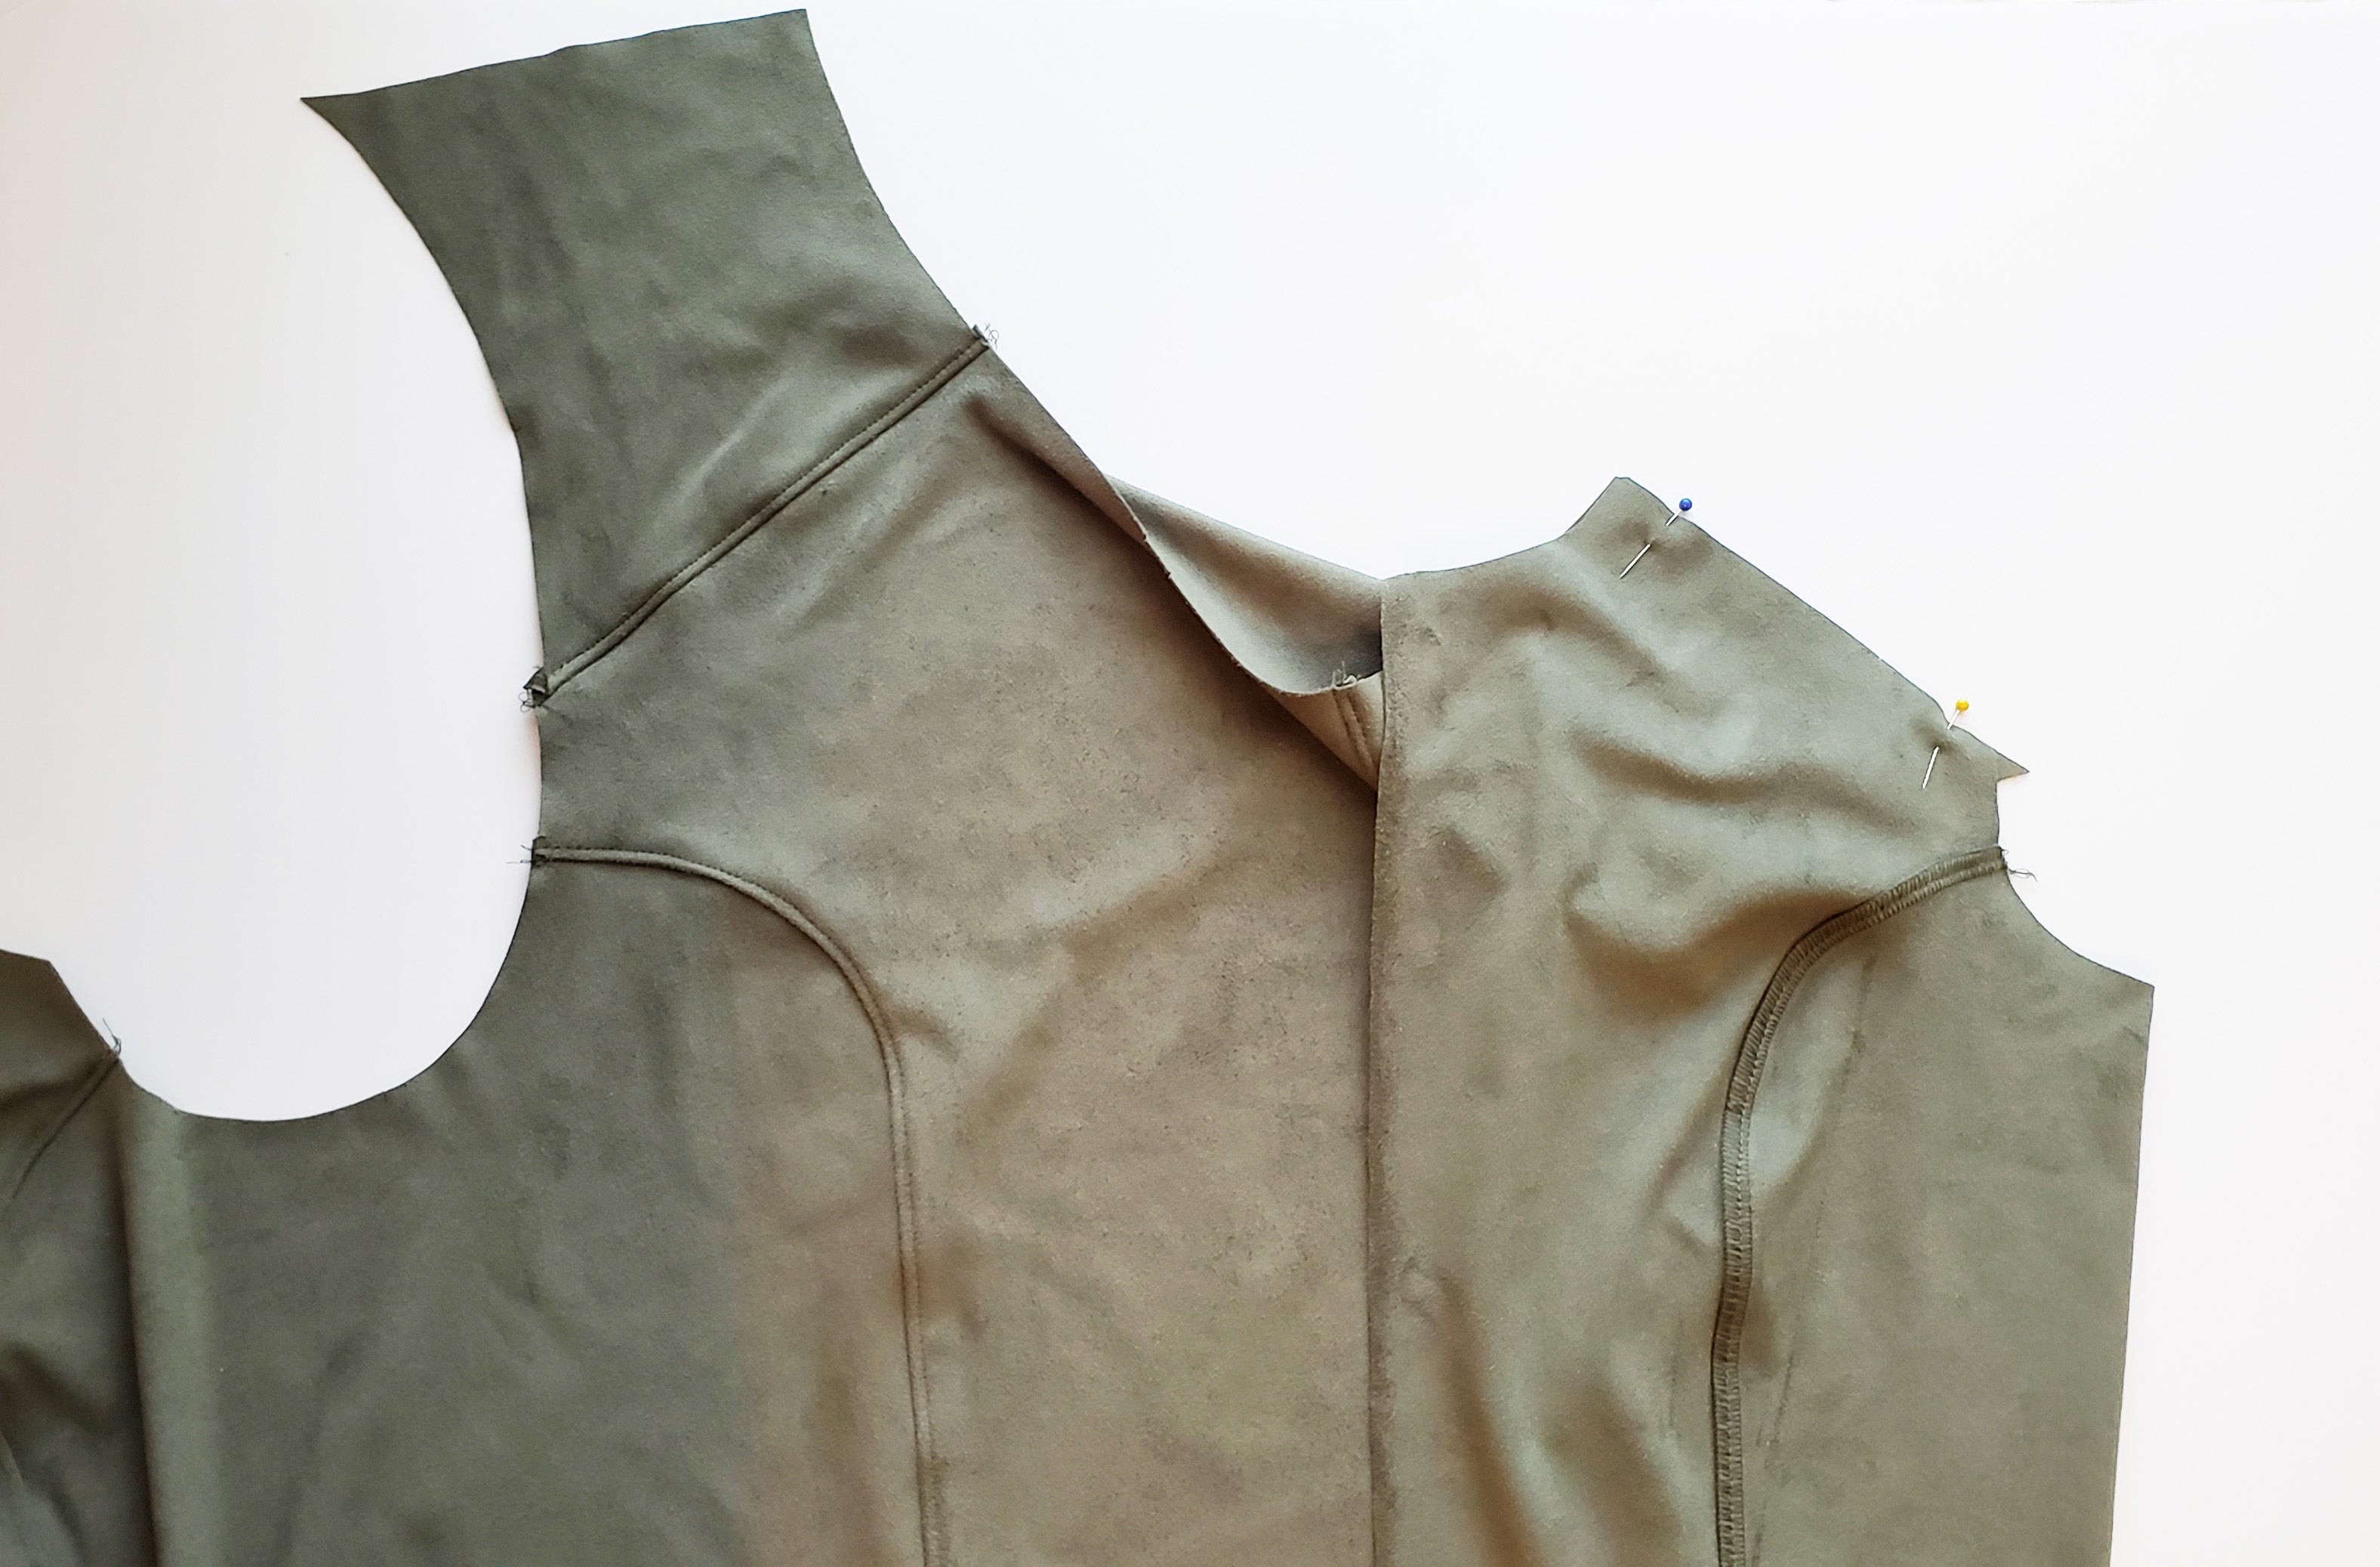
Now we will attach the Shoulder Patches (It’s almost ready for a try-on!).
Align the back straight edge of the Shoulder Patch with the shoulder of the back bodice (both are indicated by the double notches—align those notches). The shorter curved side will be on the collar side, and the longer curve will be on the sleeve side. Sew them together, then press the seam toward the shoulder and topstitch. Repeat for the opposite Shoulder Patch on the other side of the Center Back Bodice.


To finish the bodice, attach the Center Front Bodice to the Shoulder Patch. Align the pieces at the shoulder seam (indicated by the single notches along the straight edges). Sewn along the edge, then press the seam toward the Shoulder Patch and topstitch. Repeat for the opposite side.

Bodice: done! Now you can try it on and see how it all fits.
In the next post in the Lulu Sewalong Series, we’ll attach the neck binding and the sleeves!