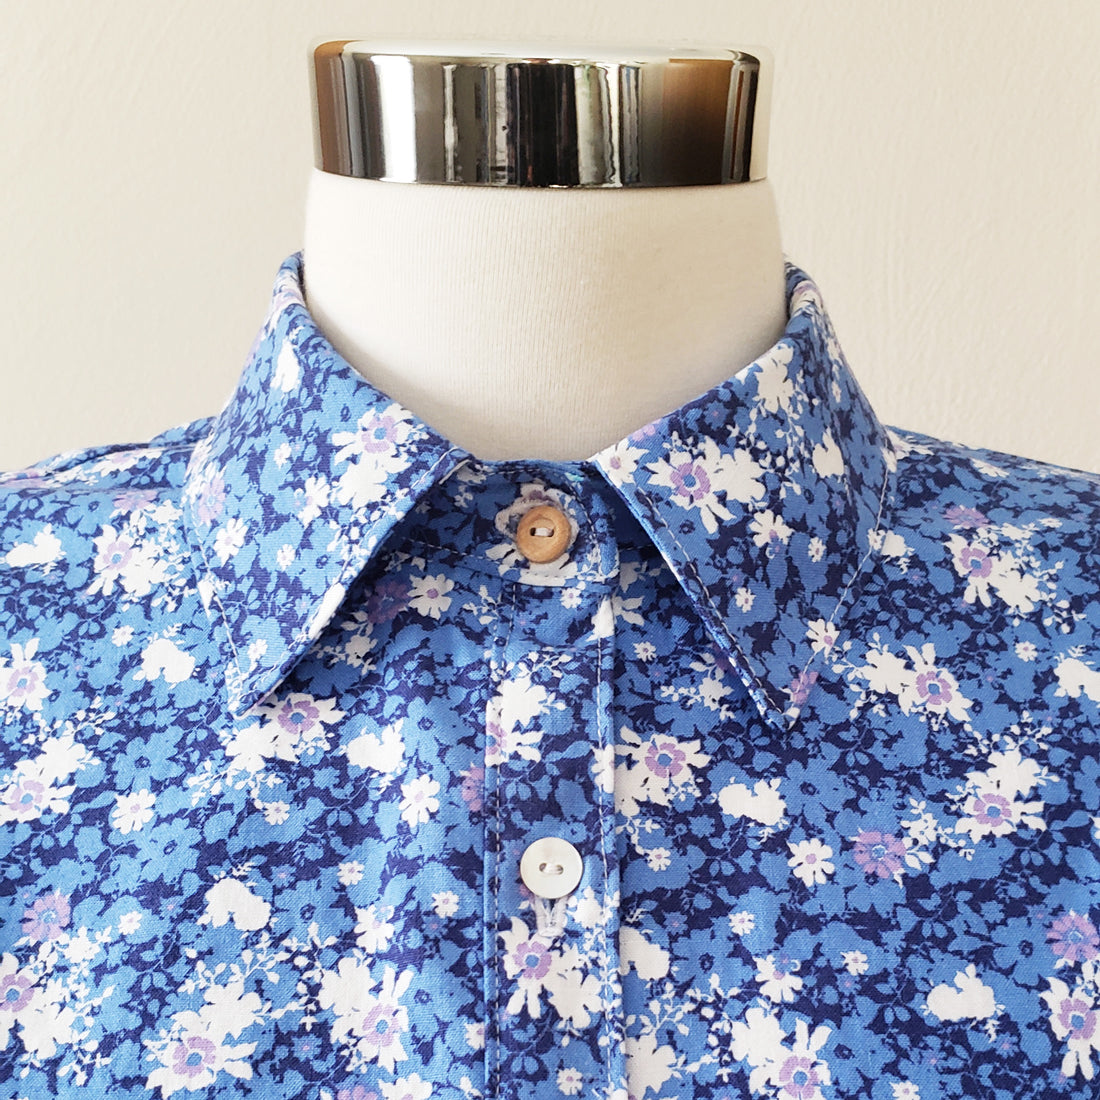
Byrdie Button-up Sewalong, Part 8: Installing a Collar and Collar Stand
If you are sewing Version A of the Byrdie Button-up, this post will show you one method for installing the Collar and Collar Stand. This method is the same one outlined in the pattern instructions. You can see an alternate collar method here for a collar that stays turned and crisp (with a few extra steps).
Prepare the Collar
To start, align the two collar pieces right sides together, making sure that all the edges are lined up nicely. Pin in place and sew around three sides at 5/8”, leaving the bottom edge open. It helps to trace the seam allowance at the corners to keep the seam consistent around the perimeter.


Trim the seam allowance down to about 1/8” on the three sides you just sewed:

Now, flip the collar right side out, carefully poking out the corners to a nice point. Press the edges, making sure to fully extend the collar at the seams. Topstitch around the perimeter on three sides, leaving the bottom unstitched. I like to keep the topstitching close to the edge here, about 1/16”, but you can topstitch at a distance of your preference here.

Attach the Collar to the Collar Stand
Lay one of the collar stand pieces face up and lay the collar on top so that the raw edge of the collar is centered and aligned with the curved top edge of the collar stand. You should have a little over an inch of collar stand beyond each end of the collar. Baste the collar to the collar stand at 1/4” seam allowance.

Now lay the other collar stand piece face down on top and align with the other side, right sides together, to sandwich the collar. Sew the collar stand together with 5/8” seam allowance along the top curved edges. Start and stop the seam 5/8” from the bottom edge. I like to trace the seam allowance at the curve to help me keep my seam consistent.

Where i’m pointing in the photo below is where to start/stop the seam on both sides. Trim the seam allowance to 1/8” along the top of the collar stand only (we’ll trim the sides later).


Press a 5/8” fold along the bottom of the interfaced side of the collar stand:

Attach the Collar Assembly to the Bodice
With the bodice laying face up (wrong side facing away from you), spread out the garment so that the neckline is fully visible and flat. Spread the collar assembly apart so that the un-interfaced side of the collar is right sides together with the bodice, and the bottom edge is centered and aligned with the neckline edge.The collar and interfaced side of the collar assembly will be pointing down. Pin the center first, then pin the ends and evenly distribute the collar stand along the neckline.

I didn’t get a great photo of the collar aligned with the neckline of this sample (dangit!), but below is a photo of the Version B band collar that is installed the same way (just without the collar piece). The seam allowance will extend 5/8” beyond the button plackets on each end:

Once you have the seam sewn across the length of the collar stand/neckline, flip the collar stand up so that you can align both collar stand pieces at ends and finish sewing the 5/8” seam allowance to the end right next to—but not sewing through—the button plackets on either end.


This next step turned out to be very difficult to photograph, so I made a quick video! We’re going to get the ends of the collar stand closed around the top of the button placket:
After you get the ends of the collar stand started, align the interior/open side of the collar stand with the exterior collar stand seam along the neckline. I like to pin this step from the exterior (and use lots of pins). Topstitch the collar stand in place along the neckline from the exterior, making sure you are also catching the interior folded edge of collar stand in the seam.


Once you get the bottom edge topstitched, continue topstitching around the remaining perimeter of the collar stand.

Congrats! Your collar is installed! You can now press it and shape it into place.

