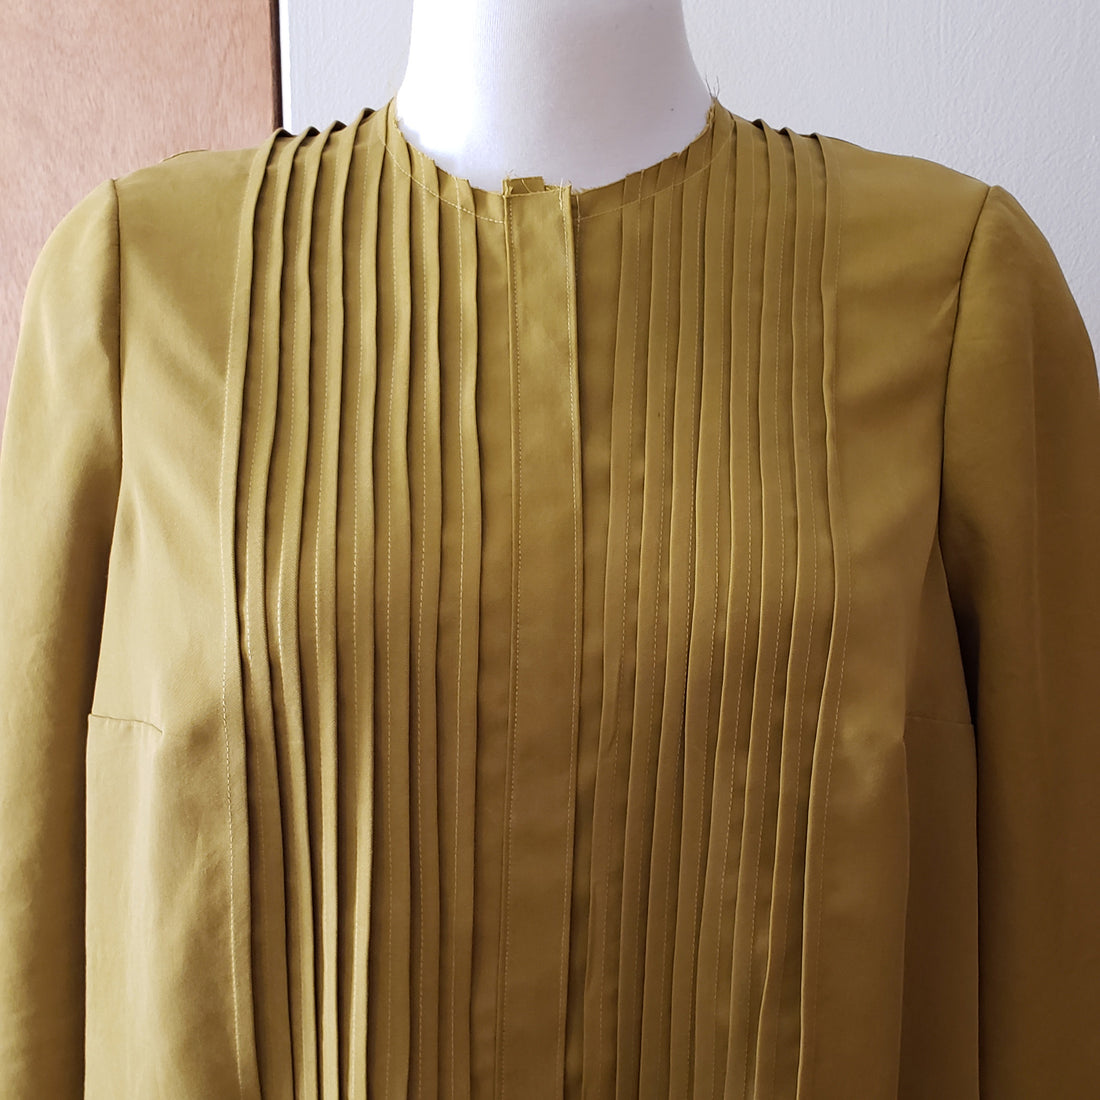
Byrdie Button-up Sewalong, Part 7: Assembling the Bodice and Sleeves
This is the part where your shirt starts to come together! By the end of this post, you’ll be able to try it on for the first time, Yusssss!
This is also the step where you’ll decide how you want to finish your seams. For this post, I’ll be using a french seam finish. But if you decide to use a different seam finish, such as flat felled seams or serged seams the steps will be a little different. See more on seam finishes here.
Sew the shoulder seams
With wrong sides together, align the shoulder seams of the Back Bodice and each of the Front Bodices. Sew the shoulder seams with a 3/8” seam allowance.
Trim the seam allowances to about 1/8”, press the seams open, and then press the shoulder seams so that the right sides of the front and back bodice are touching.


Sew the shoulder seam again, this time with a 1/4” seam allowance that conceals the 1/8” trimmed seam allowance from the first seam.
Optional: press the finished seam toward the back bodice and topstitch the shoulder seam from the exterior of the garment to keep the seam flat.


Attach the sleeves
Sew two rows of basting stitches from front notch to back notches on each sleeve cap and leave the thread tails long. Gently pull the threads to gather the sleeve cap just a little in preparation for setting in the sleeve.


NOTE: for this sample, I am attaching the sleeve with a serged seam because of personal preference. I find that french seams on tencel twill, like this fabric, are too stiff and uncomfortable for the armscye. I know that it is probably more desirable to have french seams everywhere, but I like what I like!
Right sides together, align the top of the sleeve cap (indicated by the single notch at the very top of the sleeve cap) with the shoulder seam and pin in place. Then align the side seam on each end of the sleeve with the side seam on the front and back bodice. Evenly distribute the sleeve cap along the armscye, matching notches (remember, front notches are single, back notches are double). When you align the sleeve cap, spread the gathers so that the top of the sleeve has some curvature and the fabric at the seam allowance is as smooth as possible. You want to avoid gathers in the actual seam.
P.s. I use a LOT of pins for this step and go very slow. I am not ashamed.

Note: this image shows the bodice facing down, and the bodice should be facing up to be right sides together with the sleeve. I fixed it for the next step but forgot to re-photograph it.


Once the sleeve is sewn to the armscye, you can remove the basting stitches. Finish the seam in your preferred method. I have sewed the initial seam on my sewing machine first—to make sure everything is nice and smooth—and will finish it with my serger, which will trim it to 1/4”. I recommend having a finished seam allowance of no more than 3/8” here to allow the armscye to stretch open in the curves more easily. The 5/8” seam allowance is a bit generous for the armscye, but I kept it for consistency in the pattern instructions. You can also trim the seam allowance to 3/8” before setting the sleeve in the armscye seam to make it a little easier to sew if you like.


Here is the bodice before the side seams are sewn. I pressed the finished shoulder seam over a tailor’s ham and I have a nice and smooth sleeve cap with no bunches in the seam.

Sew the side seams and sleeve seams
Now I am switching back to french seams.
Flip the bodice right side out and align the side seams and sleeve seams, wrong sides touching. Sew a continuous seam from sleeve hem to bodice hem at 3/8”.

Trim the seam allowance to 1/8”, then press the seam open and press the seam right sides together, with the wrong side of the bodice and sleeve facing out. Sew another continuous seam from sleeve hem to bodice hem at 1/4”.


Now you can try on your blouse for the first time, whoop!
In the next posts in the sewalong series, I’ll show you how to add the collar!
