
Byrdie Button-up Sewalong, Part 6: Sleeve Plackets
When I was designing this blouse, I waffled a bit on the sleeve placket construction. Sleeve plackets can be a bit confusing when you are first learning them, so I didn’t want to make it too complicated. But I ultimately decided that the end result of a well-constructed sleeve placket is so satisfying that I couldn’t NOT add them!
The first time folding and flipping the sleeve placket will feel a little awkward, but once you get the hang of it, they go pretty quickly and look fabulous!
I mentioned this in the Interfacing post in the sewalong, but I left the interfacing for the Sleeve Placket pattern piece optional. When working with crisp, stable fabrics, like cotton poplin or lawn, folding and pressing goes pretty smoothly and the interfacing is not needed, in my opinion. But for a more lightweight, shifty fabric—like rayon or tencel or polyester—I recommend a very lightweight interfacing to make everything behave.
For this example (my shifty AF tencel), I interfaced the placket.
Let’s get to it!
Sew the Sleeve Placket to the Sleeve
When you cut out the Sleeve, clip the location of the sleeve placket opening, but do not cut the slit all the way yet. I like to clip about 1/2” into the placket location to differentiate it from the pleat locations (if sewing Version A) so that I don’t get the locations confused. I also like to trace the placket slit opening with a chalk pen or fabric marker on the wrong side of the Sleeve Placket piece as a guide.
With the Sleeve face down, position the Sleeve Placket—also face down—over the placket opening location, aligning the notch on the Sleeve with the line on the Sleeve Placket. The shorter side of the placket should point toward the back of the sleeve (the back of the sleeve is indicated by the double notches on the sleeve cap).
Pin the placket in place and sew a perimeter seam around the placket slit line at 1/8” from the line.


Press the right and left edge of the placket to the wrong side by 1/8” and cut the line for the placket opening—through both the placket and the sleeve—stopping just shy of the seam at the top and clip toward each corner. Clip as close as you can to the corners without clipping through the seam.


Flip the sleeve over so that the exterior side is facing up and pull the placket through to the exterior. This step takes a little fiddling, but once you get it pulled through, press the placket flat on the exterior side, maintaining the two edge folds from the previous step. Both the sleeve and the placket should be right-side-of-fabric facing up, and you should have a placket opening that is approximately 1/4” wide.


Fold and secure the placket legs
We’ll sew the shorter side of the placket first. Press the short side back over the placket opening, pressing the 1/8” seam allowance also toward the placket opening. Now fold it in half back on itself so that the folded edge aligns with the placket seam (on the left for the example below, it would be opposite for the other sleeve).
Edgestitch the exterior fold in place along the edge of the placket opening, leaving the opposite fold covering the placket opening.


Now we’ll fold and sew the taller side of the placket.
Fold the tall side over the shorter finished placket tower and press the 1/8” placket seam allowance toward the placket opening. Then fold the placket tower in half back on itself, so that the fold covers the shorter placket tower and the fold on the outer edge just covers the placket seam, concealing the seam allowance in the fold. Press the fold in place.


Now this next part is a little awkward…but stay with me!
Fold the taller side in half the opposite way from the fold you just pressed and pin the top together.


Sew a 1/4” seam along the top of the fold, making sure to only sew the top of the placket fold…do not sew it to the sleeve. You’ll have to flip the sleeve out of the way for this step. Clip the corner, then flip that all right side out to create a neatly folded edge where you sewed the top together.


The placket tower will want to naturally fall over the placket opening once you have it all flipped right side out. Give it a good press once it’s in place. If you lift it up, the shorter tower of the placket will be directly underneath.


Secure the top placket tower in place by edgestitching the fold along the outer edge all the way to the top of the placket, then pivot and edgestitch the top and back down to the top of the placket opening. Then pivot again and topstich across the top of the placket opening. I recommend placing a pin at the top of the opening so you know where to stop (i forgot to do this here and did not stitch down far enough, so I added another line of topstitching and made it look like I totally meant to do that :) ).


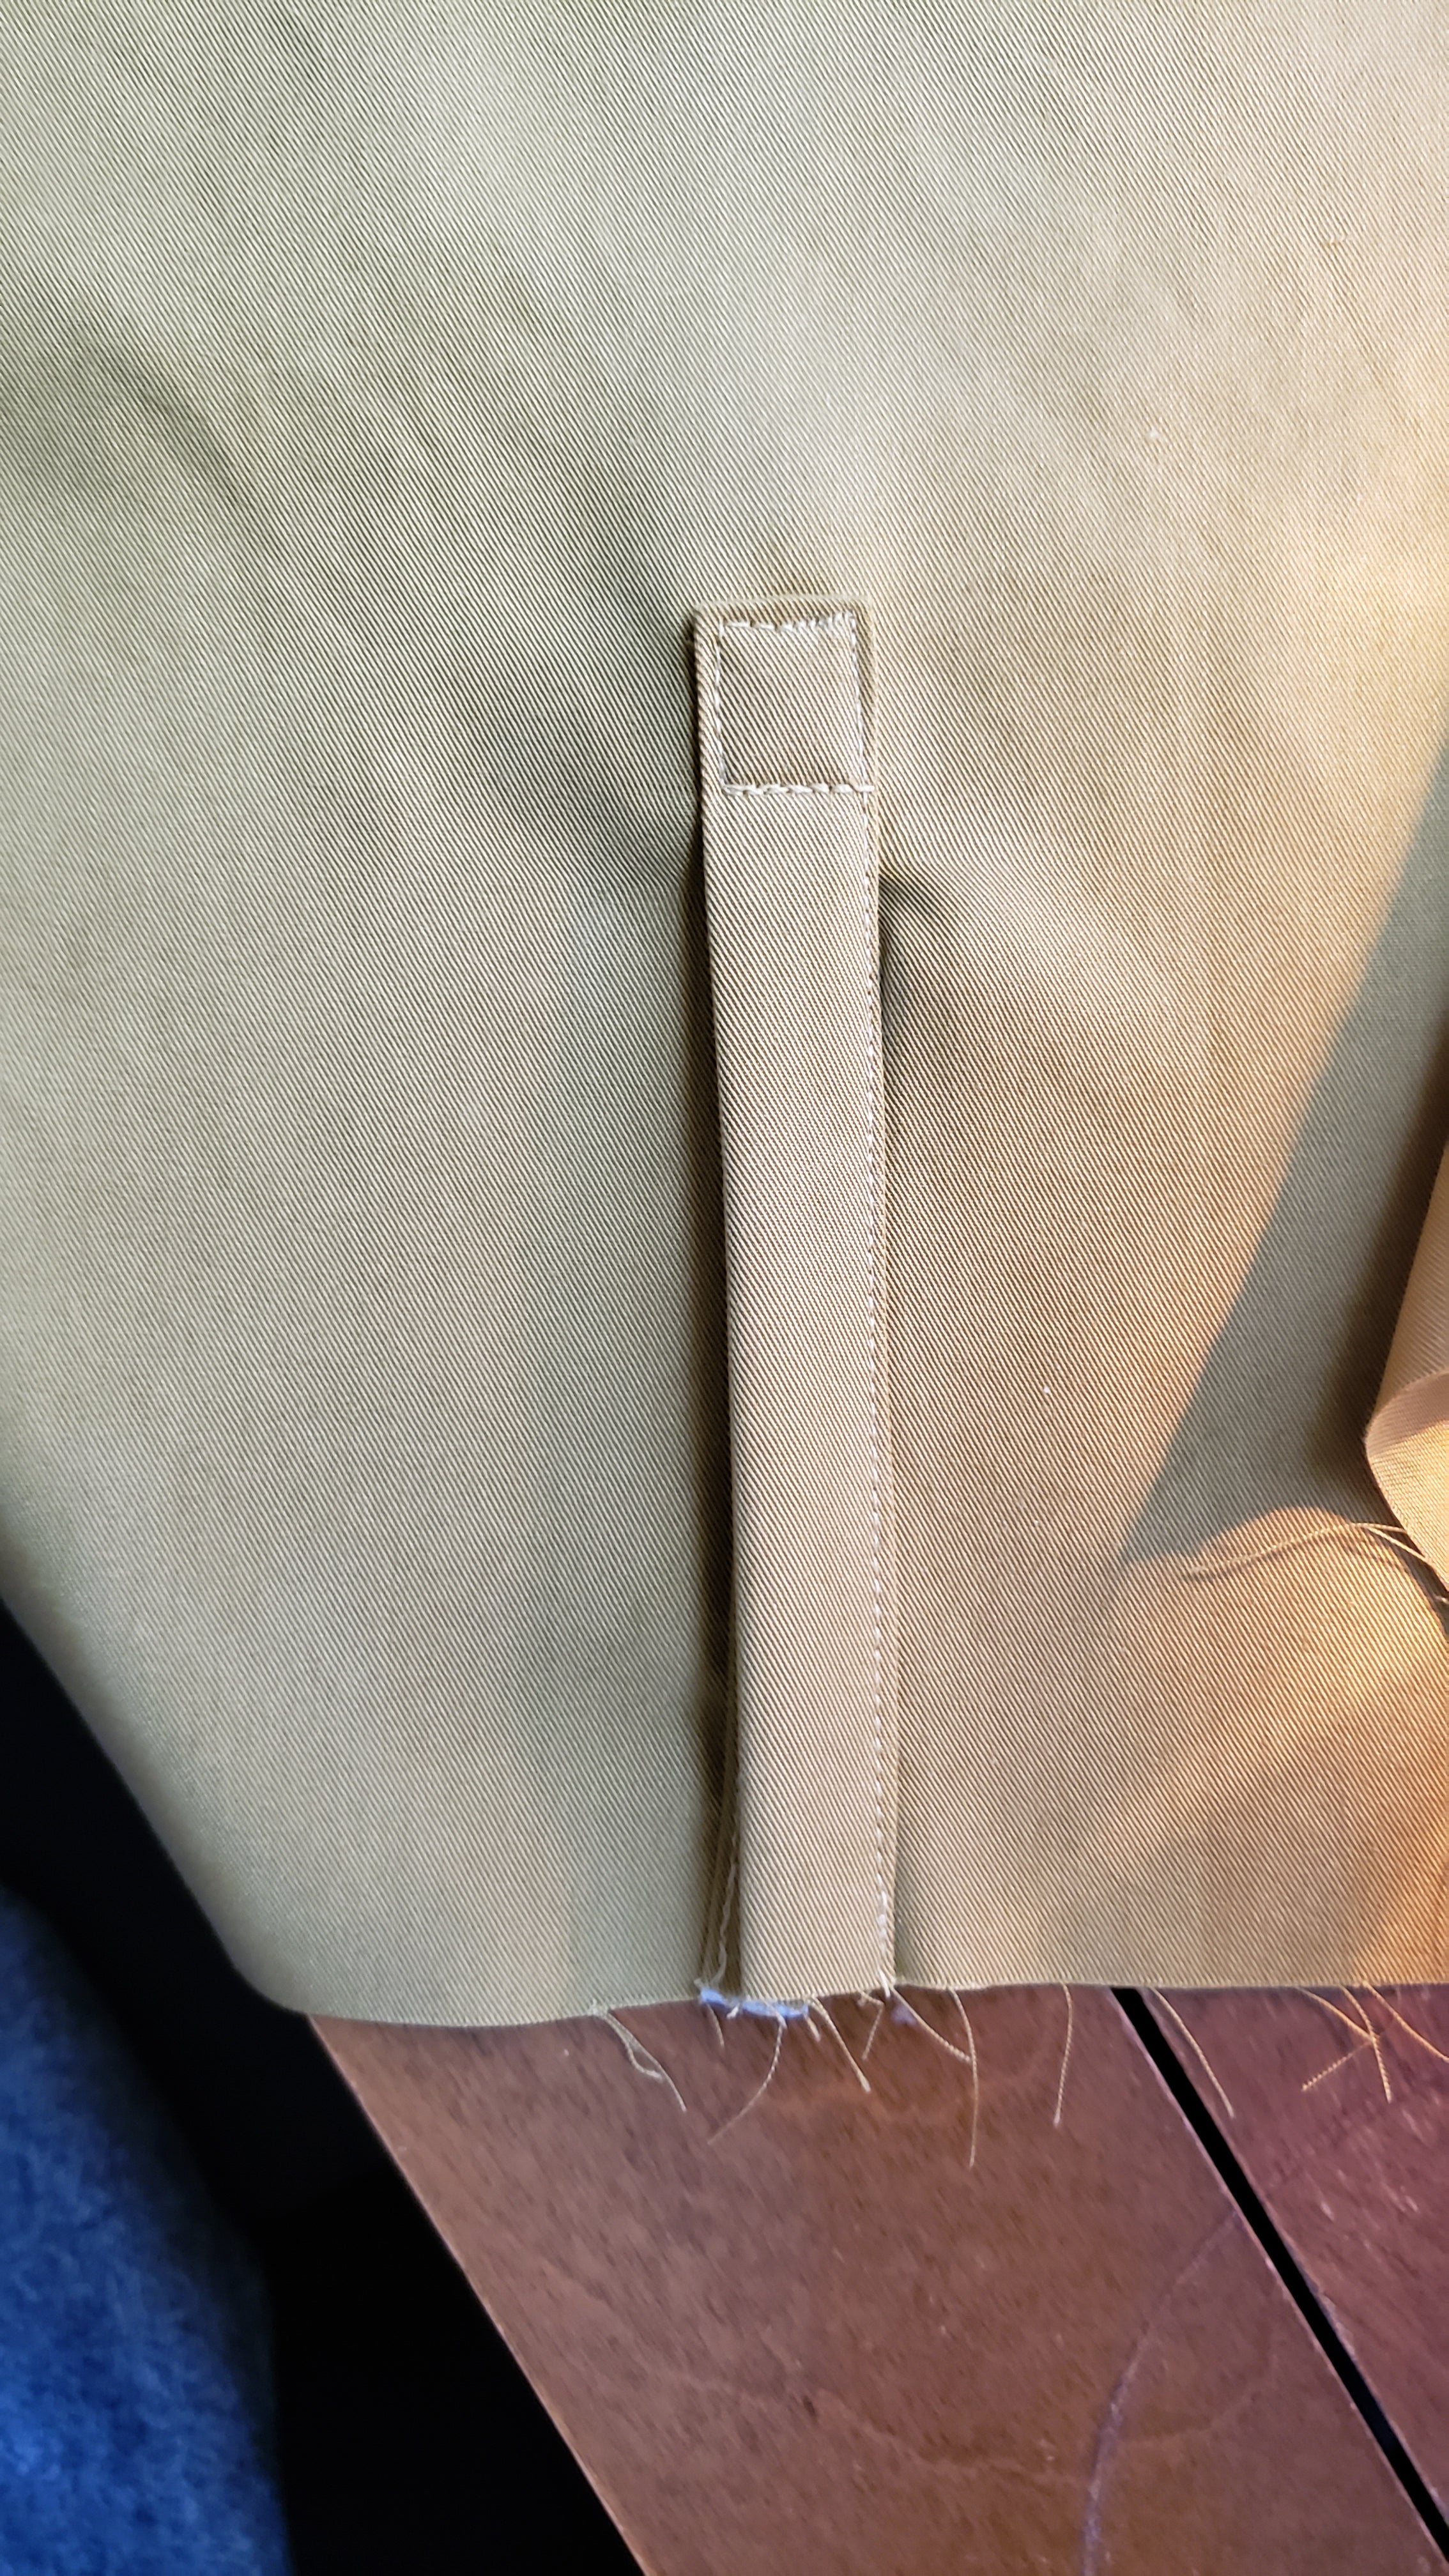
Interior (oops! should have gone down about another 1/4”!):

No biggie, easy fix! :)

from the interior…


All done! Admire your placket for a bit, then do the other side!