Byrdie Button-up Sewalong, Part 11: Hemming and Adding Buttonholes and Buttons
This is it! The last few steps between you and a finished Byrdie Button-up!
Hem the Blouse
If sewing the blouse length, press a 1/4” fold along the hem, the press another fold at 1/4” and topstitch the fold in place.
If you are working with an especially finicky fabric, you can first sew a line of stitching at 1/4” along the hem to use as a folding guide. You can also use a rolled hem foot if you’d like a very fine hem on a lightweight fabric.


Hem the Dress
If sewing the Dress length of either version, your hem type will depend on your fabric type. If using a lightweight fabric like rayon or tencel, you can hem with the same narrow hem as the blouse. If using a stable fabric, such as cotton, a wide hem will work well. Just fold the hem by 1/2”, then fold again by 1” and press before topstitching the hem in place.
Sew the Dress Belt
Sew a dress belt with a finished width of about 1 1/2” using the Dress Belt pattern piece included in the pattern. You can also use a regular belt to cinch the waist, or go no belt! Optional: create a thread chain at the waistline of the dress to hold the belt in place.
Install the Buttonholes
Suggested buttonhole locations are included on the pattern pieces, but I always like to determine my own locations after the garment is sewn. A good buttonhole spacing is about 2 1/2” to 3” between buttonholes. It’s also a good idea to try on the blouse and determine your bustline location so you can place a button at the spot that is most susceptible to gaping.
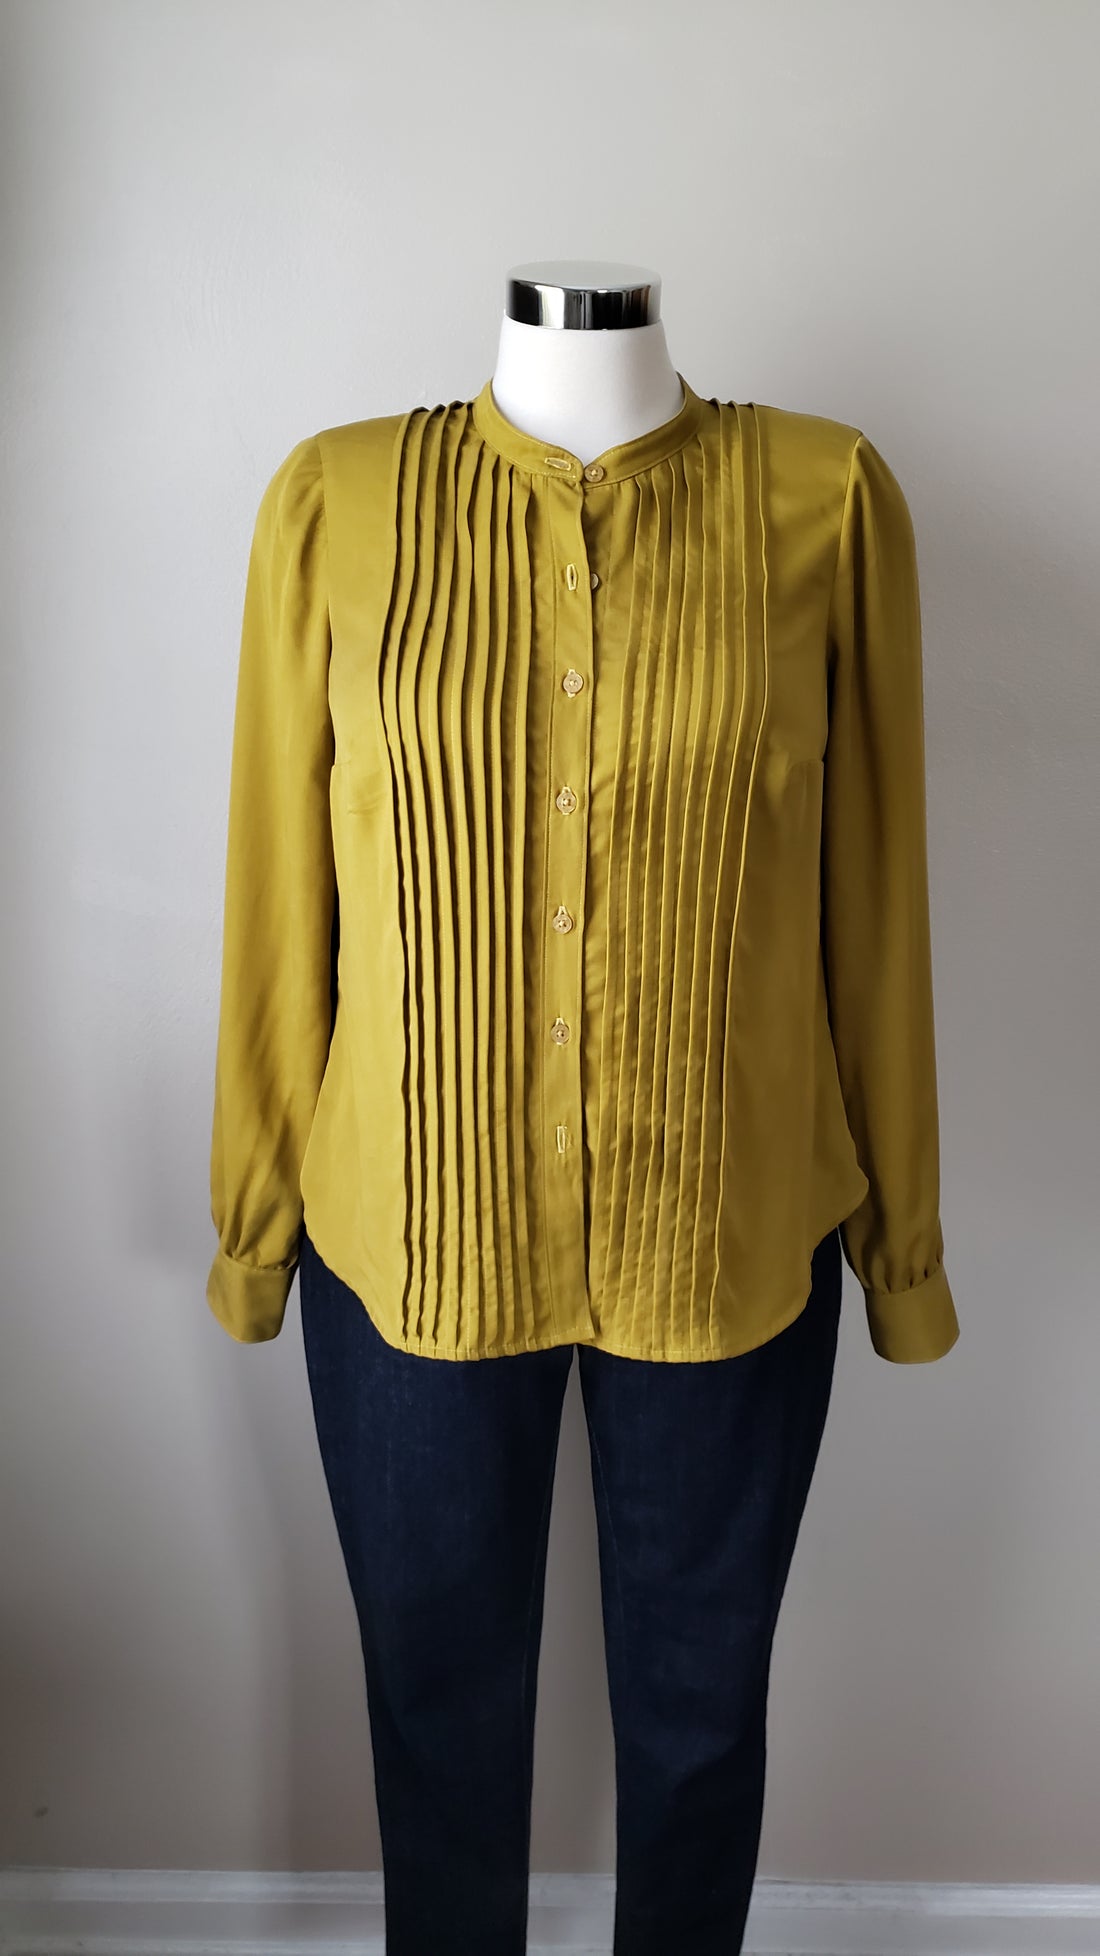
Lay the right front bodice (when worn) face up on a flat surface and measure seven to eight equally-spaced buttonhole locations. I like to do this on my large cutting mat, using the ruler as my guide. Mark the buttonhole locations with a horizontal pin—this will be the center of each buttonhole, which will be vertical. You’ll also install a horizontal buttonhole in the Collar Stand (Version A) or Band Collar (Version B), and two horizontal buttonholes in each cuff.
Once you have the buttonholes sewn in, lay the bodice face up with the button plackets side-by-side (make sure you line up the collar and hem) to determine the location of the buttons, centered with the buttonhole locations.


I like to use tape to secure the buttons and keep them from shifting while I position them under my sewing machine needle. Then I can sew right through the tape and remove it when all the buttons are sewn.


Hey, guess what! You’re DONE! You just made a button-up shirt and that’s a big deal. Thank you for making the Byrdie and following along with the sewalong!

Version A Blouse

Version B Blouse (I sewed the tucks all the way to the hem on this sample)

Version A Dress with Dress Belt