Byrdie Button-up Sewalong, Part 10: Sleeve Cuffs
We are so close to being finished! Just a few more steps until you’re struttin’ your stuff in your handmade Byrdie Button-up!
Prepare the Sleeve Hem
If sewing Version A, make sure you have the pleat basted in place. The fold should point to the sleeve placket from the exterior of the sleeve (I usually do this step before the sleeves are sewn to the bodice). Be careful not to sew it to the other side of the sleeve!


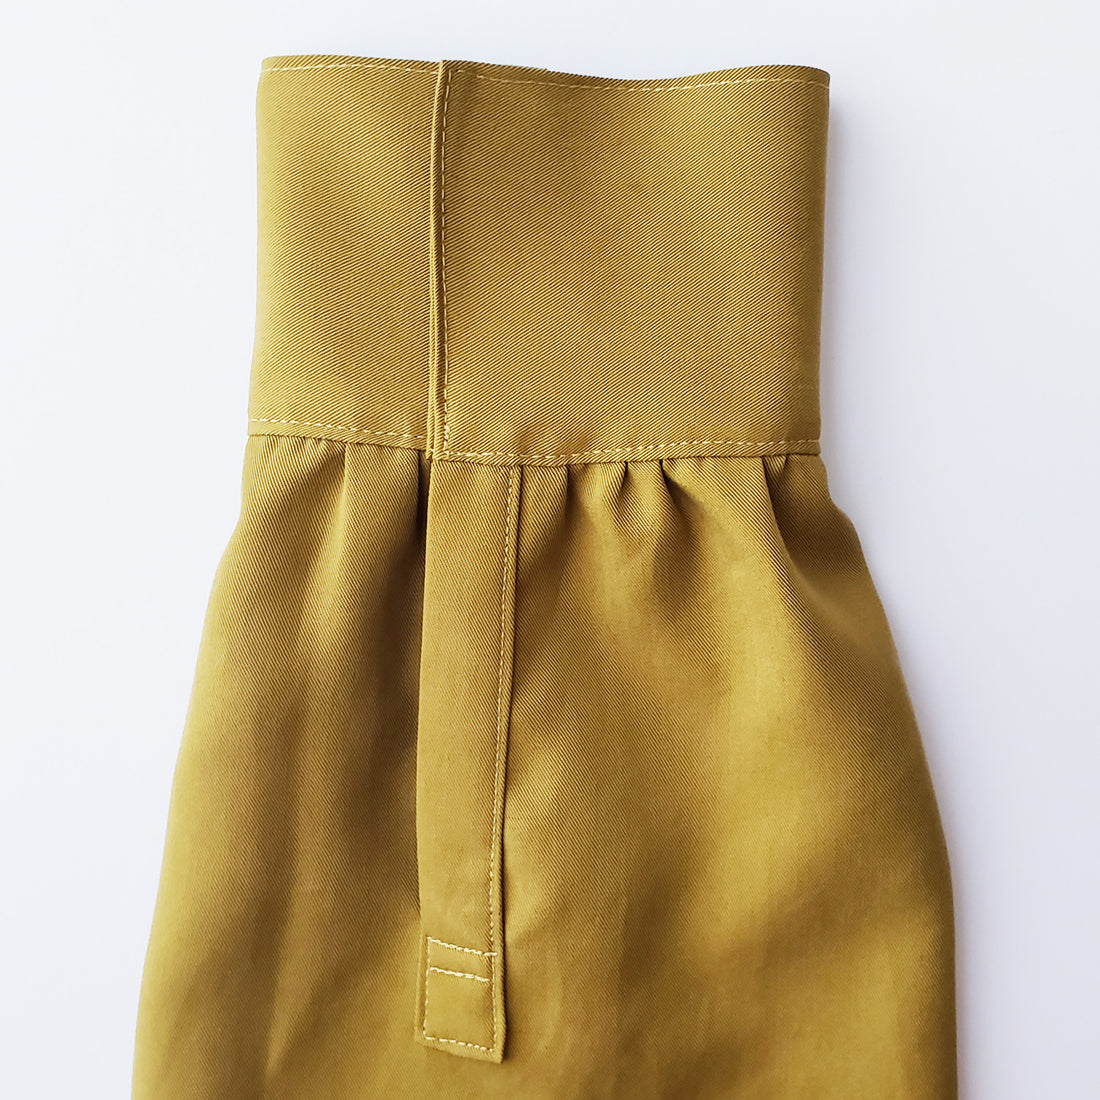
If sewing Version B, sew two rows of basting stitches around the perimeter of the sleeve at the hem line, starting and stopping at the edge of the sleeve placket on either side. Leave the thread tails long.
Pull the threads to gather the end of the sleeve, evenly distributing the gathers.


Prepare the Sleeve Cuffs
Fold each cuff in half lengthwise and press the fold. Then open the cuff and fold the edge of the interfaced side by 5/8” to the wrong side.


The pressed cuff will have one edge folded under and one edge left unfolded:

Attach the Cuff to the Sleeve
This step is the same for both sleeve versions, but I’ll be showing it on the Version B sleeve.
Align the unfolded cuff edge with the sleeve hem, right sides together. The cuff should extend beyond the sleeve placket at each end by about 5/8”. Pin in place, making sure that the sleeve hem (and gathers, if sewing Version B) is evenly distributed along the cuff length. Sew the cuff to the sleeve with a 5/8” seam allowance.


Remove the basting stitches. Press the cuff seam allowance toward the cuff. Then fold the cuff the wrong way to align the folded edge of the cuff with the seam allowance/fold where the cuff attached to the sleeve.


Sew the end of the cuff together right next to the sleeve placket. Do this on both ends of the cuff.
Trim the seam allowances at the ends of the cuff and the interior cuff seam to about 1/4”.


Turn the cuff right side out and poke out the corners and edges well. Press the cuff and pin the interior cuff fold in place from the exterior. As you do this, align the folded edge with the cuff seam, overlapping the seam by about 1/32”…just enough to cover it and ensure that you’ll catch the folded edge as you topstitch the exterior side.


Topstitch the cuff in place from the exterior, catching the interior cuff fold in your topstitching to close the cuff. Once you have the sleeve edge of the cuff secured, topstitch the remaining three sides to finish the cuff.

Version B Sleeve

Version A Sleeve