Byrdie Pattern Hack: Pussybow Blouse
When I’m designing sewing patterns, I’m thinking of all the different ways that a pattern can be sewn by you! I love pattern hacks and I especially love when a pattern can be made over and over again with easy adjustments for new styles.
Today’s hack was on my mind from the very start of designing Byrdie. I knew I would eventually make a pussybow blouse (or tie neck blouse, or bow blouse). And this hack is surprisingly easy!
During the holidays, I also found this GORGEOUS Floral Pinstripe Burnout Silk Chiffon from Measure Fabric and I had to have it. It was absolutely perfect for this blouse. While I was brainstorming the process for this hack, I also tried to make a few changes that would make working with a sheer fabric a little easier. So that just meant eliminating the button placket and simplifying the sleeve cuffs so that I didn’t have to fuss with interfacing or too much topstitching.


For this hack, you will not need the collar pieces (in addition to the Byrdie Button-up Pattern—but really you could do this on any loose-fitting woven shirt with a high collar). We will be replacing the collar with a neck tie. I’ve created a pattern piece the you can download here:
Or you can draft your own. Here are the dimensions I used:

Okay let’s get started!
First, cut all your pattern pieces, except do not cut the collar or collar stand.
I opted to add a yoke to this blouse (but you don’t have to). I have another tutorial here if you want to give it a try, though!
I cut the back bodice as is, but I cut the front bodice on the fold, aligning the center front with the fold. The center front is indicated on the front bodice pattern piece by the suggested button/buttonhole locations. I folded the button placket edge out of the way along the button line/center front before cutting the front bodice.
Then I cut a 6” slit in the neckline of the front bodice. This will allow me to pull the blouse overhead, and the slit will be concealed when the neck is tied.
I also cut a strip of fabric about 2” wide by 13” long. This will be used to bind the slit opening.

Bind the slit opening in the neckline.
Spread the slit opening apart and align the 2” strip of fabric, right sides together, along the edge of the slit and pin in place. Sew the strip to the slit with a 3/8” seam allowance.


Now press the binding strip away from the bodice with the seam allowance pressed toward the binding strip. Fold the raw edge of the strip toward the center, then press the strip in half to align the folded edge with the seam.
Topstitch the binding in place to create a finished edge along the neckline slit.


Continue steps to sew the bodice and sleeves together. Stop when you get to the collar. Instead of inserting a collar band, you will insert the neck tie.
Download the free neck tie pattern here if you haven’t already. Cut two of the necktie pieces, mirrored.
Attach the two neck tie pieces at the center back. I decided to use french seams on this project, so I attached my neck ties together with a french seam.

Fold the neck tie in half lengthwise, right sides together. Sew the perimeter along the three raw edges of the tie with a 5/8” seam allowance, leaving an opening between the notches indicated on the pattern piece at the center.

Press one edge of the opening to the wrong side by 5/8”. Then turn the tie right side out and press all the edges, making sure all the corners and edges are fully turned out.

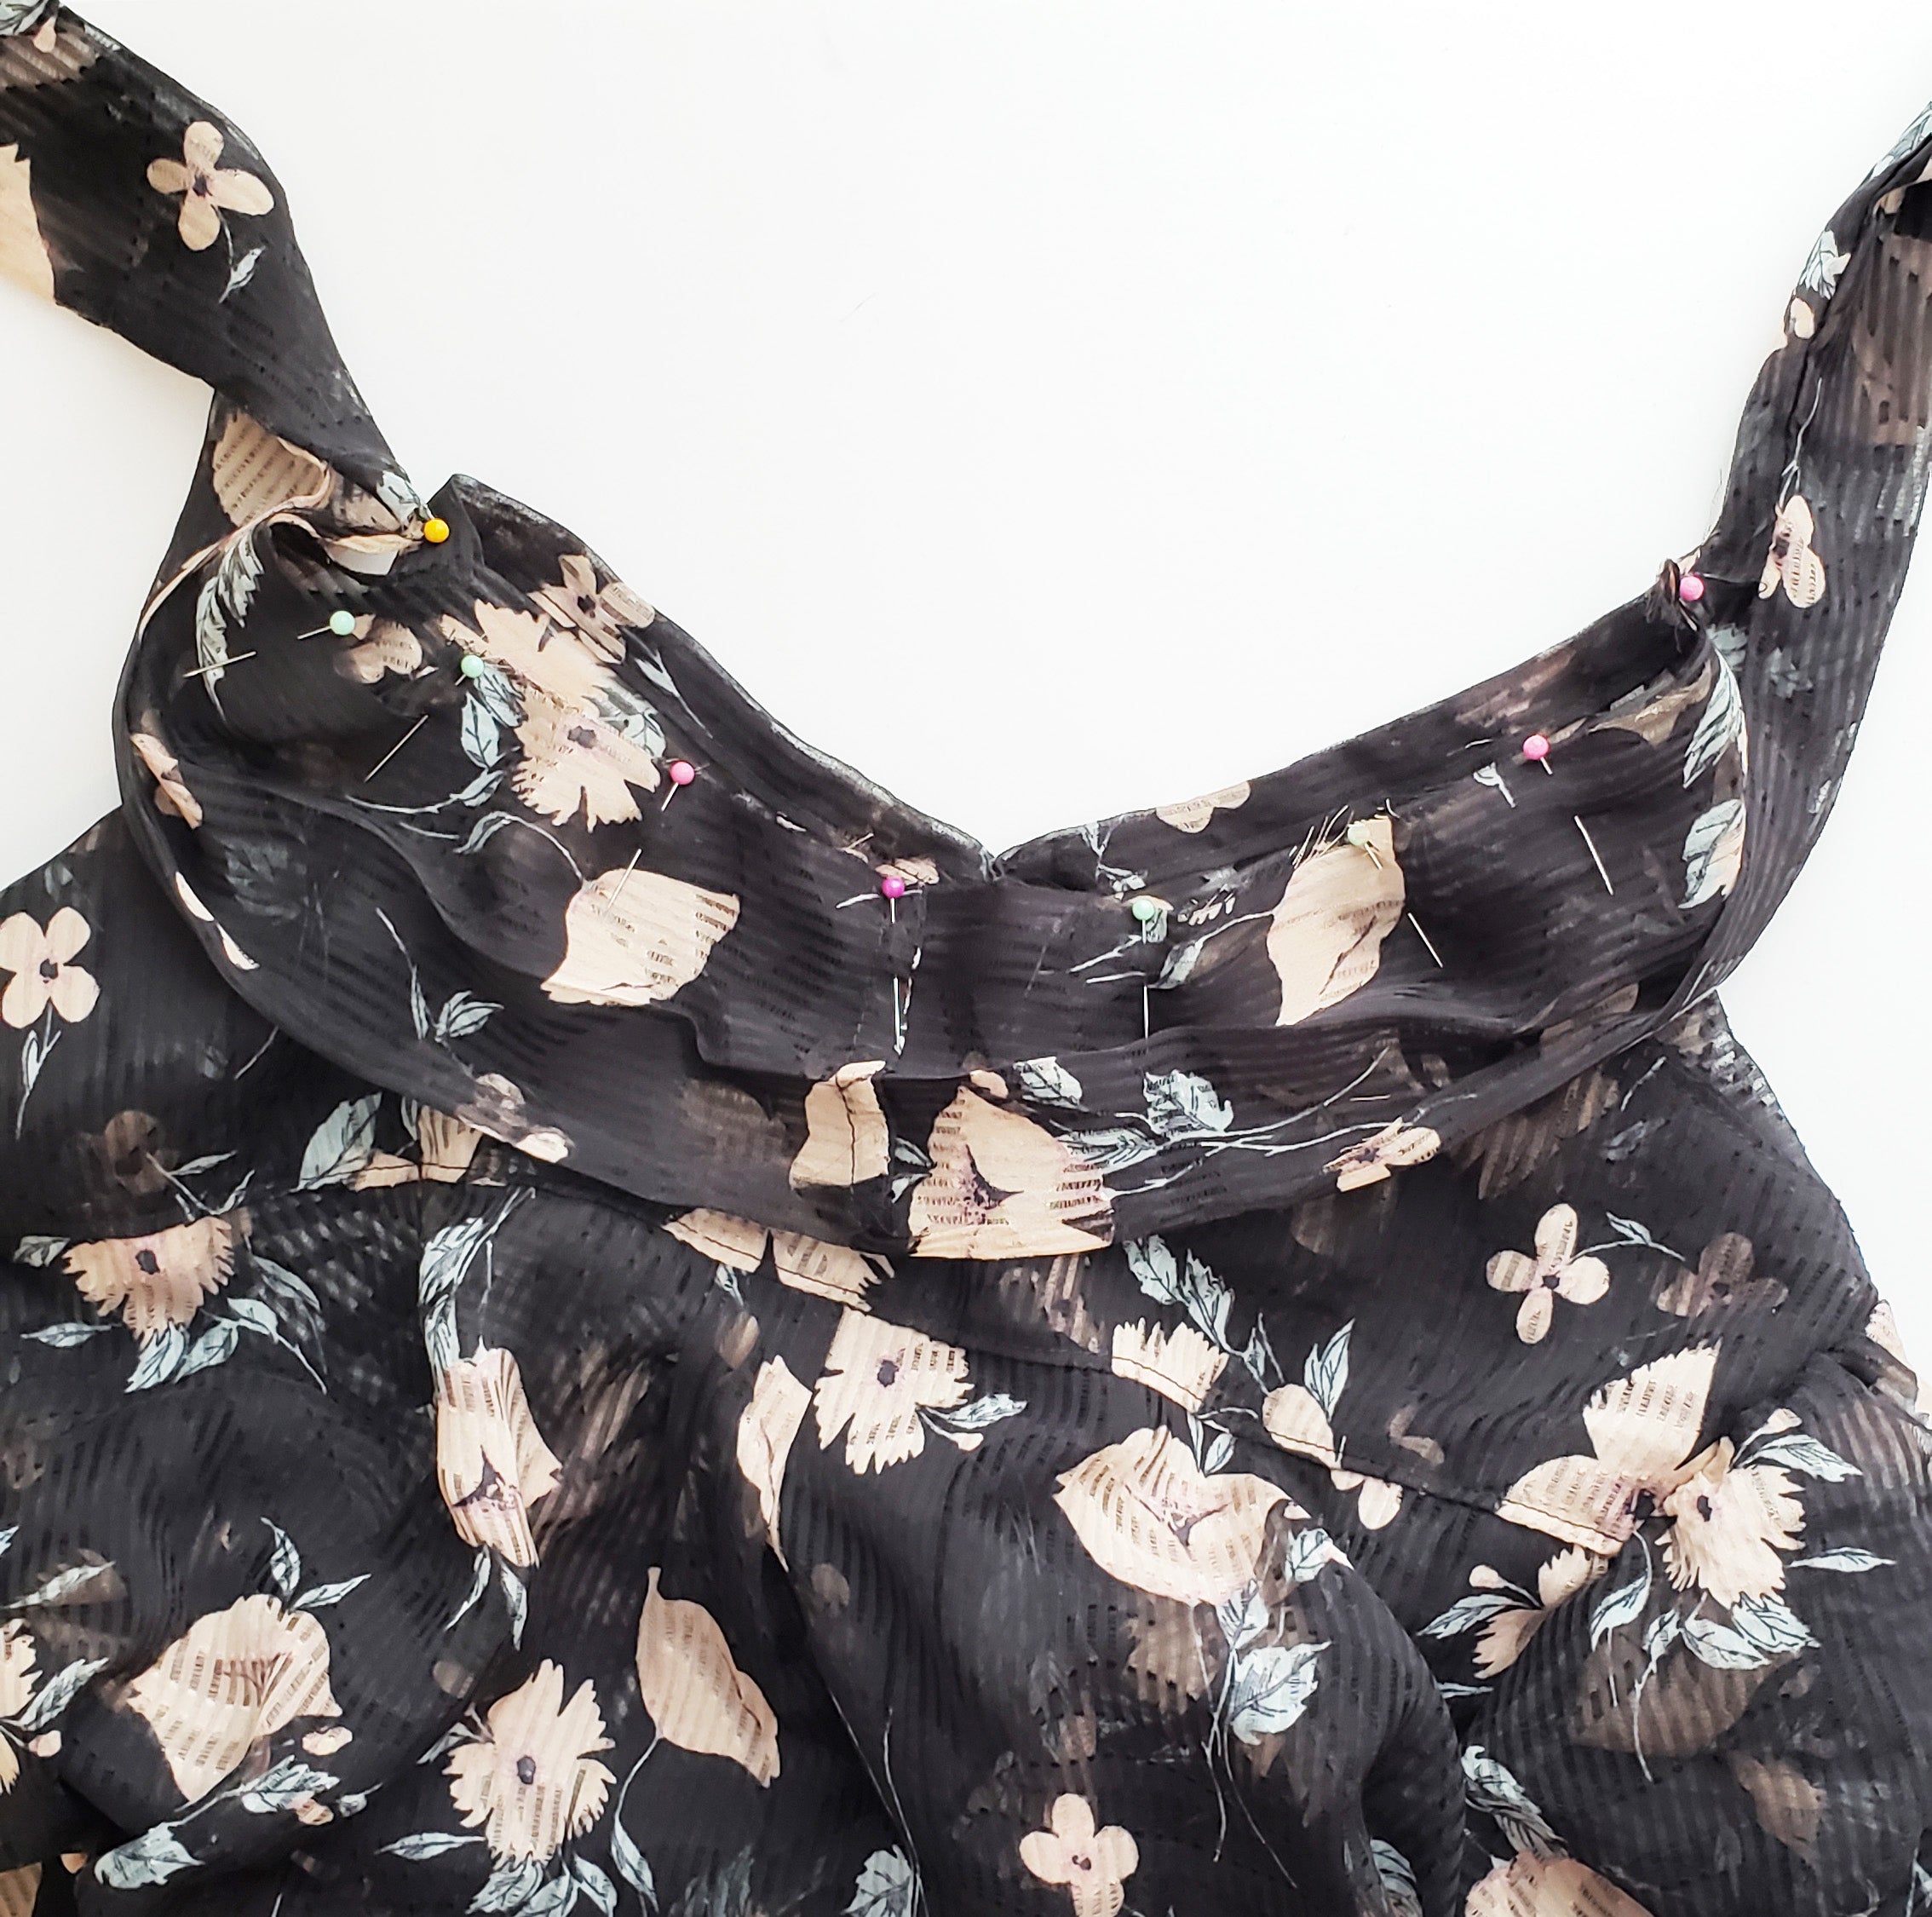
Attach the neck tie to the bodice neckline.
Right sides together, align the unfolded edge of the neck tie opening along the bodice neckline (the tie will be attached along the exterior of the bodice). Make sure the center seam of the neck tie aligns with the center back neckline. Sew the neck tie to the entire length of the neckline. You will only be sewing one side of the tie to the neckline. The folded edge on the opposite dies of the tie will still be loose, so make sure it is out of the way as you sew.
Flip the neck tie up and away from the bodice so that the folded edge can be pinned in place over the seam you just sewed.
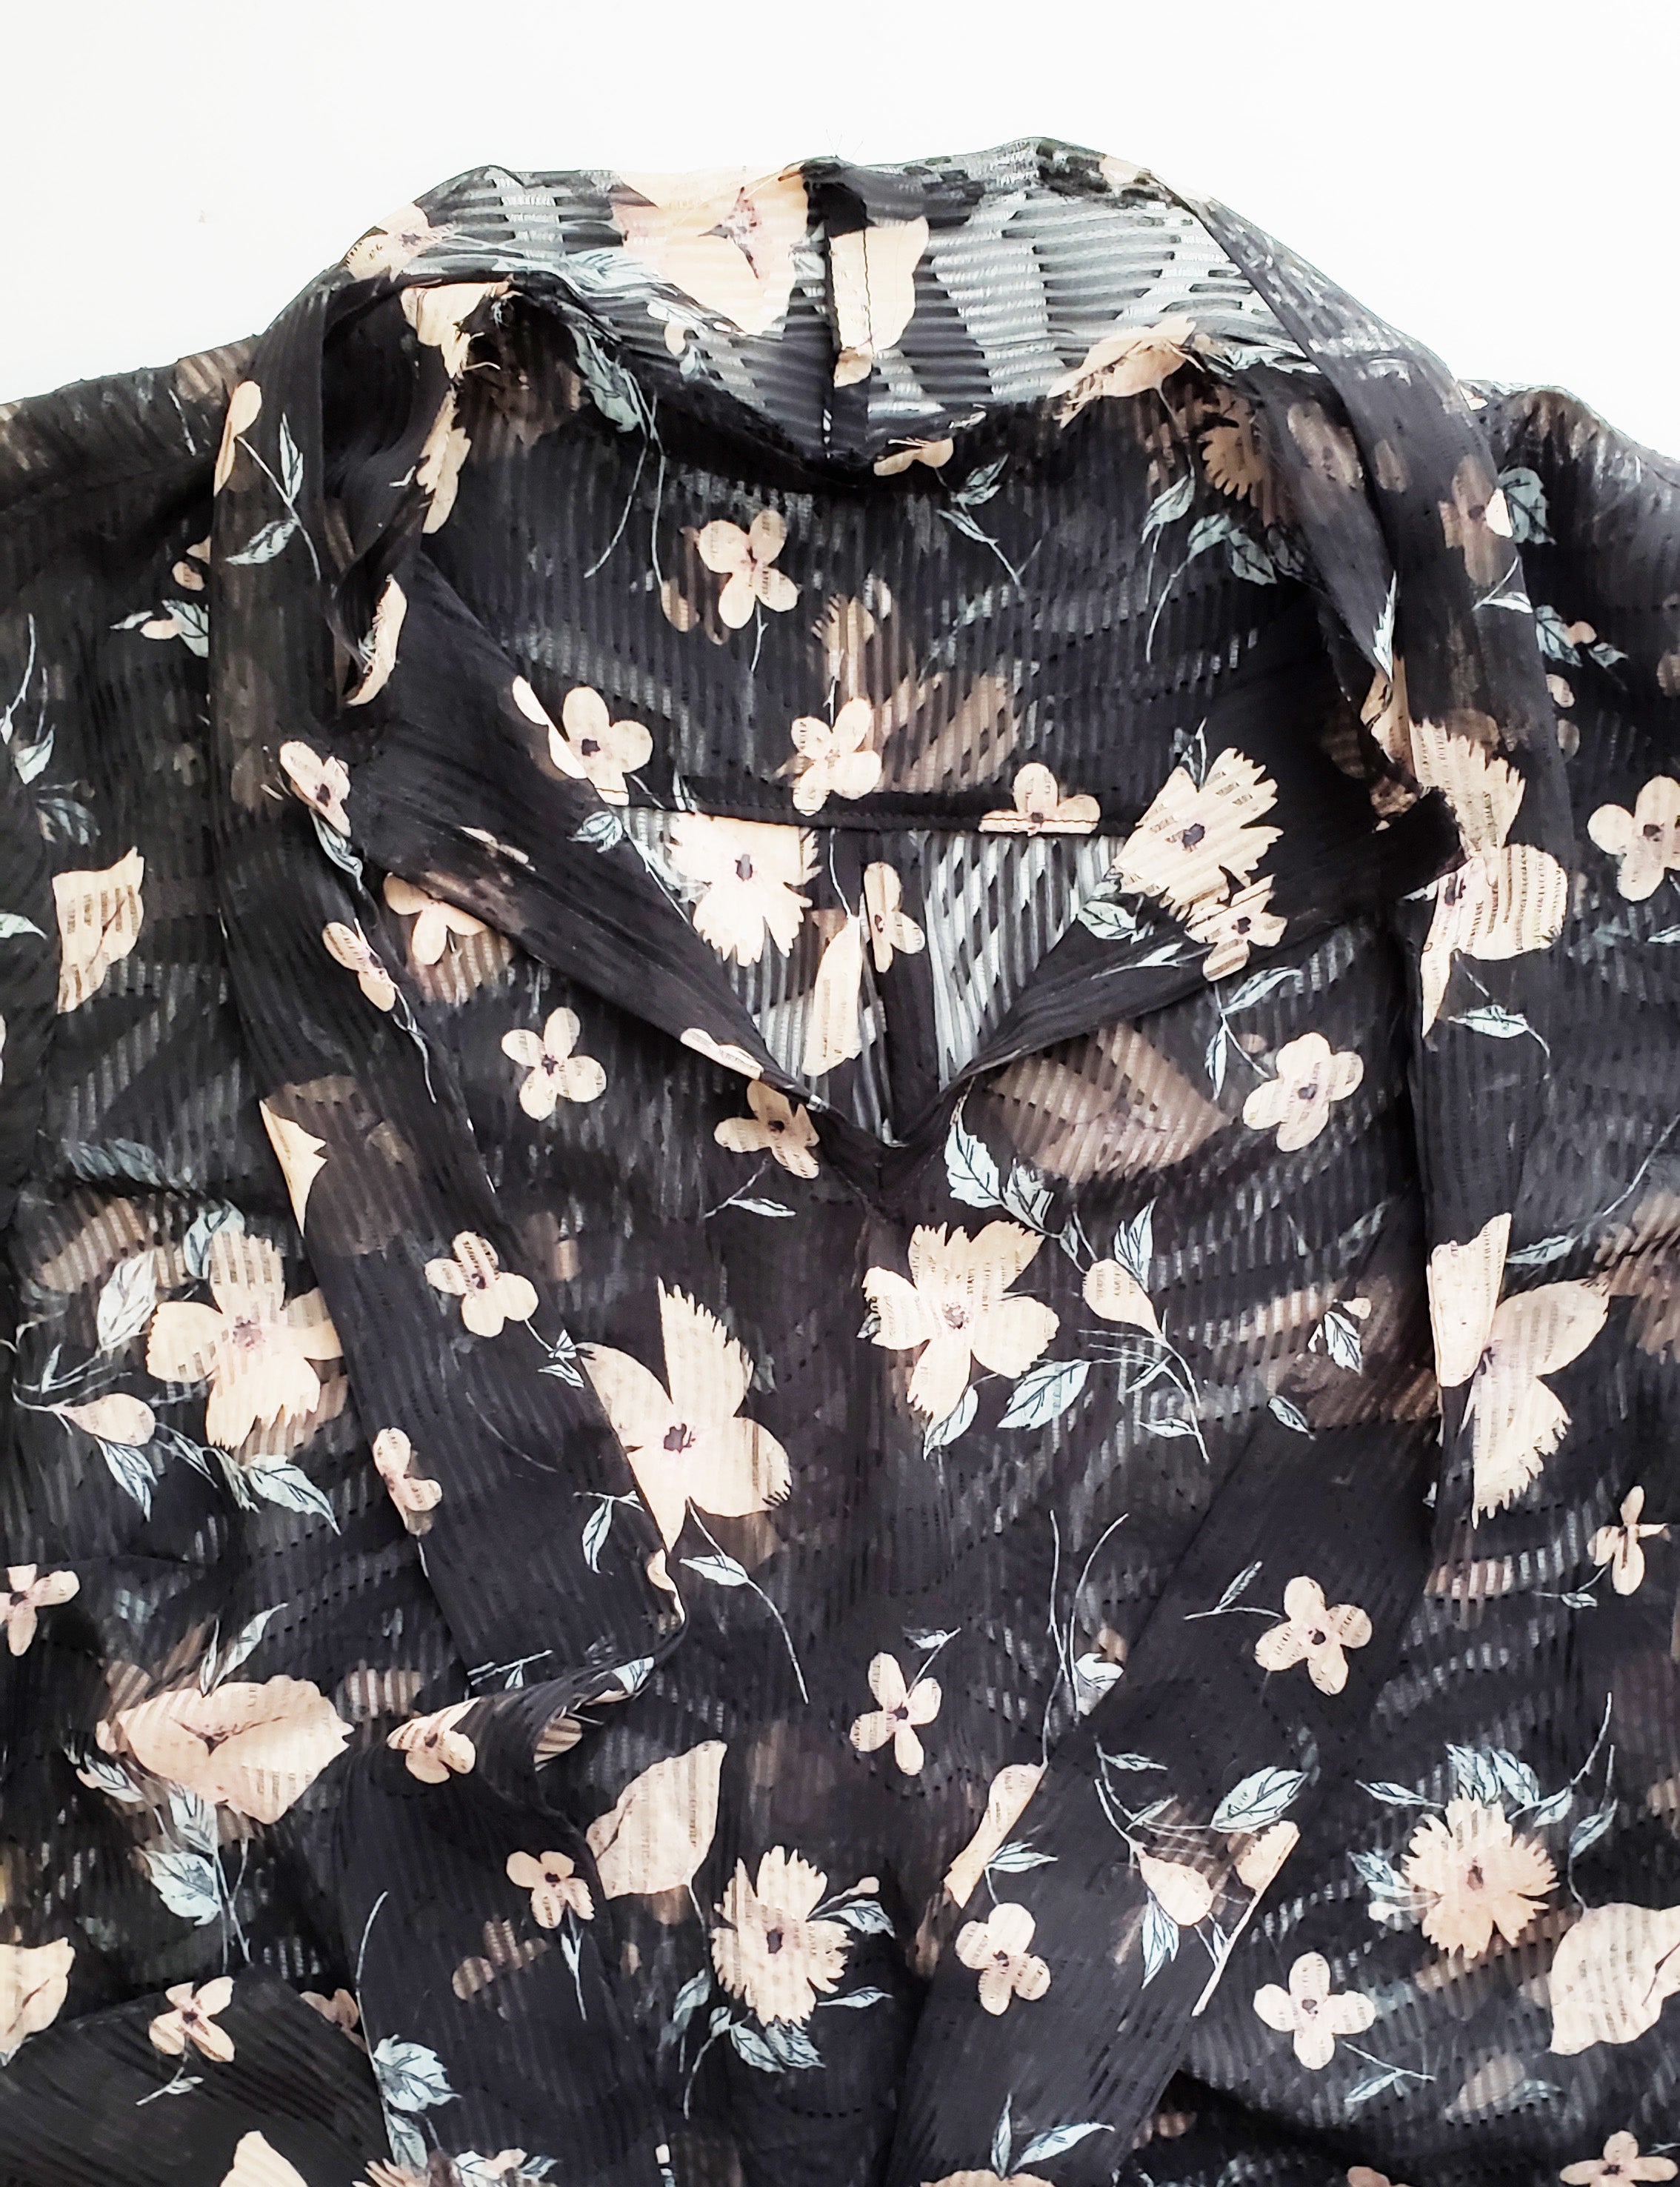
Align and pin the folded edge in place and topstitch the opening closed to finish the neck tie. You can also topstitch the perimeter of the entire necktie here, too.

The neck tie is finished!

BONUS: How I finished the sleeves without installing a sleeve placket
Like I mentioned above, I wanted to reduce the amount of folding and precision topstitching I had to do since I was working with such a sheer, delicate fabric. So I also eliminated the sleeve plackets and made the sleeve cuff much more narrow. I’m using the Bishop style sleeve for this version.
I cut the sleeves about 1 1/2” longer to make up for the reduction in the sleeve cuff. Then I cut one sleeve cuff using the piece provided in the Byrdie pattern and cut it in half lengthwise to create two narrow cuffs.
Next, I sewed the short ends together (right sides together). Then I folded the cuff in half, wrong sides together, to conceal the seam.


Fold one edge of the cuff to the wrong side (to the interior) and press. This actually would have been easier to do before I sewed the ends together in the first step, but ah well!

Sew two rows of basting/gathering stitches around the end of each sleeve. Gently pull the stitched to gather the sleeve hem in preparation for attaching the cuff.

Open the cuff and pin the unfolded edge to the sleeve, wrong sides together. As you do this, evenly distribute the gathers along the perimeter of the cuff. Sew the cuff to the sleeve with a 5/8”. Then remove the basting stitches, trim the seam allowance to a neat 1/4”, and press the cuff away from the sleeve with the seam allowance pressed toward the cuff.


Now fold the cuff to the interior, aligning the edge fold with the cuff seam. Pin in place and topstitch the cuff closed from the exterior. It actually helps to turn the sleeve inside out and pin along the exterior side of the cuff (which will be on the interior with the sleeve turned inside out), to make it easier to sew, since this may not fit over the free arm of your sewing machine.


All done! Well, except for maybe the hem. :) That’s how you hack a Byrdie Button-up into a pussybow blouse!
One thing I will note, if you are sewing with a more stable fabric and want to keep the button placket, that is totally doable. I would recommend finishing the top of the button placket and attaching the tie so that it stops right at the edge of the placket on the bodice side instead of going all the way across the top of the placket. This will allow you to button it all the way up and leave a little room for tying without the placket getting in the way.
